The finger most beginners forget in a violin bow hold is the ring finger. The pinky gets corrected constantly, the thumb gets watched, the index gets blamed, and the ring finger quietly leaves the stick a few minutes into playing. Once it is gone, the rest of the hand reorganizes around the gap: the thumb starts clamping, the index presses down, the bow skates instead of sitting. Put the ring finger back where it belongs and most of what looked like a grip problem turns out to be a balance problem.
I did not learn that from a diagram. I learned it by subtraction, and subtraction is the only way I have found to fix a bow hold without starting over.
I came to the violin as an adult. That is a disadvantage early, because nothing is automatic, and an advantage later, because you end up testing things that people who started at six never had to think about. What I tested was removal. Every time the bow felt wrong, instead of rebuilding the whole hand, I lifted one finger off the stick, in playing position with the bow on the string, and watched what the other four did.
Do that and the hold stops being one skill. It becomes five fingers with five jobs and a failure that tells you which one quit.
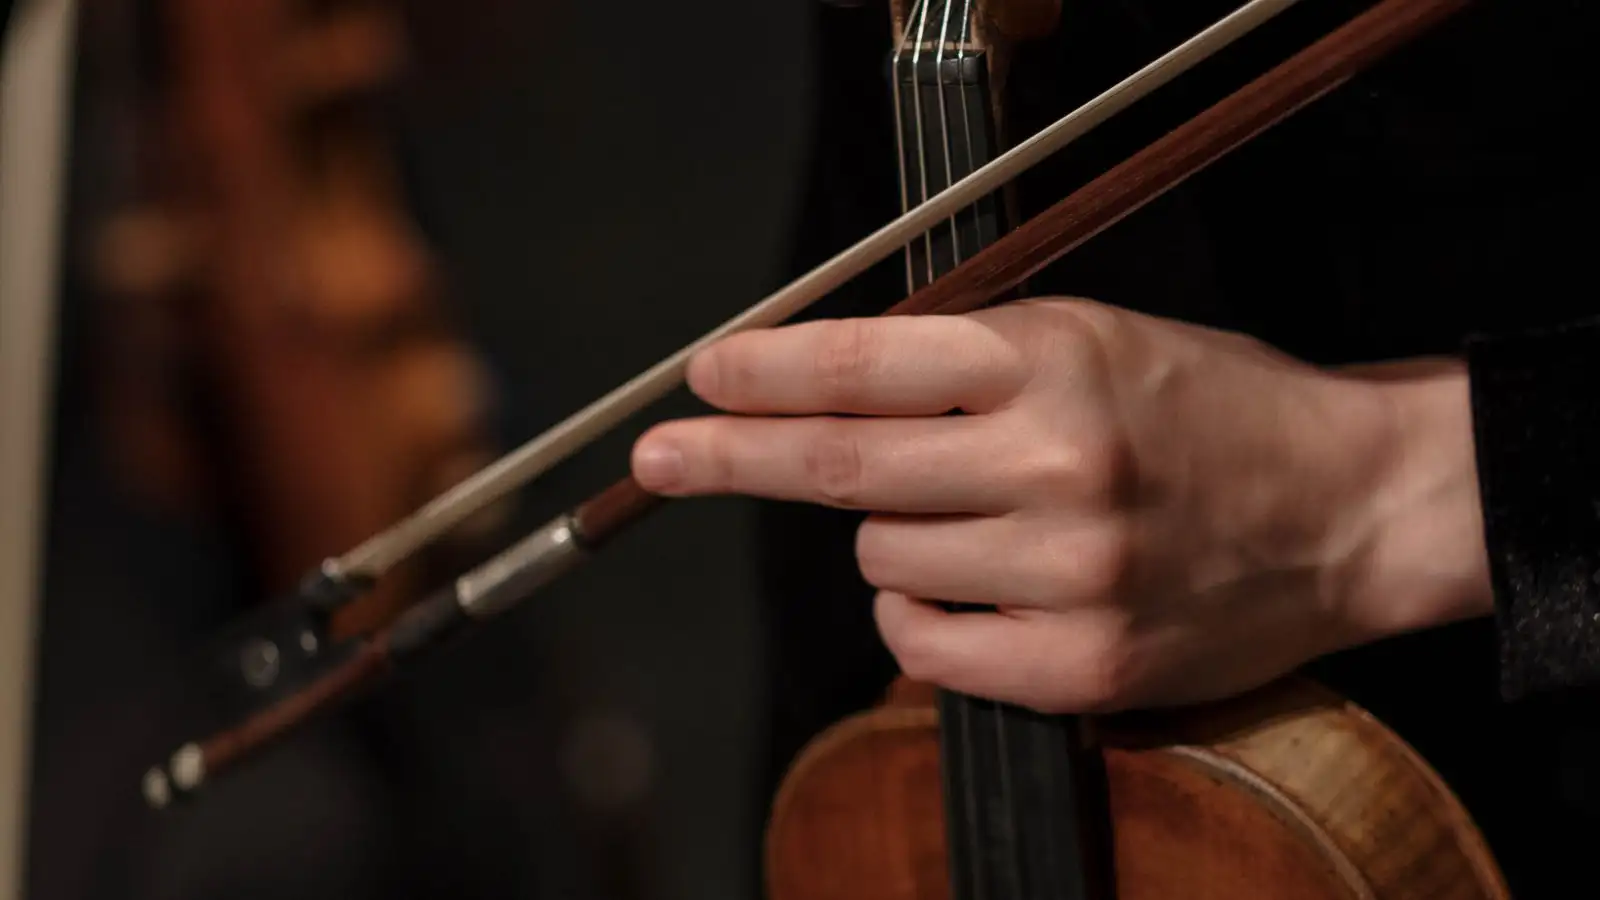
Set the bow up first. Left hand holds the stick, horizontal, frog on the right. Right hand comes in from above. Thumb bent at both joints, its tip against the stick on the leather, and the middle finger comes down on the far side roughly opposite the thumb, so the stick passes through the ring those two make. That ring is the core of every bow hold worth teaching. The remaining three fingers arrange themselves around it, and each one is doing something different.
The lift test
Get into playing position, bow on the string at the middle, and lift your ring finger straight up off the stick. Hold it there for three seconds.
Several things happen at once, and you did not decide any of them. The thumb, which a second ago was just resting, tightens. The index comes down harder. The tip of the bow drops, so the wrist rotates to bring it back. Your hand is compensating for a corner of contact it just lost, and that compensation is exactly what a teacher is describing when they say you are gripping the bow.
That is the whole method. Lift one finger, hold for three seconds, notice what the others do. Whichever finger you lifted, the answer comes back different.
Thumb. Lift the thumb off entirely and the hold has no pivot. The bent tip is the anchor point. Everything rotates around it, the bow seesaws over it, the fingers on top push against it. Remove it and you can still clamp the bow between the remaining fingers, but you cannot steer it. A thumb that has gone flat or locked straight is nearly as bad, because a straight thumb pushes the stick away from the hand instead of letting it sit in the ring.
Middle finger. It stays draped over the stick with its pad or side against the frog, and it is the other half of the ring with the thumb. Take it off and the whole hold collapses into a pinch between thumb and index. The bow rolls in the hand, the wrist takes over, and you start steering with the forearm.
Index finger. Its contact is at the middle joint, not the tip and not the base; the stick sits in the crook of that joint. This is the finger that carries arm weight into the stick. Lift it and the sound goes thin immediately. The tip of the bow rises, you lose the ability to sink into the string, and the instinct is to press. Pressing is what the thumb will do instead, which is how a bow hold turns into a fist.
Ring finger. It is draped over the stick near the frog, and its job is the least glamorous one in the hand: it keeps the contact area broad so the thumb does not have to work alone, and it adds stability without adding grip pressure. Now, in playing position, look down at your own right hand. You can see the index finger and the pinky. The middle and ring fingers are hidden behind the stick and the frog, out of sight on the far side. That is the whole reason they are the ones that drift.
Pinky. Rounded, tip resting on top of the stick. It is the brake. Near the frog, the length of stick in front of your hand is long and the tip wants to fall, and the pinky is what stops it. Lift it off, bow a slow down-bow to the frog, and the tip dives and the sound crunches. It is also the weakest and least independent finger in most hands, so it is the first one to slide off when the hand gets tired.
Why the ring finger and not the pinky
The pinky is the famous answer. Ask most players which finger beginners neglect and they will say pinky without hesitating. It is a defensible answer, but it describes a different failure. The pinky slides when the hand fatigues. It fails loudly, at the end of a practice session, and it comes back as soon as you rest. The ring finger leaves early and quietly, in the first minutes, and it does not come back on its own, because you cannot see it leave.
The two failures also look different from the outside. I play most days, and I sit with a beginner's practice most evenings, so I get to watch both of them from the outside as well as feel them in my own hand. A tired pinky makes the bow wobble near the frog, so a teacher sees a bouncing bow and starts talking about bow speed. A missing ring finger makes the thumb clamp, so the teacher sees a tight hand, and the fix everybody reaches for is telling you to relax your thumb. That fix does not hold, because the thumb is only the symptom. The cause is on the other side of the stick.
There is a concrete way to check it. Lay a pencil across the frog, into the gap between the ring finger and the stick, while you are holding the bow in playing position. If the pencil slides through without touching anything, the ring finger is not in contact. If it will not fit, the ring finger is doing its job. I have done this so many times that I now do it without the pencil. I just know what the frog is supposed to feel like against that finger: a light, flat contact, not a squeeze.
The frog is where you find out
Most bow holds look fine in the middle of the bow. The middle is forgiving. You are near the balance point, weight is going into the string, nothing dramatic happens. The frog is where the hand has to actually do something.
Play four inches of bow at the frog, slow, down-bow. Now do it again and pay attention to the ring finger specifically. If it is in contact with the frog, the hand feels wide and settled, and the thumb can stay soft no matter how slow you go. If it has drifted off, the hand narrows into a three-finger pinch of thumb, index and pinky, and the thumb is now doing work the whole hand should be sharing. That is the common beginner shape: thumb, index and pinky holding on, middle and ring floating away behind the stick.
The floating happens for a reason. The index and the pinky are the two fingers you can see from above, and they are the two that get named in every photograph of a bow hold. The middle and ring fingers are the ones you have to feel.
When the hand gets tired
Tension is not a character flaw. Fingers get tired and quit in a predictable order, and knowing the order lets you work with it instead of fighting it.
In my hand it goes like this. The pinky starts to straighten and lift after a few minutes of continuous bowing, then the ring finger drifts back and off the frog. By that point the thumb has taken over and everything I play sounds pressed. If I keep going, I am practicing tension, which is worse than not practicing.
So I work in short bursts. Two or three minutes at the frog, then the bow goes down on the stand, the hand opens and closes a few times, and I pick it up and do the lift test again. The lift test takes four seconds and it catches the ring finger before the habit sets in for the day. It is not glamorous. The alternative is discovering at the end of a half hour that I spent it holding the bow with three fingers.
What changes and what does not
Hands are different. Finger lengths differ, so the ring finger may sit right on the edge of the frog for one player and a little behind it for another, and the pinky's contact point moves accordingly. Different traditions of bow hold put the fingers in slightly different places, and teachers disagree about the details.
What does not change is the principle: five contact points sharing the work, and when one leaves, the balance shifts somewhere else in the hand. That is why the lift test works regardless of how your hand is built. You are not checking your hand against a picture. You are checking whether the hand is still balanced, and every hand will answer honestly.
The reason to do this one finger at a time is that it saves you from rebuilding. A bow hold does not fail all at once. One finger quits, the others cover for it, and after a few weeks of covering, the whole shape feels natural and wrong. Find the finger that quit. Usually it is the one you cannot see.