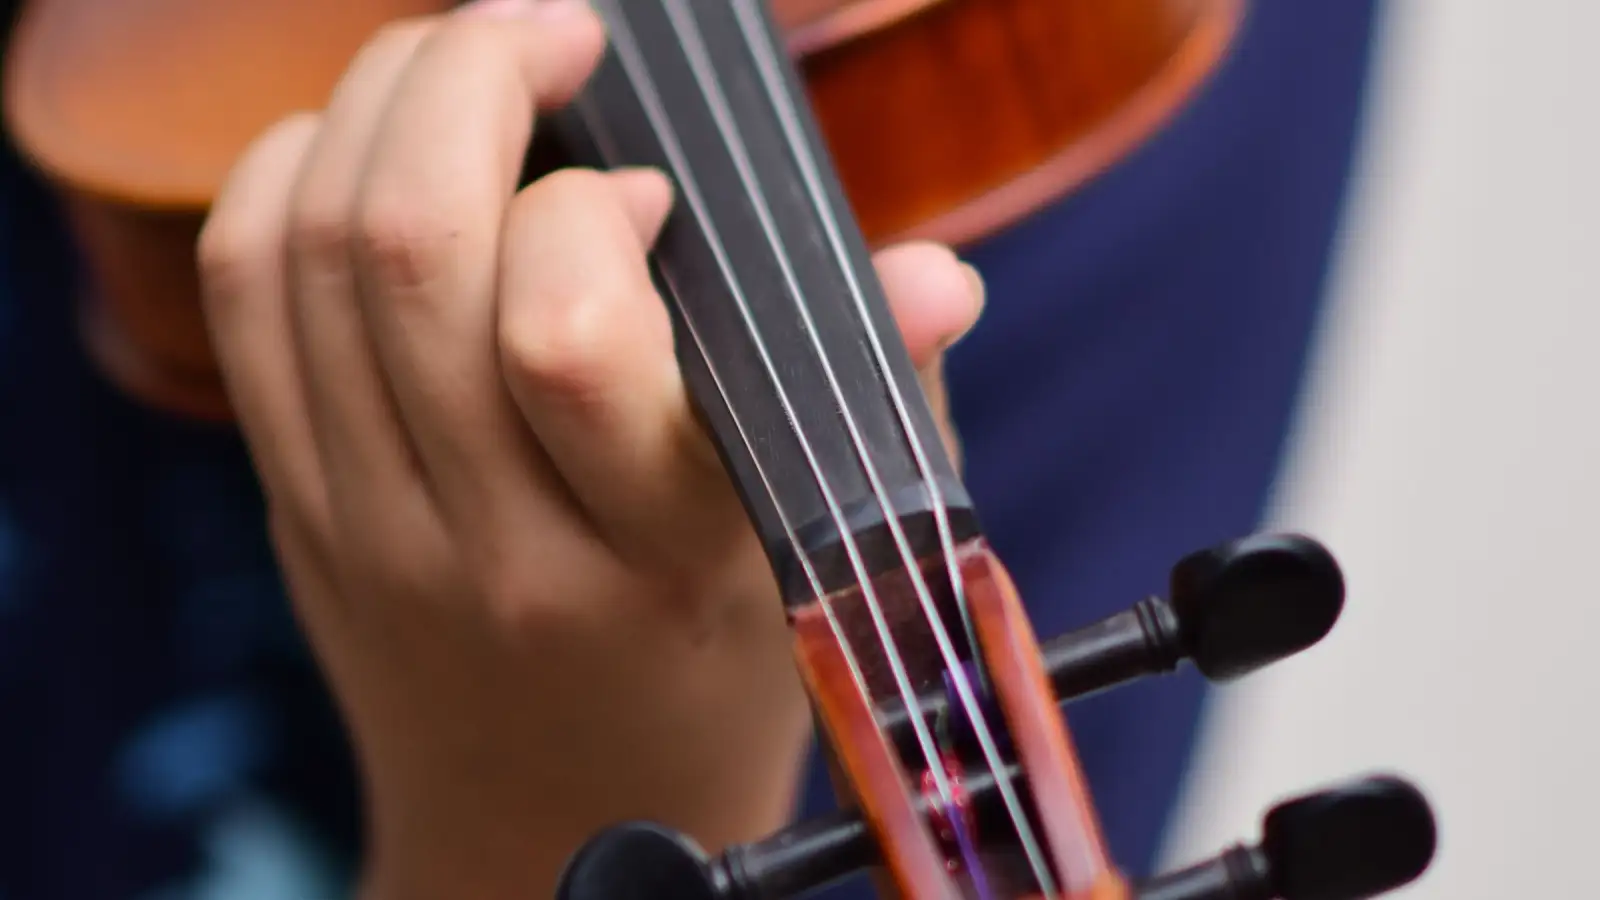
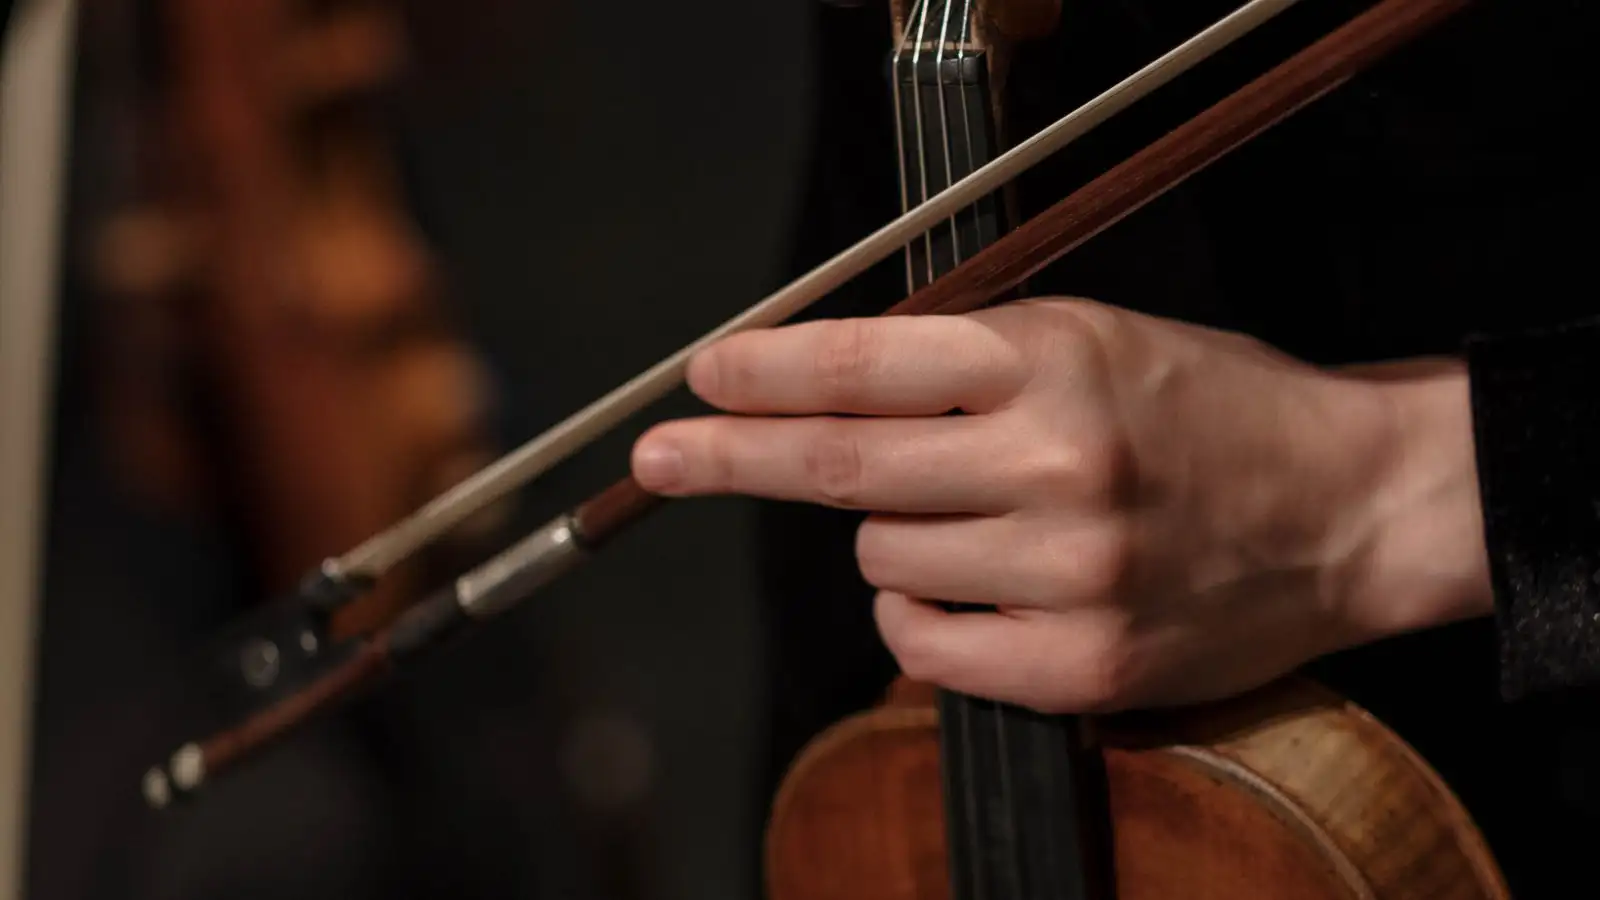
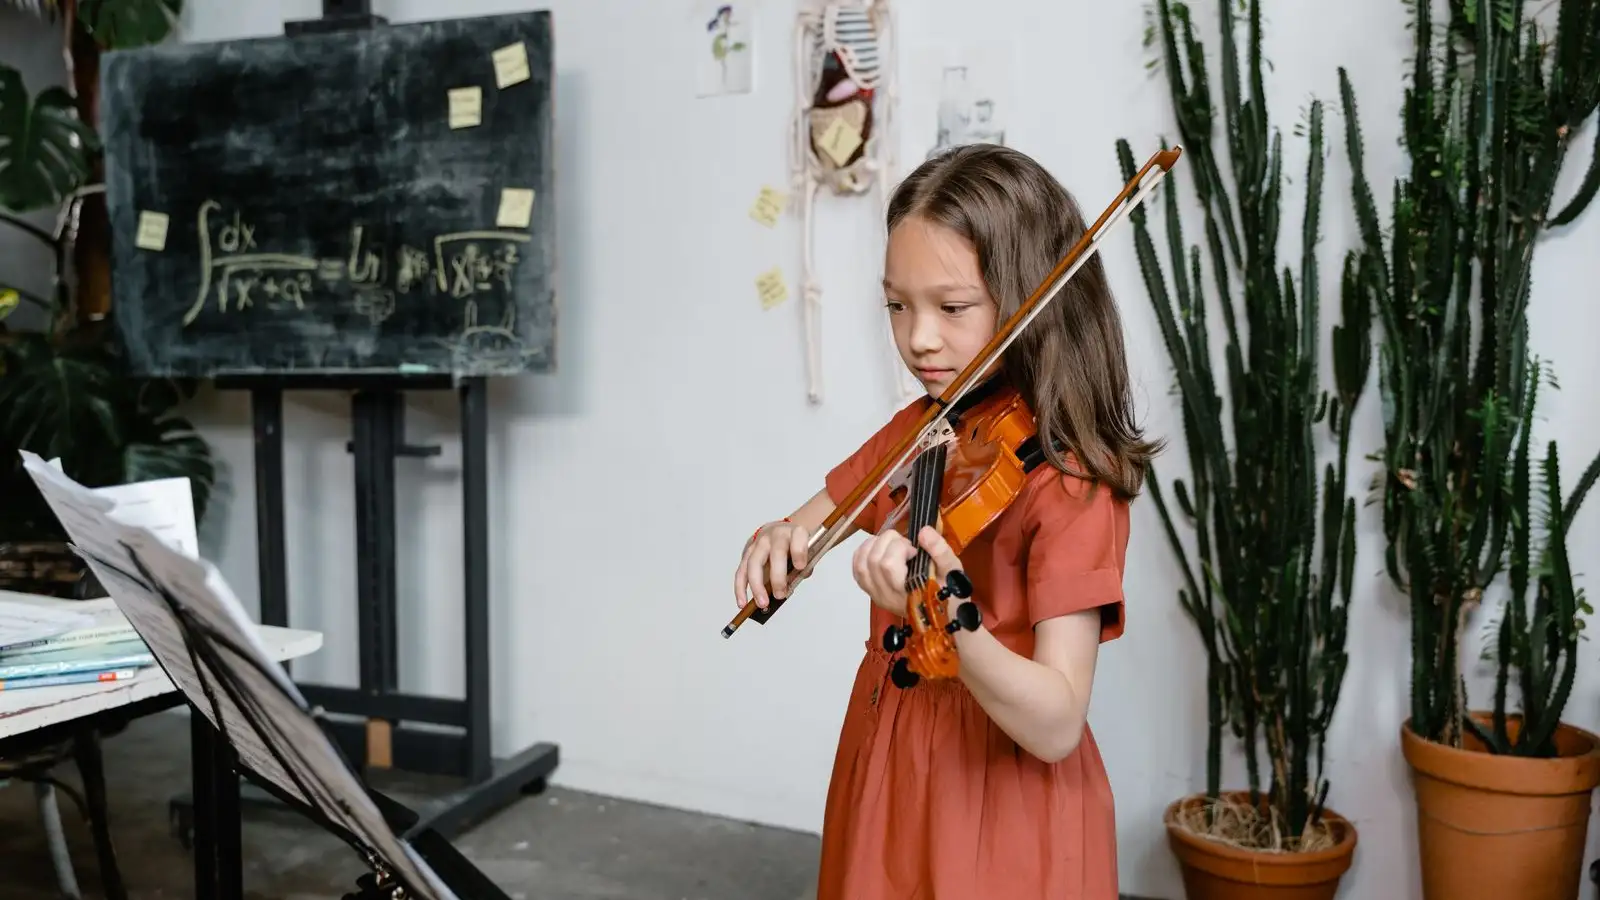
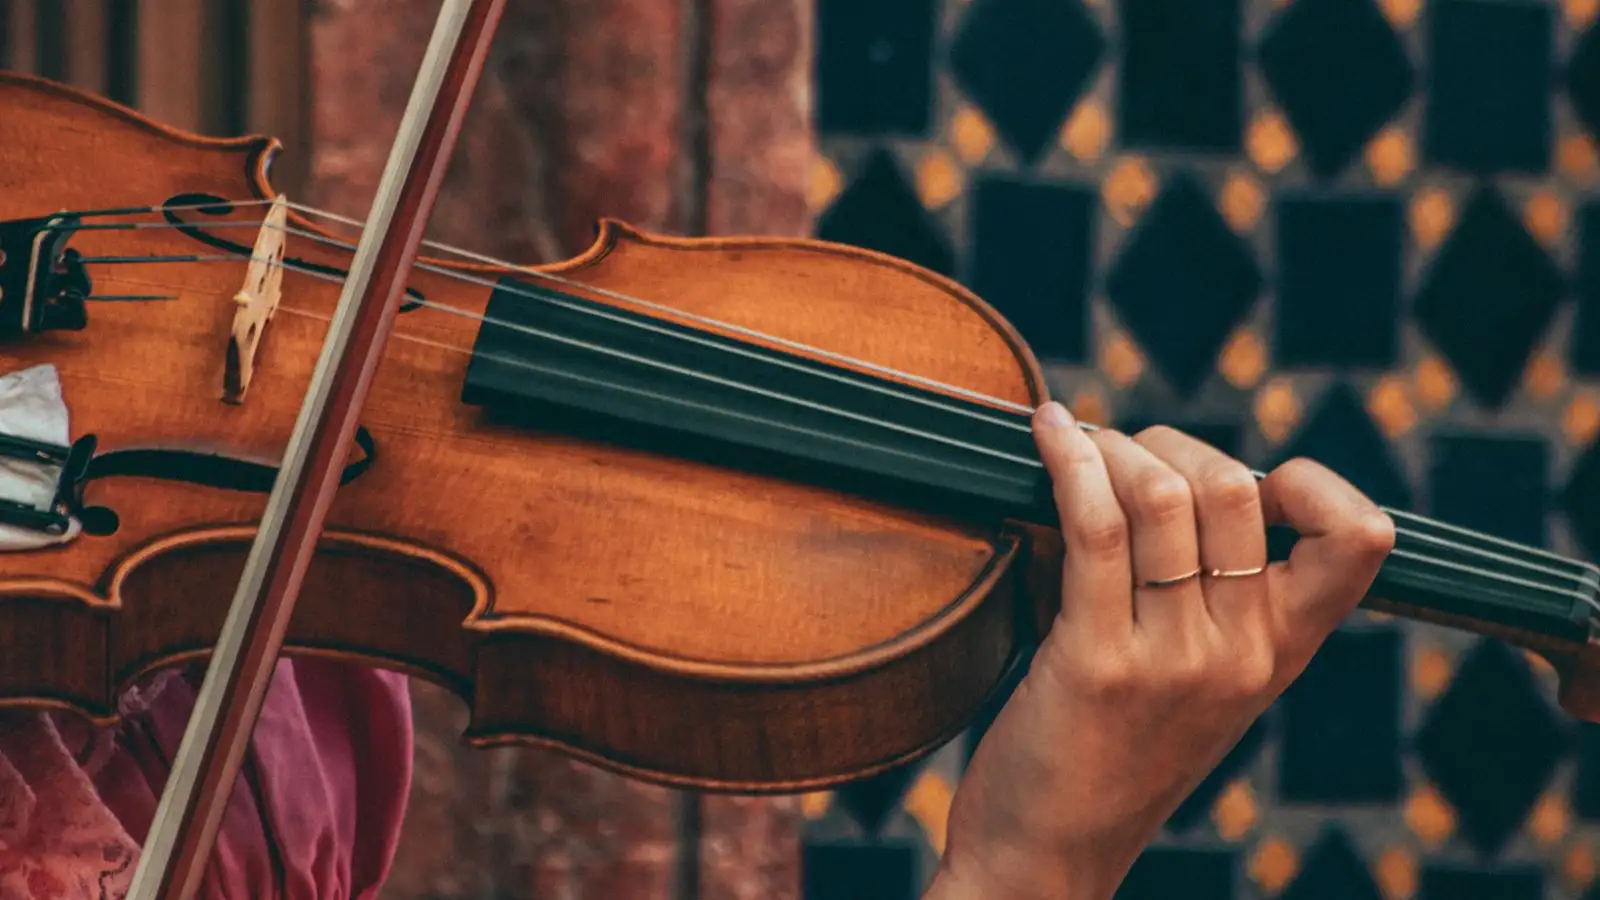
A violin bow hold relaxes when the hand stops gripping and starts balancing. The thumb's tip rests bent on the leather grip just above the frog. The middle and ring fingers drape over the stick and stay in light contact with the frog, so the hand feels supported instead of pinched. The index finger meets the stick around its middle joint and passes the arm's weight into the bow. The pinky perches on top of the stick near the frog and counterbalances the lower half. Nothing presses hard enough to whiten a knuckle, and every finger stays free to flex slightly as the bow changes direction. That last detail is what relaxed actually means.
Stand up and hold the bow upright in front of you, tip toward the ceiling, the way you'd hold a candle you didn't want to drip on yourself. Right hand around the stick. No note yet. Look at the thumb first.
I always look at the thumb first, because the thumb is where a stiff bow hand announces itself. If it's flat, the whole pad mashed along the stick and the joint pushed backward, then the other four fingers have no choice but to tighten up behind it. A flat thumb lifts the back of the hand, lifts the wrist, and locks the fingers into one fixed shape. A hand that can't change shape can't flex, and a hand that can't flex is what people are actually describing when they say their bow hold feels tight.
The correction is not hold it looser. That instruction is useless on its own. It is placing the tip of the thumb, the pad, the spot you'd use to press a tack, on the leather winding just above the frog, with the joint bent the way it bends when you hold a pencil. Then test it: the joint should still be able to bend a little more without the stick moving. If the thumb is already at the end of its travel, it's flattened, and you'll feel it in the back of the hand before you see it.
The index finger is not a clamp, and this is where I see beginners go wrong most often. The index contacts the stick around its middle joint, the crease between the two segments, and it is the finger that transfers the arm's weight into the bow. Its job changes with where the bow is. Near the tip, the bow's mass is far out in front of you, so the arm hangs a little more and the index carries that. Near the frog, the index can do almost nothing at all. If the index is doing the same amount of work everywhere along the bow, you're pressing, not balancing.
The middle and ring fingers are the reason the hand can feel supported. They drape over the stick, and their tips or the pads just behind them stay in light contact with the top of the frog. That contact is what keeps the bow from swinging around underneath the hand. Some players keep the ring finger right on the frog, some let it float just above it, and both work. What doesn't work is curling it up so it never arrives.
The pinky sits on top of the stick near the frog, and its job is counterbalance in the lower half. Down at the frog, most of the bow's weight is sitting in your hand, so the pinky has to hold up that end. As you travel toward the tip, its job shrinks. A lot of beginners think something has gone wrong when the pinky lifts slightly near the tip. Nothing has gone wrong. The pinky does not have the same job everywhere, and pretending it does is how it stops being able to help.
What relaxed is actually measuring
Relaxed is not a feeling and it is not a destination. It is a narrow range with a floor and a ceiling.
Above the ceiling, the hand stops flexing, and you can hear it. The bow changes direction with a small grab instead of a glide. Below the floor, the bow wobbles, the sound thins out, and you fix it by pressing with the index, which puts you back above the ceiling without ever noticing the trip.
Inside the range, something specific happens at every direction change. The fingers give a little. The bow rotates through the hand. The sound keeps going. That tiny give is the entire physical meaning of a relaxed bow hand.
It is not limpness. A limp hand collapses at the frog. A gripped hand can't move at all. What you want is the narrow strip where the fingers are still doing things.
And here is the part most explanations skip. You cannot relax a hand that hasn't been told what it is supposed to be doing. Tension is usually the hand solving a problem nobody assigned it, which is holding up a bow that keeps shifting its weight around. Give each contact point a job and the tension runs out of work.
That is also why the hold has to be tested where it fails, not where it's comfortable. A bow hold that looks perfect at rest can come apart in the half second around a direction change. The frog and the tip are the two places worth watching.
Checks you can run with nobody in the room
None of these need a teacher standing next to you. They need your eyes, your ears, and about twenty seconds each.
The upright and the knuckles
Hold the bow vertically, tip up, and look at the back of your hand. Go finger by finger. Any finger pressing hard enough to pale at the knuckle or the cuticle is pressing too hard. This is the check the whole topic comes down to, and it's the one beginners skip because it feels too simple to count.
The pencil swap
Shape the hand around a pencil exactly the way you shape it around the bow, thumb bent, middle and ring draped, pinky perched. If the shape shows up with the pencil, the hold lives in your hand. If it only shows up when the bow is there, then the bow is holding you.
Two fingers only
Hold the bow vertically with just the thumb tip and the middle finger. Lift everything else. The bow should hang there, held by that ring of thumb and middle finger. Now add the other fingers back one at a time, slowly. If adding the index flattens the thumb, the index is overworking.
The hand-off
Have someone hold the bow horizontally in front of you while you set your hand on it. Then they pull the bow slowly along its length, straight out of your hand. Your hand should keep its shape and the bow should slide out against light resistance, your fingers trailing behind it a little. If the bow won't move, or your hand clamps down to stop it, that's a grip.
The tap
Bow horizontal. With your free hand, tap the tip down and back up, gently. Your bow hand should flex, the bow should move, and your elbow and shoulder should stay out of it entirely. If the whole arm bobs along, you're locked.
The ears
This is the one I trust most, because it doesn't depend on how the hand looks. Play a slow open string and listen at the two ends of the bow. Crunch or crush right at the frog means the pinky is squeezing. Thin and scratchy out at the tip means the index has stopped hanging the arm's weight. Even sound with a little give at the turns means you're in the range.
When it tightens back up after five minutes
It will, and that isn't a failed session. A bow hold is a habit of attention more than a position. What matters is what you do at the moment you notice.
The instinct is to adjust by feel, and the instinct is wrong, because the feeling of tight arrives after the tightness has already done its work. Run a check instead. Look at a knuckle. Tap the tip. The check tells you the truth, and the adjustment guesses.
A few things that vary, because they do vary. Whether the thumb sits opposite the middle finger or between the index and middle is a real choice with two working answers. Pick the one that lets the thumb stay bent and the ring finger still reach the frog. Hand size changes the angles but not the jobs. A smaller hand bends the thumb a little more, and the ring finger may not reach as far across; the balance doesn't change.
And the bow weighs less than most beginners assume. Balance it on one finger and you'll find the point close to the middle of the stick. That is how little mass your hand is managing at any given moment. It doesn't need a squeeze to move it. It needs a place to push from.
Put the bow back down on the table. Look at the thumb. That's where tomorrow starts.