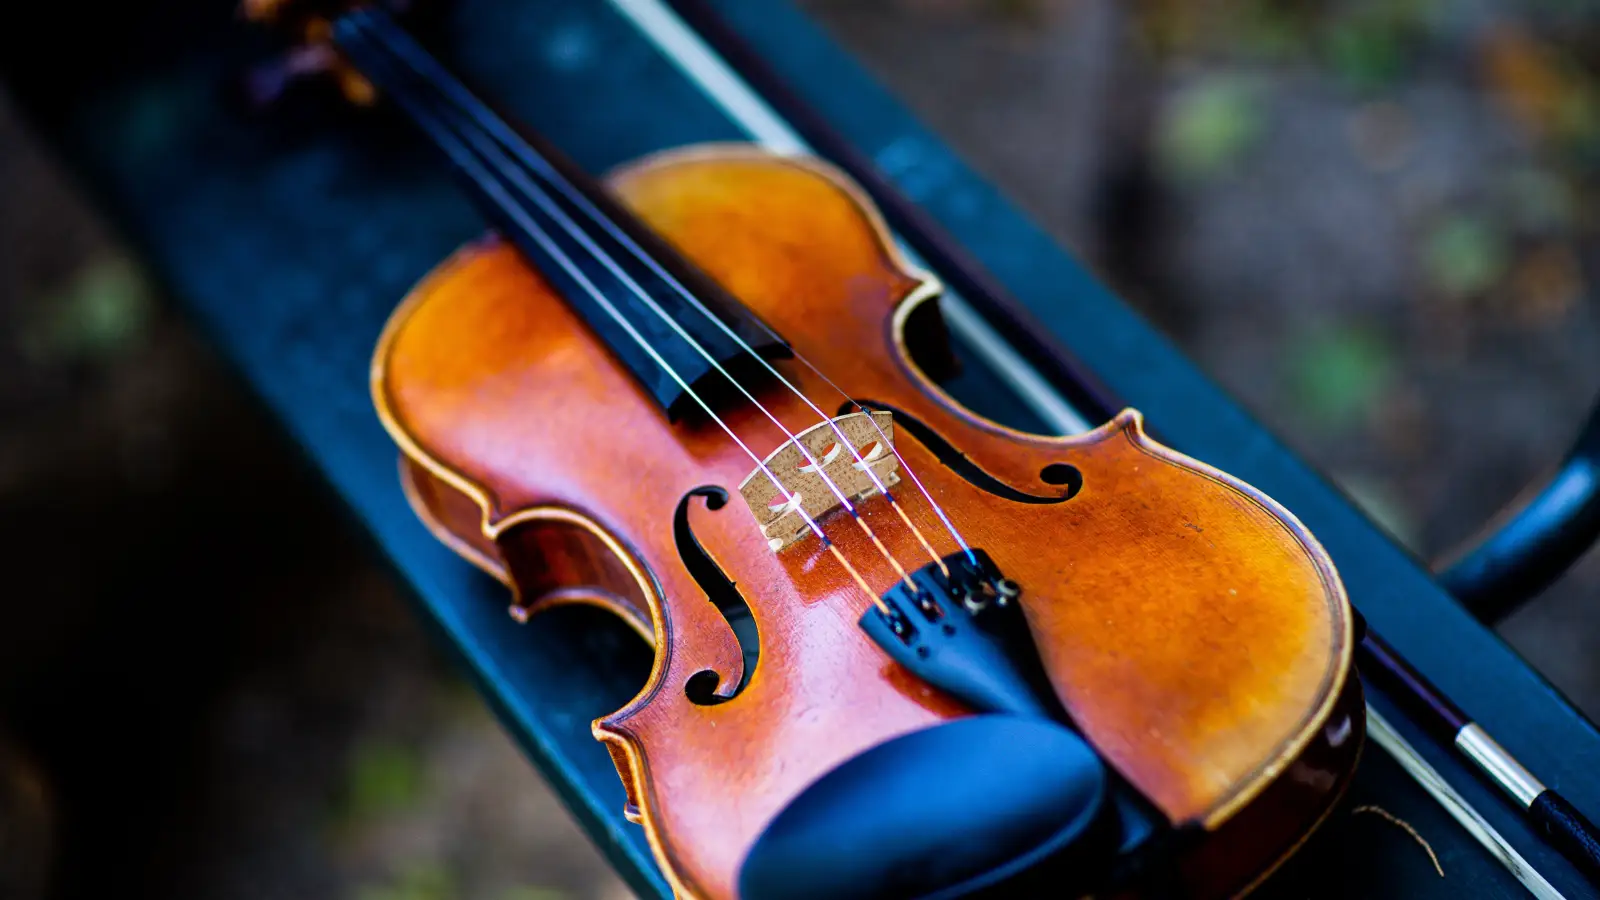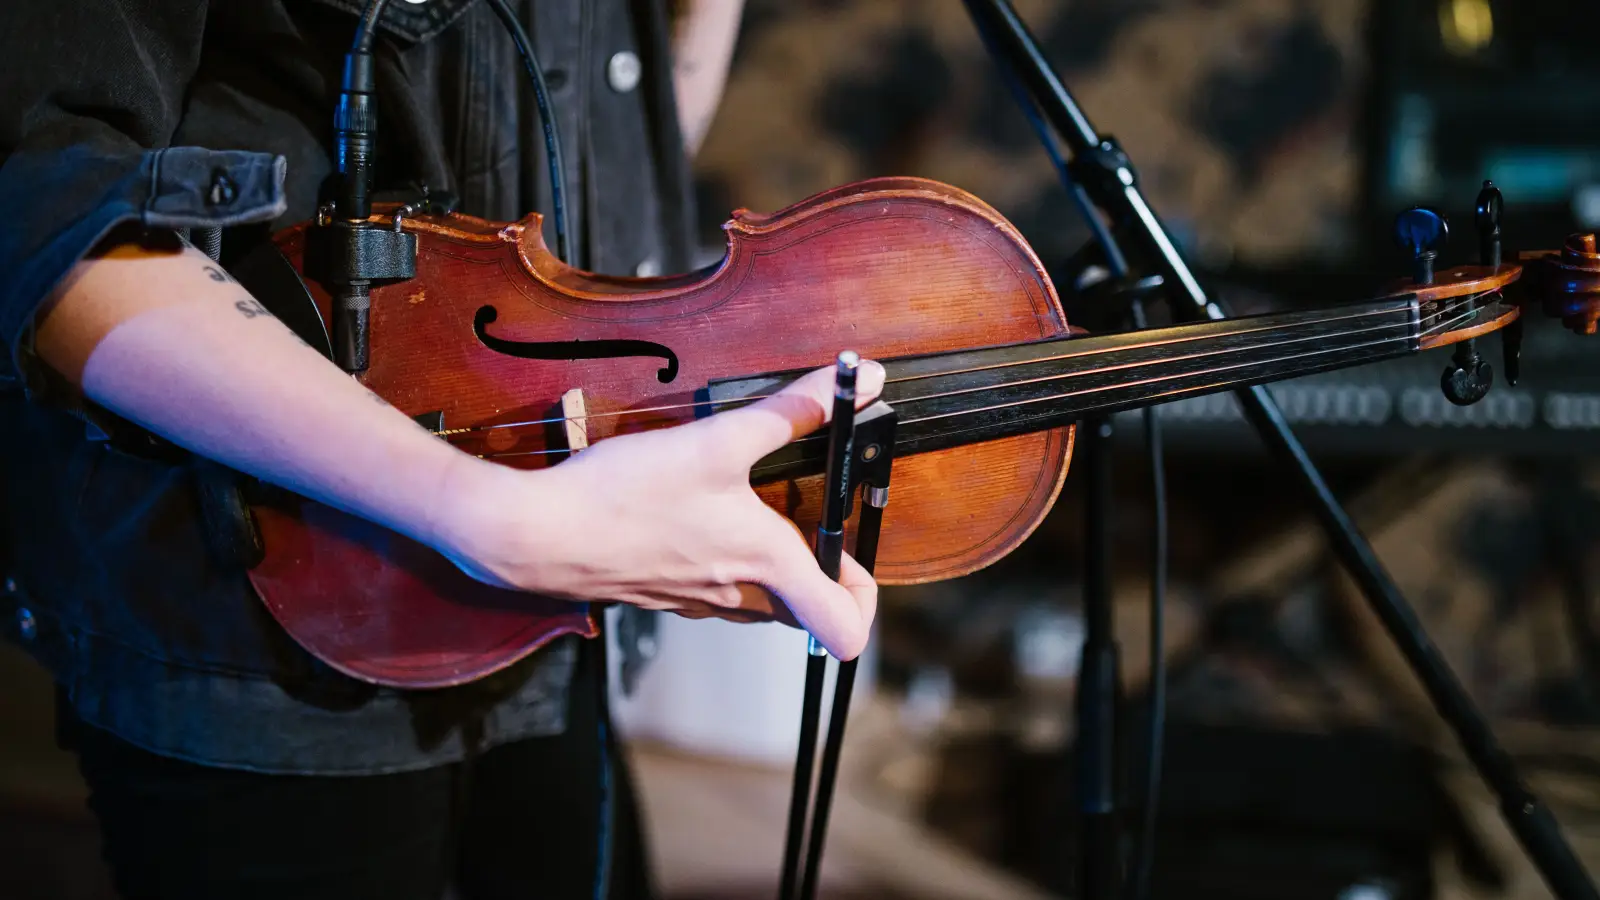
To rosin a bow correctly, tighten the bow, apply moderate pressure, and draw the rosin along the full length of the hair with 3 to 5 slow, even passes from frog to tip. The target is a thin, uniform dusting—enough to produce grip but not so much that the tone becomes scratchy and the hair turns chalky.
The rosin ritual is the step most beginners get wrong, not because it’s complicated, but because the reason behind it is rarely explained. A player who understands that rosin creates measurable friction between hair and string will stop guessing. Without that understanding, every session becomes a cycle of either too much rosin and a sticky, harsh sound, or too little and no sound at all. This article breaks the process down into checkpoints that violin teachers use to move students from silence to a clean, consistent tone.
Three Rosin Problems That Stop Beginners Before They Start
The Bow Makes No Sound Despite Rosining
The bow is tightened, rosin was applied, but the string remains silent or produces only a faint whistle. The cause is insufficient friction material on the hair. Start with the section on what rosin does, then follow the technique steps precisely.
The Bow Squeaks, Scratches, or Bounces on Every Stroke
A high-pitched squeal erases any chance of a pleasant note. This almost always comes from too much rosin or clumps of uneven deposition. Go straight to the testing and adjusting stage, then review the rosin-motion instructions.
The Tone Stays Thin No Matter How Frequently Rosin Is Used
Daily rosin application still yields an airy, weak sound. The fault may be old bow hair, but more often it’s a technique problem—quick, short strokes that never transfer enough powder to the ends of the hair. Check the bow hair condition section and then the step-by-step application guide.
How Rosin Actually Generates Friction—and Why This Must Be Understood First
Rosin is a solid pine resin. When the cake moves across the bow hair, microscopic scales on each strand catch and hold tiny resin particles. Those particles generate friction against the string, which sets it vibrating. Too little friction, and the string barely moves; too much, and the vibration is choked, producing a harsh, gritty sound.
This is the first checkpoint. A player who can state plainly, “Rosin provides the friction the hair needs to catch the string,” has a mental model that prevents over-application. Without that model, the instinct is to rub until the hair feels sticky, which is already too much.
Concrete action: Examine the bow hair before reaching for the rosin. Is it shiny? That signals a complete absence of rosin. Draw a fingertip lightly along the hair—smooth and silky means dry. You are ready to move on when you can articulate: “My bow hair currently lacks rosin. I will add exactly enough to produce a light, even coating. I’ll know I’m done when a faint white haze appears.”
Preparing a New Rosin Cake So It Releases Powder from the Very First Stroke
A fresh rosin cake often has a glassy, polished surface that repels bow hair. Pressing it against the hair yields almost no powder. The solution is to roughen the top layer.
Steps:
- Obtain fine sandpaper, 400 to 600 grit, or the rough side of an emery board.
- Rub the top of the rosin in small circles until the gloss turns matte and a light powder dusts the surface.
- Wipe away any loose particles with a dry cloth.
If no sandpaper is available, the back of a bow near the frog can scratch the surface sufficiently—many cellists use this method. Once prepped, the rosin is ready.
Readiness sign: The first stroke of the bow on the prepared rosin immediately leaves a visible line of white powder. The surface no longer looks like polished glass.
The Rosining Motion That Produces Even Coverage Every Time
Beginners typically rosin with quick, short motions restricted to the middle of the bow. That creates uneven deposits and grooves the rosin cake. The correct motion is a single long stroke from frog to tip and back, counted as one pass.
Technique:
- Tighten the bow to playing tension.
- Hold the rosin securely in the opposite hand.
- Place the bow hair at the frog against the rosin.
- Apply moderate pressure—just enough to compress the hair slightly.
- Draw the bow slowly and steadily to the tip, keeping pressure even.
- Without lifting off, reverse direction and return to the frog.
- Repeat for 3 to 5 full passes.
A critical mistake is lifting the bow off the rosin between strokes. That breaks contact and leads to uneven coverage. Maintain contact throughout.
Readiness sign: After 3 to 5 passes, the hair shows a uniform, faint white coating from frog to tip. No dark patches, no clumps. Run a finger gently over the hair—it should feel slightly grippy, not sticky.
Verifying the Rosin Amount: How to Know When to Stop and When to Add More
This stage moves from application to testing. Pick up the violin, tighten the bow, and play an open string with a smooth stroke.
Indicators:
- Clean, immediate tone: The string speaks instantly with clarity. This is the target.
- Silence or a wispy sound: The bow slides without gripping. Add one or two more passes.
- Harsh, gritty tone: The bow grabs too aggressively. Wipe the hair lightly with a dry, lint-free cloth to remove excess, or play open strings to wear it down.
A visible sign of over-rosining: fine white powder puffing from the strings while playing. The bow hair should never look caked.
Readiness sign: The bow catches the string cleanly on open A or D strings without slipping or squeaking. A full, resonant tone requires minimal bow pressure. The hair shows the lightest possible dusting—barely visible but physically present.
Maintaining the Right Rosin Level Between Sessions
Developing a habit of re-rosining every session without checking promotes buildup. Instead, assess need at the start of each practice.
Procedure:
- Draw the bow across the palm or wrist. No resistance and a slick feel mean rosin is needed.
- Play a few notes. If the tone thins, add 1 to 2 passes maximum.
- After playing, wipe the strings with a dry cloth. Do not wipe the bow hair unless over-rosined.
Under typical home conditions, many players find 2 to 4 passes every 4 to 6 hours of accumulated playing time sufficient. High humidity may require slightly more; very dry air, slightly less.
Readiness sign: You glance at the hair before practice, know instantly whether rosin is needed, and the first notes you play confirm that judgment. You never rosin “just to be safe.”
Readiness Signs Recap: The Checkpoints in Order
- You can explain why rosin is necessary and what excess or deficiency sounds like.
- A new rosin cake is prepped and leaves powder on the first contact.
- After 3–5 passes, the hair displays a uniform light haze, not clumps.
- Open strings produce a clean, immediate tone with no slipping or scratching.
- Rosin need is determined by feel and sound before each session, never by a fixed schedule.
Deferred Concerns: Three Rosin Worries to Set Aside for Now
“Will rosin dust ruin my violin’s finish?”
Rosin dust accumulates gradually and can dull varnish over time. As a beginner, focus first on forming the wipe-down habit: after every session, clean the strings and the body under the strings with a dry cloth. Once this habit is automatic, dust poses no threat. Professional cleaning can address significant buildup after several months if necessary.
“Do I need different rosin for summer and winter?”
Seasonal rosin swaps exist because humidity affects grip. But for a beginner, variation in bowing technique overshadows any rosin difference. Use one standard light or medium rosin year-round. Revisit when you have played consistently for a year and can produce a steady, even tone across strings.
“Is dark or light rosin better?”
Dark rosin is softer and stickier, often chosen by lower strings or for a warm sound; light rosin is harder and leaves less residue. For the first year or two, any reputable violin rosin will work. The trigger to experiment is when you have developed a stable bow hold, a consistent contact point, and can clearly hear tonal differences in your own playing.
Frequently Asked Questions
How often should I rosin my bow?
No set number of days applies. Rosin when the hair loses grip—typically after every 4 to 6 hours of playing, which might mean every second or third practice session. Feel and sound determine need.
Can too much rosin harm my bow?
Too much rosin does not damage the stick, but it clogs the hair, produces a harsh tone, and showers the instrument with dust. Long-term, excess rosin can shorten the time between rehairs. Wiping strings after every session prevents most issues.
Why won’t my new bow make any sound even with rosin?
New bow hair is clean and untreated; new rosin is often too glossy to transfer powder. Roughen the rosin and apply 5 to 10 initial passes to build a base layer. If after a dozen passes there is still no sound, the hair may need more aggressive scoring or, rarely, be of insufficient quality.
How do I clean rosin off my strings?
After playing, use a dry microfiber cloth to pinch each string individually and wipe from bridge to fingerboard. For stubborn buildup, a cork or dry string cleaner can be used, but avoid liquids that can reach the fingerboard or bow hair.
Should I rosin my bow before every practice?
No. Rosining out of habit leads to over-application. Test the hair first: if it grips your palm lightly and produces a clear tone, skip the rosin. Apply only when the sound thins or the bow begins to slip.
When the Rosin Ritual Becomes Background Noise
You have arrived when you can look at your bow hair, make a quick judgment about rosin, and have the first few notes confirm it. For the player whose bow currently produces silence, begin with the section on what rosin actually does, then apply 3 to 5 slow passes exactly as described.