A violin teacher introduces the instrument from the top down: scroll first, then the pegbox and its pegs, the fingerboard, the bridge between the f-holes, and finally the tailpiece, chinrest, and endpin at the bottom. Each piece gets a name, a clear job, and a place in the order that makes physical sense to a beginner holding the instrument for the first time.
Where You're Starting From — and What That Means for Your Tour
You've just rented, borrowed, or bought a violin and need to know the parts before your first lesson. Your route is a straight inventory from scroll to endpin, with each name linked to one concrete function.
You're a parent helping a child recall what the teacher pointed out. Use this article as a reference that mirrors the sequence a teacher would follow — no skipping around, no extra jargon.
You're an adult beginner who wants a systematic mental map before you even tighten a bow. You'll finish with a clear understanding of what every part does, not just what it's called.
The Head of the Violin: Scroll, Pegbox, and Tuning Pegs
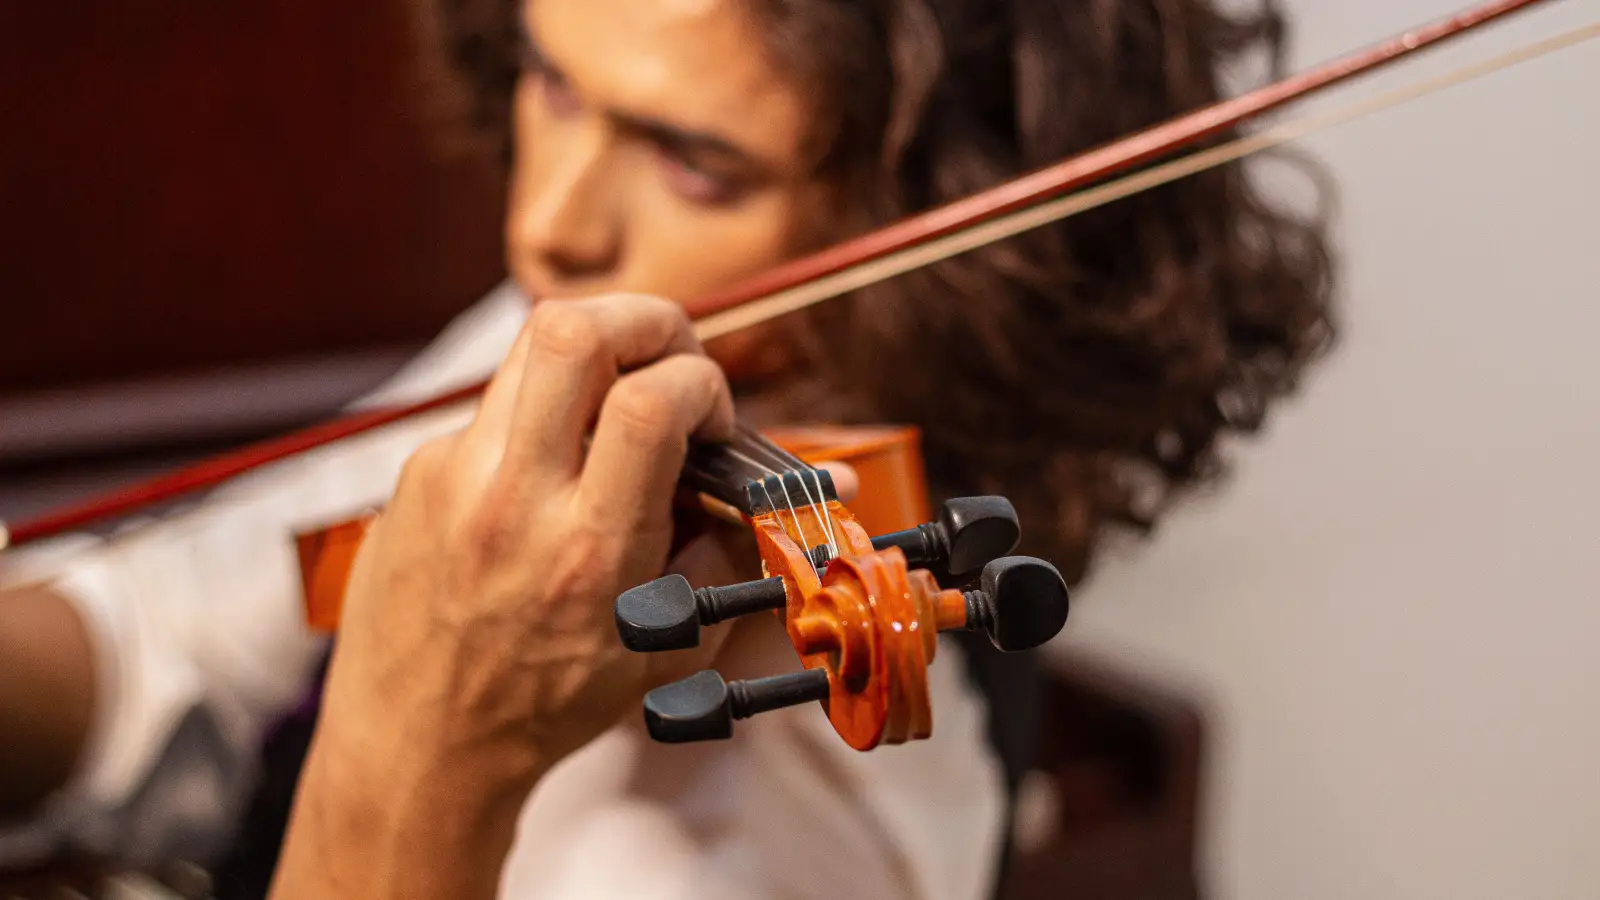
A teacher will begin by pointing to the very top and naming it the scroll. It's the carved curl of wood. Its only job is to act as a counterbalance to the neck, making the violin feel less head-heavy. The shape is traditional, not functional for sound, and a beginner needs to know that the scroll isn't something you tune or adjust — it's just the upper landmark.
Below the scroll sits the pegbox, a hollow channel that holds four tuning pegs. Each string feeds through a peg, over the nut, and down the fingerboard. The pegs work by friction: wood pressed into wood. A teacher will stress that you never force a peg. If it slips, you push it gently inward while turning; if it's still slipping after that, the fit needs professional attention, not more force.
The nut is a small ebony bar at the point where the pegbox meets the neck. It has four tiny grooves that set the spacing and height of the strings at that end. In early lessons, you'll hear mentions of the nut mainly when a string buzzes or pops out of its slot — that signals a groove issue that a teacher or luthier corrects.
When you're ready to move on: You can point to the scroll, pegbox, pegs, and nut, and say without hesitation that the pegs control string tension and the nut keeps the strings evenly spaced.
The Neck and Fingerboard: Where You'll Stop the Strings
The neck is the long maple shaft between the pegbox and the body. It supports the fingerboard, which is a strip of ebony glued to its top surface. A teacher will clarify early that your fingers press the strings down onto the fingerboard — not onto the neck itself. The neck is a handle and a support rail; the fingerboard is the actual playing surface.
There are no frets. Beginners hear that often, and it's worth repeating: the violin relies entirely on finger placement by ear and muscle memory. Many teachers apply thin temporary tapes to the fingerboard as visual guides, but the fingerboard itself is smooth. The important distinction is that the left hand wraps around the neck while the fingertips stop the strings on the ebony surface above it.
Strings run from the nut, over the fingerboard, across the bridge, and down to the tailpiece. The four strings are, from lowest pitch to highest: G (thickest), D, A, E (thinnest). In a first lesson, the teacher simply names them and has the student say them back. Pitch and tuning come later.
When you're ready to move on: You can separate the neck from the fingerboard in a description, explain that stopping a string means pressing it against the fingerboard (not the neck), and list the open strings in the correct order.
The Body: Soundbox, F-Holes, and Bridge
The body is the hollow wooden chamber — spruce top, maple back and ribs. Inside are the soundpost and bass bar, but those are invisible and introduced only in principle. A teacher starts with the outside features.
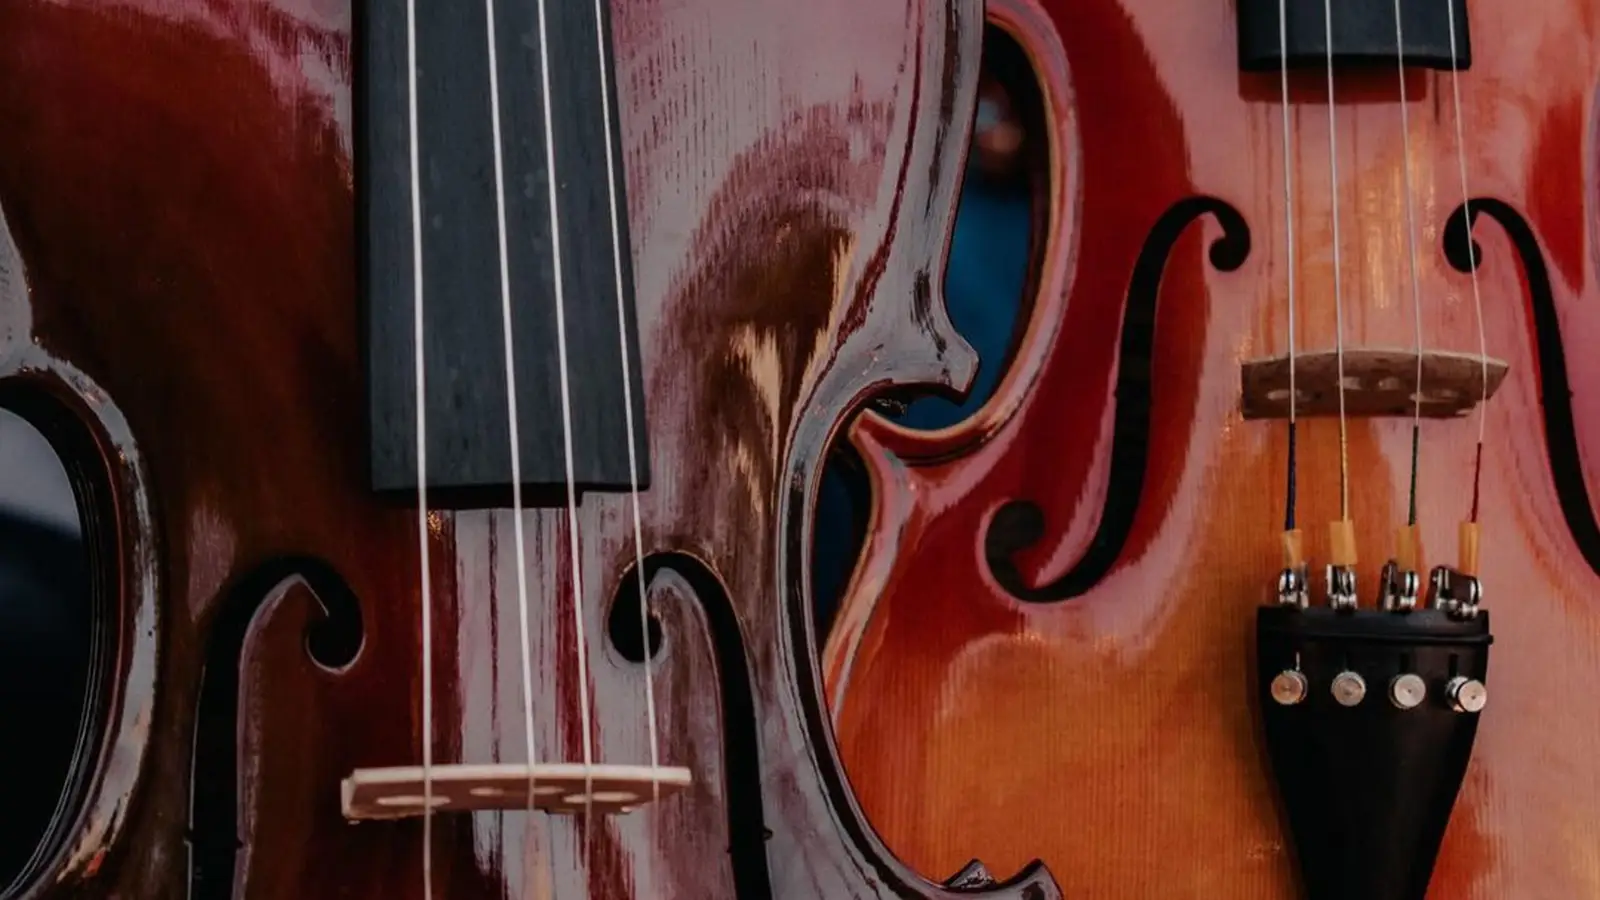
The f-holes are the two F-shaped cutouts in the top plate. They release the sound from inside the box and allow the top to vibrate more freely by reducing stiffness. Think of them as exits for the air pressure that strings and bridge create inside the instrument.
The bridge sits centered between the f-holes, held in place only by string tension. It is a precisely shaped maple piece with small notches for each string. Its function is to transfer string vibration down into the top plate, and from there into the body. A teacher will tell you that the bridge must stand straight — feet flat against the belly — and that a warped or leaning bridge can snap. A beginner learns to check that the bridge is upright but never to adjust it without instruction.
Purfling is the thin triple-stripe inlay that runs around the edges of the top and back. It's partly decorative, partly a reinforcement that can stop small cracks from spreading. Teachers mention it in passing, often pointing out the little black-white-black line as a detail of craftsmanship.
Inside, the soundpost is a small spruce dowel wedged vertically under the treble foot of the bridge (the side near the E string). It connects the top and back plates and channels vibration. Its exact placement is critical — a fraction of a millimeter changes the tone — but this is luthier work. For a beginner, the key fact is simple: it exists, and if it falls, the violin goes to a professional.
When you're ready to move on: You can identify the f-holes, bridge, and purfling; you can state that the bridge transmits vibration and the f-holes let it out; and you know not to touch the soundpost or adjust the bridge on your own.
The Tailpiece, Chinrest, and Endpin: Anchoring and Support
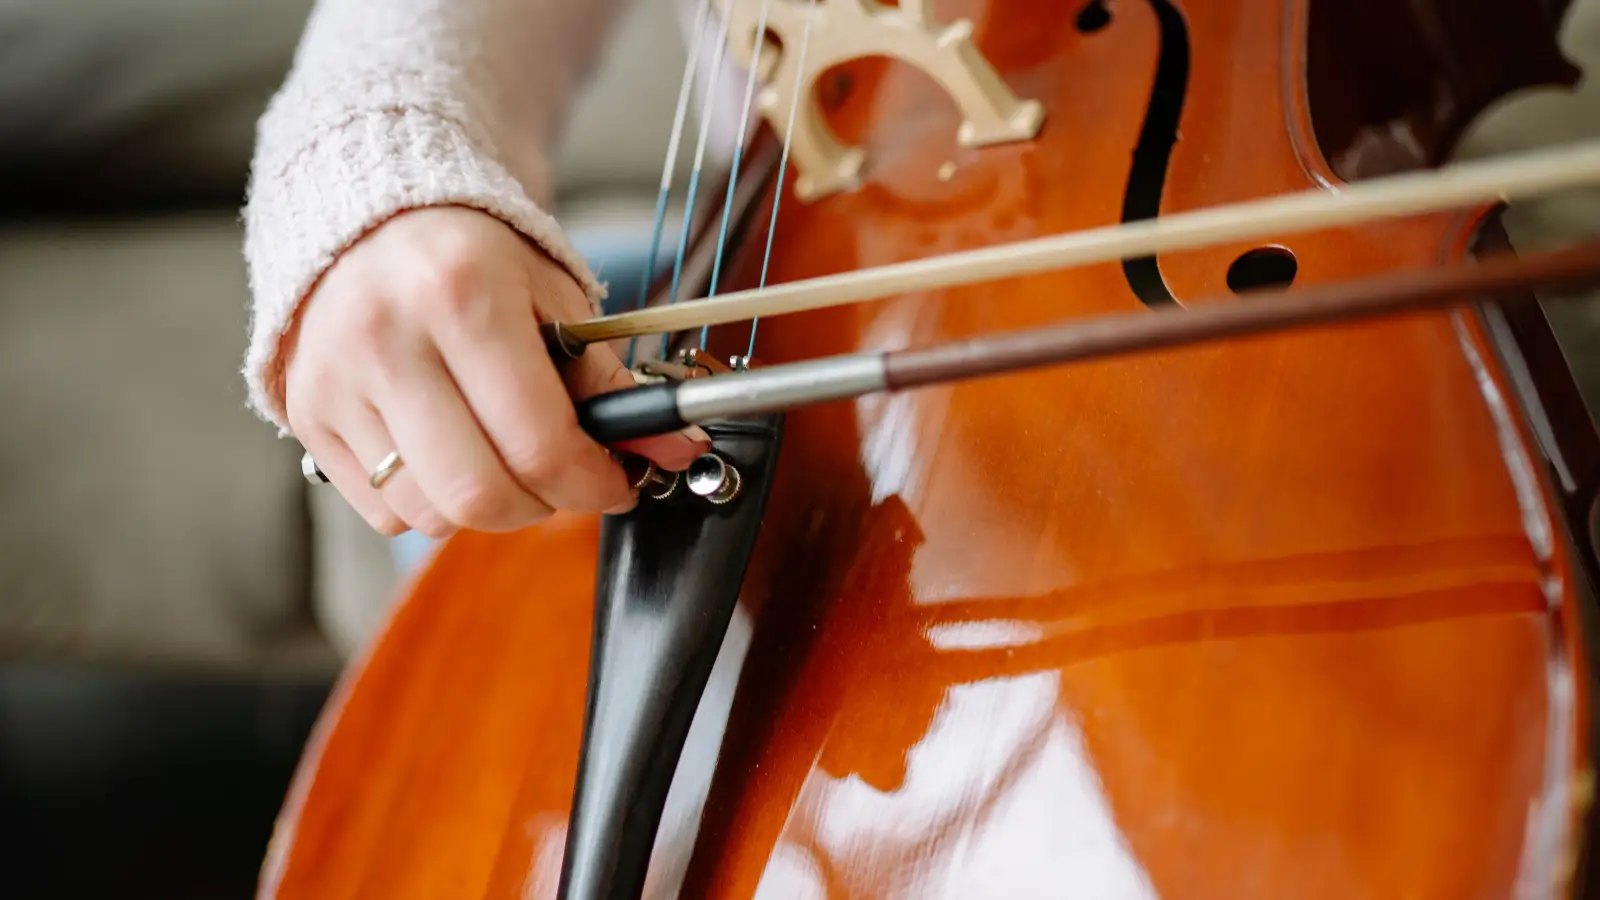
At the lower end, the strings attach to the tailpiece. This is a shaped piece, commonly ebony, with slots for fine tuners. On fractional-sized student violins, all four strings usually have fine tuners; on full-size instruments, sometimes only the E string has one. A teacher will explain that fine tuners are the small metal screws at the tailpiece that adjust pitch in tiny increments. As a beginner, nearly all your tuning will use these, not the pegs.
The tailpiece itself is held in place by a loop of nylon or wire (the tailgut) that hooks around the endpin — a small rounded button inserted into the bottom rib. Standard violins have a fixed endpin; very young beginners may have an endpin that extends for size adjustment. Either way, a teacher will point it out and say, "That's the endpin, the tailgut goes around it, and you never pull on it or twist it."
The chinrest clamps to the violin over and around the tailpiece, usually on the left side. Its name is misleading: the jaw rests on it, not the chin. A teacher will help position it so the instrument sits on the collarbone, with the chinrest as a shelf for the left jawbone. The instruction is often, "Let your jaw relax onto the chinrest — don't press down hard."
When you're ready to move on: You can name the tailpiece, fine tuners, endpin, and chinrest; you know that fine tuners handle routine tuning for a beginner; and you can correct someone who says "chinrest" literally without understanding it's for the jaw.
The Full Picture: Signs You're Ready to Move Past Just Naming Parts
- You point to the scroll, pegbox, pegs, and nut and say that pegs control string tension and the nut spaces the strings.
- You correctly distinguish the neck from the fingerboard and name the strings G, D, A, E from low to high.
- You identify the f-holes, bridge, and purfling, and you describe the bridge's role in vibration transfer and the f-holes' role in releasing sound.
- You name the tailpiece, fine tuners, endpin, and chinrest, and you explain that the chinrest supports the jaw and fine tuners are your go-to for early tuning adjustments.
What to Ignore for Now
The soundpost's exact position and its effect on tone. This matters only for luthiers and advanced players. For now, know it exists and that it must not be knocked out of place. Trigger: When you can consistently produce an even, resonant tone and are ready to discuss instrument upgrades with a teacher.
Specific bridge brands or aftermarket blanks. The bridge your violin came with, set properly by a teacher or shop, is what you need. Trigger: When the bridge warps, cracks, or you're getting a new instrument and a luthier offers options.
Removing fine tuners to lighten the tailpiece. Leave all four fine tuners on. They make learning to tune fast and safe. Trigger: After you've been playing for a year or more and your teacher recommends it for a specific tonal reason.
Peg compound recipes and do-it-yourself peg fitting. If pegs slip or bind, let a teacher or luthier fix it. Household fixes often damage the wood. Trigger: When you own your instrument and need to maintain the pegs between shop visits with proper peg paste.
String-core types (gut, synthetic, steel) and their tonal qualities. Your teacher will provide the best string set for a beginner. Personal preference develops much later. Trigger: When you can hear and articulate the difference after trying multiple sets over months.
Questions That Come Up Right After You Learn the Parts
Why is the scroll shaped like that?
The spiral scroll is a historical design from the Cremonese makers. Its structural role is a counterweight, balancing the neck. The carved shape is now purely traditional and does not affect sound.
What exactly do the f-holes do?
They let sound waves escape from the interior air chamber and allow the top plate to vibrate more freely. Without them, the violin would sound dampened, as if you were playing inside a closed box.
Do I actually need all four fine tuners?
As a beginner, yes. They give you precise, safe pitch adjustments without wrestling with friction pegs. Most full-size violins eventually reduce to an E-string fine tuner only, but that switch comes after you're comfortable tuning strings with pegs alone.
If my pegs keep slipping, should I push them in harder?
Never force a peg into the pegbox. Apply gentle inward pressure while turning. If that fails, the peg needs a slight adjustment or a touch of proper peg compound — both are jobs for a teacher or luthier. A hard shove risks splitting the wood.
What Comes Next
When you can name every part from scroll to endpin and describe its basic job, you've built the foundation that lets a teacher move on to posture and bowing without pausing to name the instrument again. The first concrete action is to hold your violin carefully and point to each part while saying its name and function aloud — exactly as you would in the opening minutes of a lesson.