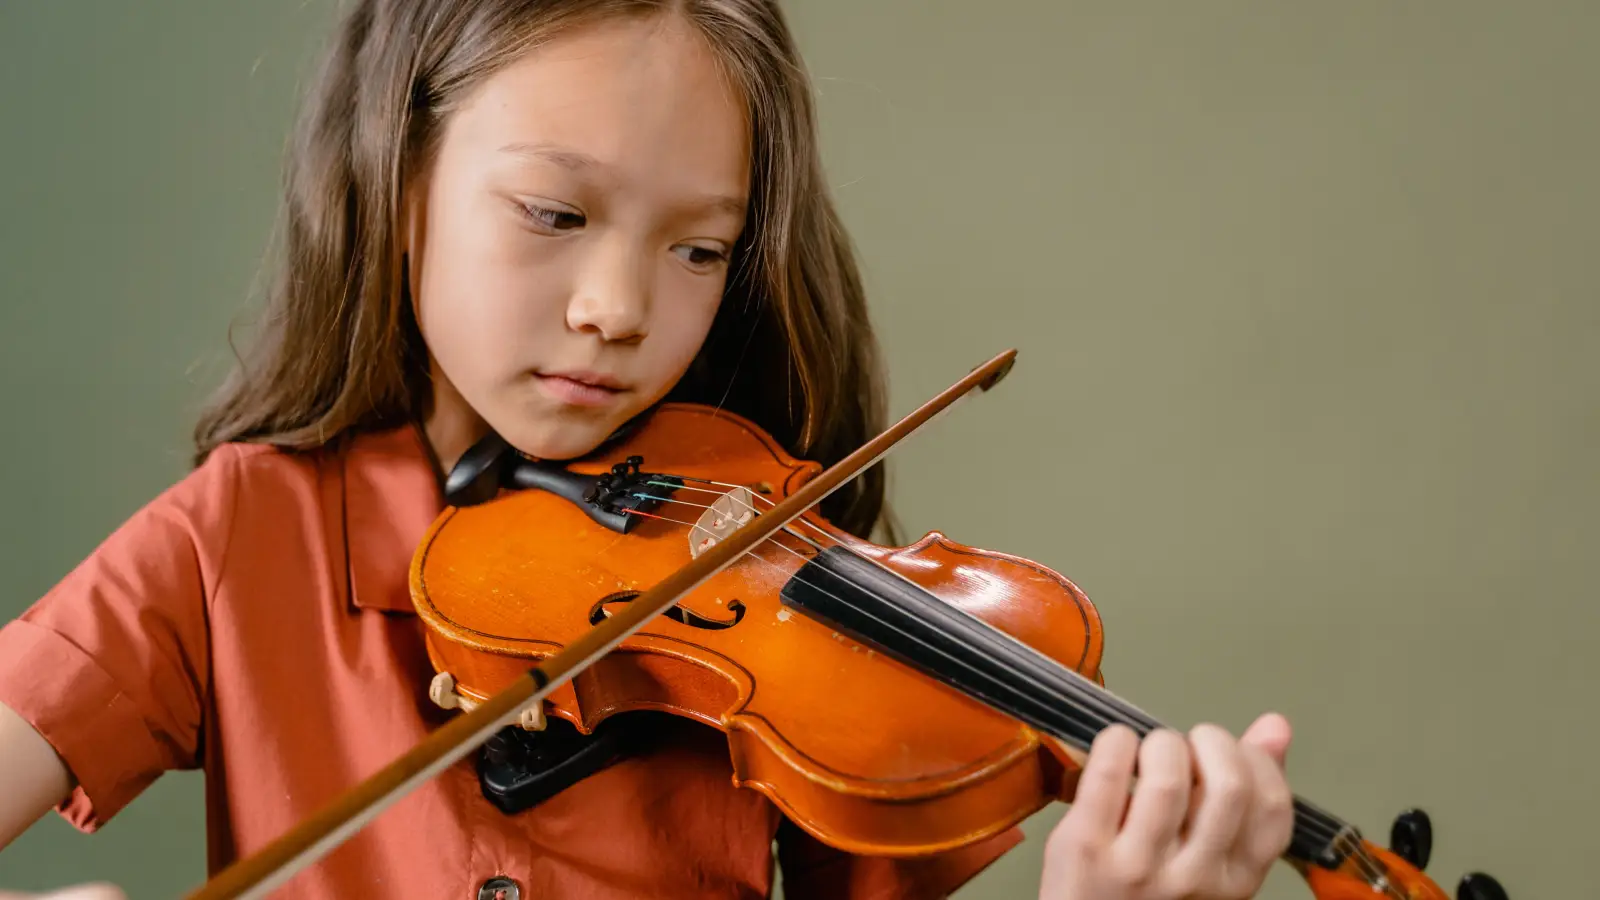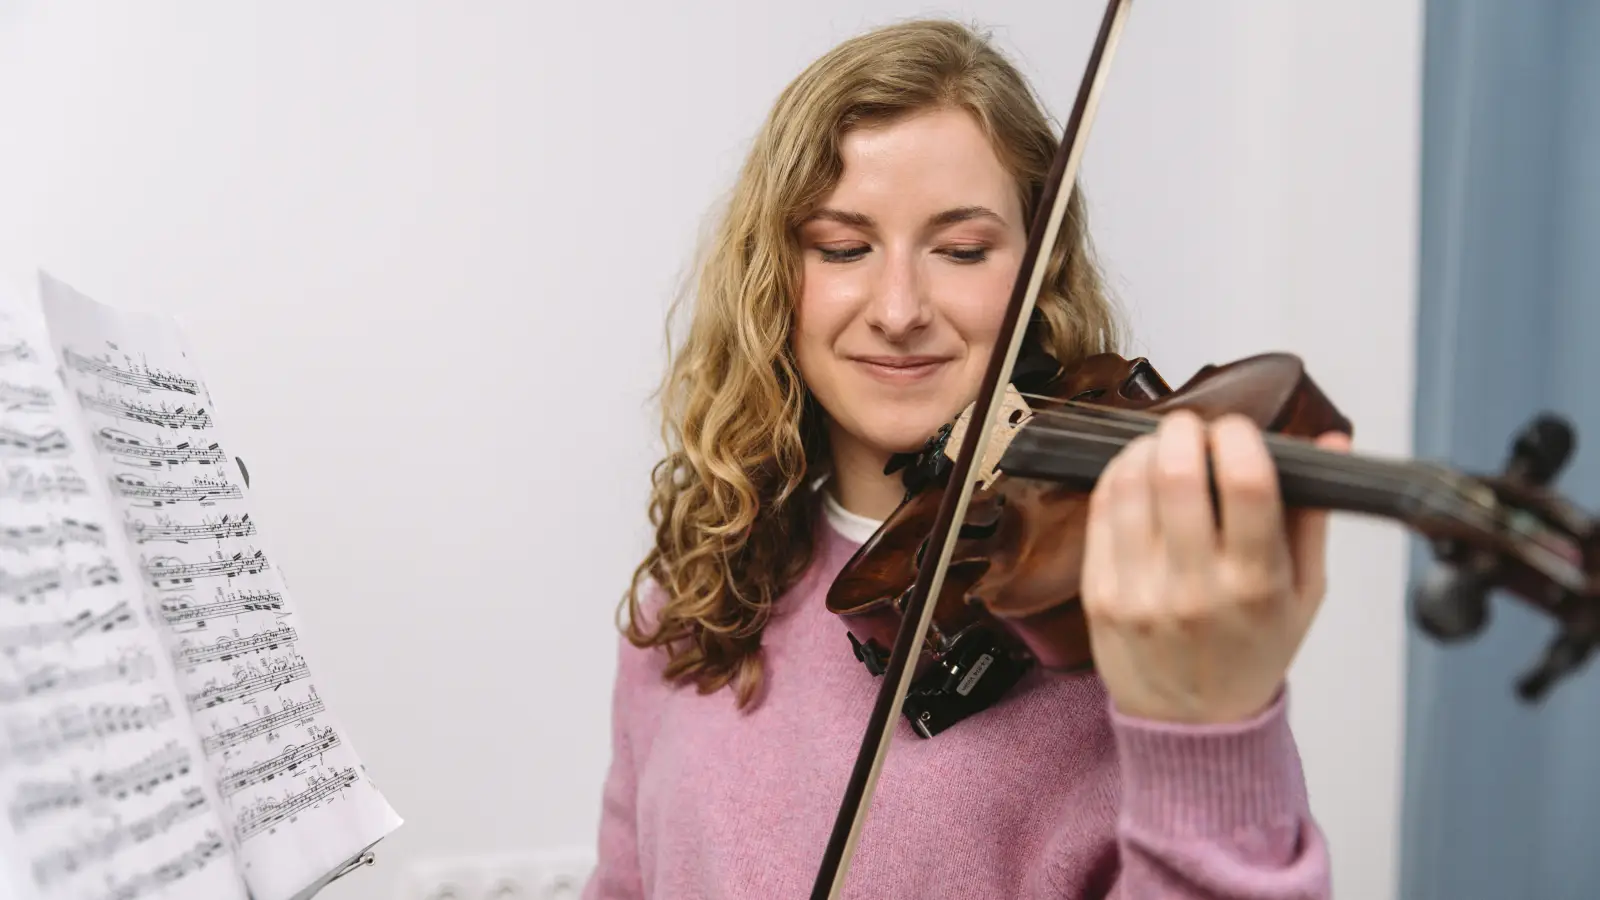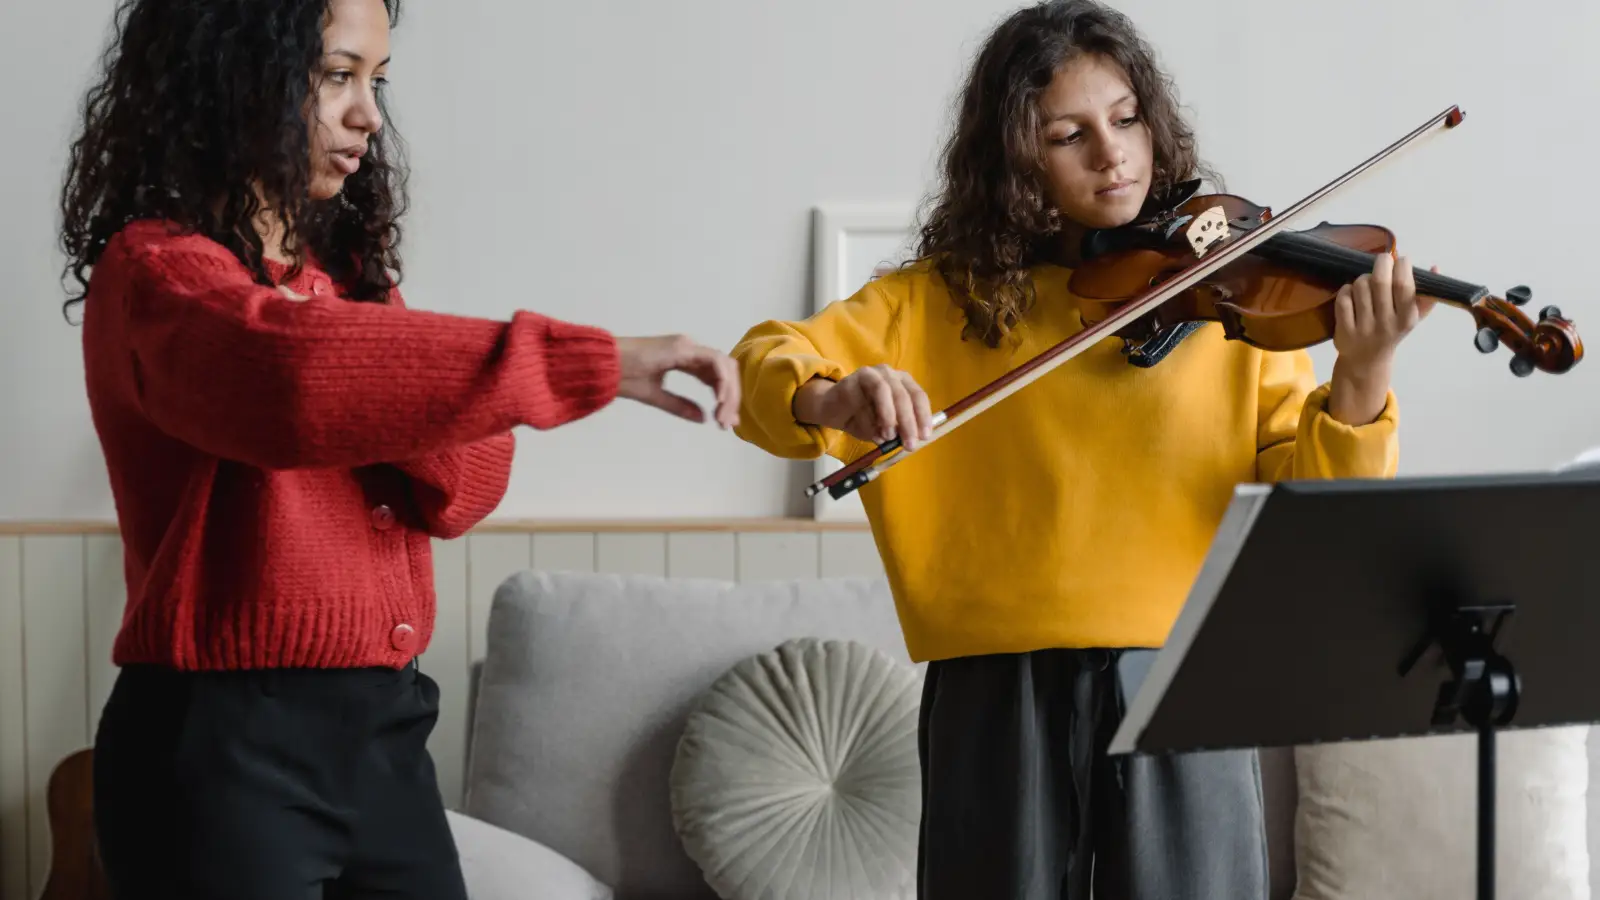
Starting violin without a plan often leaves you wondering whether you actually improved — because the time slipped away in aimless playing that sounded busy but didn’t build any skill. The routine that follows breaks that cycle. It uses a bridge‑absorb‑execute‑reflect sequence to give every minute a clear job, with built‑in rest and a reward play period so you stay fresh and connected to why you started.
What you hold below is a 30‑minute practice template for your first month, mapped minute by minute. It won’t ask you to drill tirelessly; it will ask you to listen, rest, play freely, and write down what you noticed. All you need is a tuned violin, a bow, a timer, and the willingness to pay attention.
What You’ll Need Before the First 30‑Minute Session
- A playable violin that stays in tune, with rosined bow and shoulder rest fitted to your body.
- A tuner (clip‑on or phone app) and a timer set to 30 minutes.
- A small notebook or notes app to log a single reflection after each session.
- A quiet room where you can hear yourself without distractions.
- Optional: a metronome set to 60–80 bpm for the execute phase.
The 30‑Minute Bridge‑Absorb‑Execute‑Reflect Template
Minute 0–2: Tuning and Physical Setup — Grounding Before the First Note (The Bridge)
Begin by tuning with the tuner, then check your shoulder rest, bow grip, and left‑hand frame. Place the bow on the string and notice whether your right wrist and elbow move freely. Feel your feet against the floor — a stable base keeps your upper body from tightening later.
Why this matters: This bridge phase isn’t a chore; it’s a deliberate transition from scattered thinking into focused practice. Rushing straight into playing without first anchoring your body locks in tension that will ghost every note.
What to watch for: Shoulders that crawl upward and a bow hand that clenches. If either appears, take one slow breath and release the tension before you draw a single sound.
Minute 2–5: Active Listening — Absorb the Sound You Want to Create
Before bowing, play a single open string — the A string works well — and listen to its ring for 10 seconds. Hum or mentally sing that pitch, then play it again. Repeat on the D string. In the final minute, listen to a short recording of a simple beginner tune you’ll learn this week.
Why this matters: A clear sound reference trains your ear to catch intonation and tone drift before they harden into habits. Beginners who skip this phase often practice mistakes because they haven’t yet built a mental model of what “right” sounds like.
What to watch for: Frustration if your humming doesn’t match the tuner. Trust the tuner for now; your ear will refine itself over time.
Minute 5–8: Open‑String Bowing — First Contact (Execute, Part 1)
With the timer counting from 5:00 to 8:00, bow long, slow strokes on each open string, aiming for an even tone. Divide the bow visually into lower and upper halves. Keep your eyes on the contact point between bow hair and string, not on your fingers.
Why this matters: Open‑string work isolates the bow arm, removing the left hand’s complexity. It’s the most direct path to a consistent, ringing tone.
What to watch for: A scratchy or choked sound — a sign of too much pressure or a crooked bow path. Lighten the contact and watch the bow stay parallel to the bridge.
Minute 8–18: Focused Skill — One Technical Task, Broken Down (Execute, Part 2)
Choose exactly one skill for these ten minutes. For a first‑month player, good options include placing first‑finger notes with a relaxed hand, coordinating left‑hand fingers in simple patterns, or bowing string crossings between A and D. Set a metronome to about 60 bpm and work slowly.
- Minutes 8–12: Drill the skill in isolation. Notice any squeezing in the left thumb or tension in the neck.
- Minutes 12–15: Connect the skill into a two‑ or three‑note pattern, still with the metronome.
- Minutes 15–18: Try the pattern against a drone note (open D while fingering on A) to check intonation.
Why this matters: Deep, narrow focus builds muscle memory far better than juggling three different exercises. The timer is your ally — when it reaches 18 minutes, you stop, even if the skill isn’t polished. That restraint prevents burnout and teaches the mind that practice is a process, not a performance.
What to watch for: The compulsion to replay every tiny error until it’s “fixed.” Jot it down instead; you’ll return to it tomorrow with fresher ears.
Minute 18–22: Reset — Let the Body and Mind Recover
Step away from the violin. Shake out your hands, roll your shoulders, walk across the room, drink water. Do not pick up the instrument or scroll your phone. This break is an active part of the practice, not a gap in it.
Why this matters: Short, deliberate rest helps your nervous system consolidate what you just learned. It also prevents the kind of physical fatigue that degrades posture — a critical point for adult beginners whose muscles haven’t yet adapted to holding the instrument.
What to watch for: The inner voice that calls a rest “lazy.” The reward period that follows will feel lighter and sound better after a real reset.
Minute 22–27: Musical Play — Reward and Freedom
Now play something simply for enjoyment. It could be a melody you already know, a free improvisation on open strings, or a repeat of your best moment from the execute phase — played with feeling, not analysis. Turn the metronome off. The only rule: no self‑criticism.
Why this matters: This block restores the emotional reason you picked up the violin. Without it, practice turns into an endless string of drills, and that’s a fast road to quitting.
What to watch for: Slipping back into technical judging. If you catch yourself dissecting every note, pause, breathe, and let the music sit as it is.
Minute 27–30: Reflect and Log Your Key Insight (Reflect)
Set the violin down. In your notebook, write one sentence about what felt right and one concrete thing to focus on next session. For example: “Open D tone held steady; tomorrow I’ll keep my left elbow from collapsing when I place the first finger.” Finish with one gentle stretch — roll your neck, open your chest — and close the session.
Why this matters: Reflection stitches today’s effort into a continuous learning loop. Writing the insight down makes it stick, and it gives your next session a clear, kind starting point.
What to watch for: Vague notes like “practice more.” Tie the reflection to a specific sensation or sound.
Common Mistakes and How to Sidestep Them
Using the Timer to Rush Instead of to Stay Grounded
A countdown timer can trigger a sense of urgency that makes you speed through listening or rest. Treat each block’s purpose as the priority — the minute marks are boundaries, not a race.
Drifting Into Noodling During the Execute Phase
When a drill gets uncomfortable, the instinct to play something random is powerful. Keep the metronome running and return your attention to the assigned pattern. If your mind wanders, pause for a few seconds and refocus — that’s still practice.
Playing Beyond Fatigue Instead of Taking the Reset
Skipping the 18–22 minute break to squeeze in more reps usually backfires: technique crumbles, posture slumps, and the bad habits you form in fatigue outlast the repetition. Trust that the rest is producing progress.
Neglecting Posture Checks After the First Few Minutes
Good posture isn’t a one‑and‑done setup. Use the start of each phase — especially the bridge and reset — to scan your body for creeping tension and correct it before it hardens.
Frequently Asked Questions
Can I use a digital tuner instead of tuning by ear during the setup phase?
Yes, and for the first month you should. A clip‑on tuner or app gives dependable feedback while your ear is still forming. As your intonation sense sharpens, you can gradually shift to tuning by ear in later months.
What if I don’t have a full 30 minutes — can I shorten the plan?
The sequence can be compressed proportionally: 1‑minute bridge, 1‑minute absorb, 2‑minute open strings, 6‑minute execute, 2‑minute rest, 3‑minute play, 2‑minute reflect. The order matters more than the exact minutes.
Is it okay to skip the listening phase once I’ve done it a few times?
Skipping it removes the ear‑training feedback loop. Even advanced players use listening exercises as warm‑ups. Keep the 3‑minute absorb period, but later you can replace the recording with longer bowing of reference pitches.
How do I know when to move from open strings to fingered notes?
When you can pull a steady, clear tone on open strings without scratching or wobbling for 10 slow bows in a row, you’re ready to add a single finger. Let that sound be the signal, not a date on the calendar.
After Your First Month: Where to Go Next
You’ve replaced scattered noodling with a practice loop that teaches listening, focus, rest, and reflection. The next step is to gradually grow the execute block — add two more minutes each week until you reach 20 minutes of focused skill work. From there, consider adding a second 30‑minute session later in the day, or start playing simple duets with a friend or a play‑along recording to deepen your musical listening.