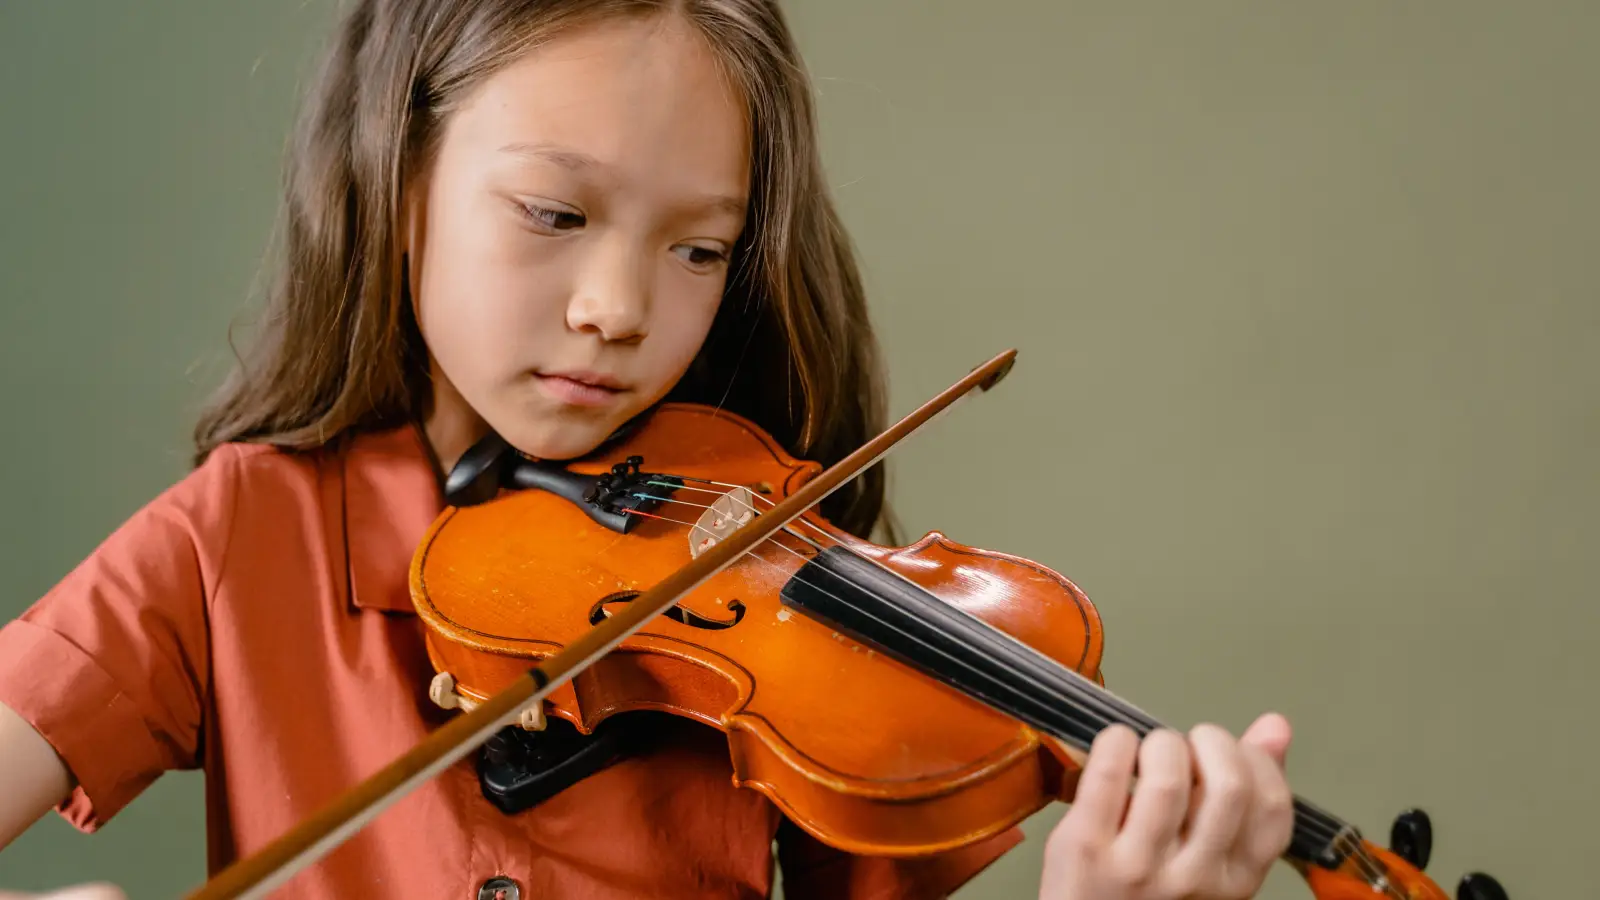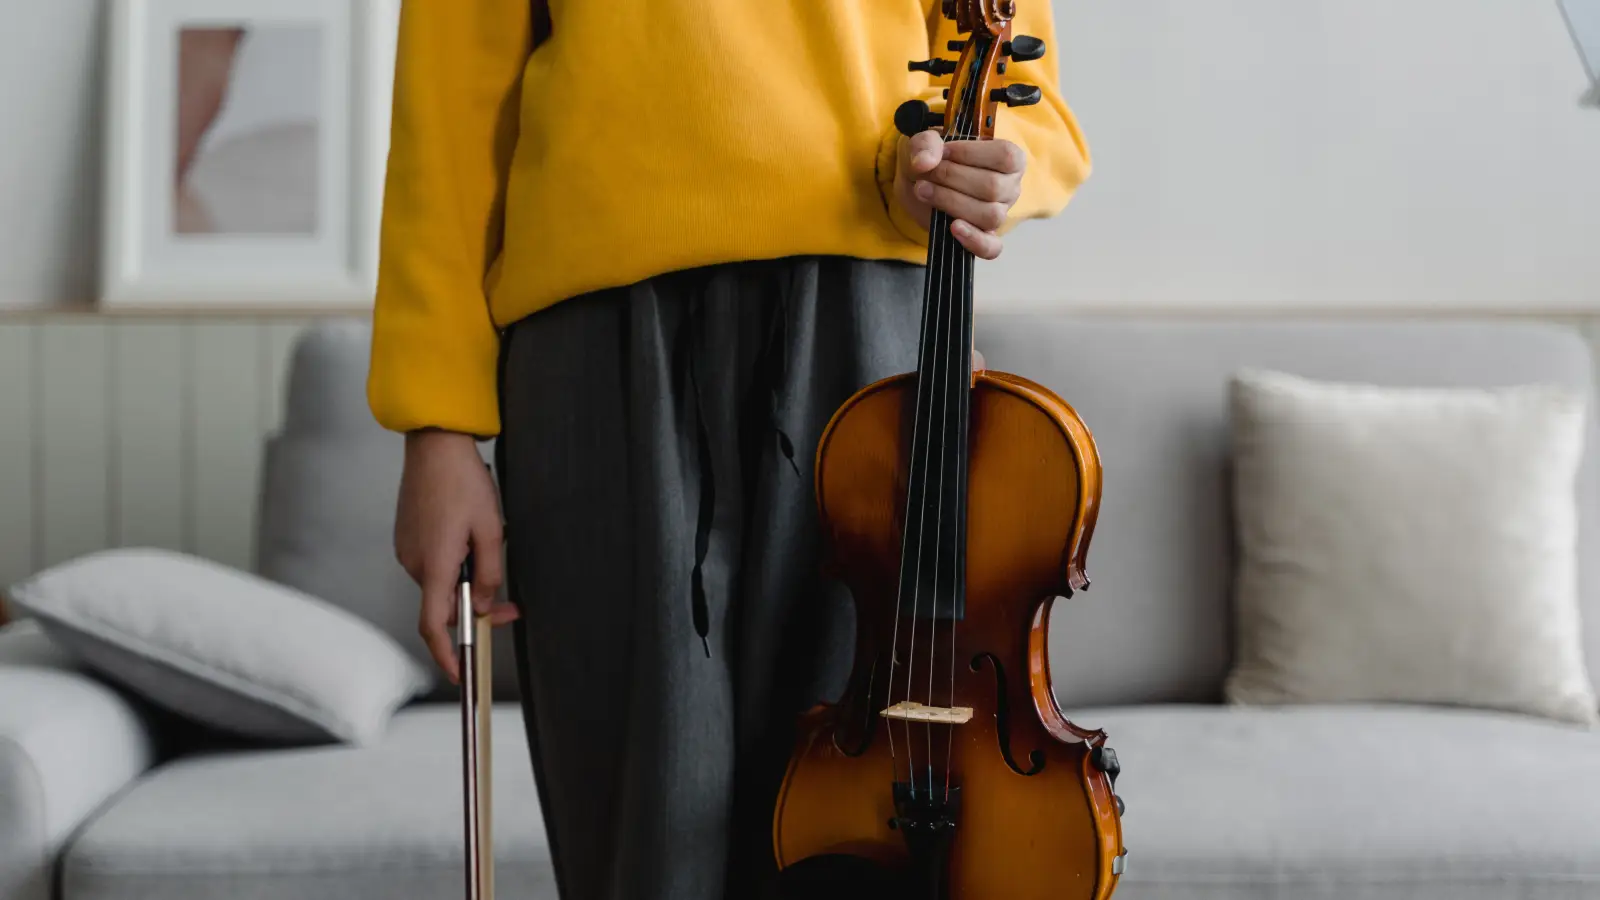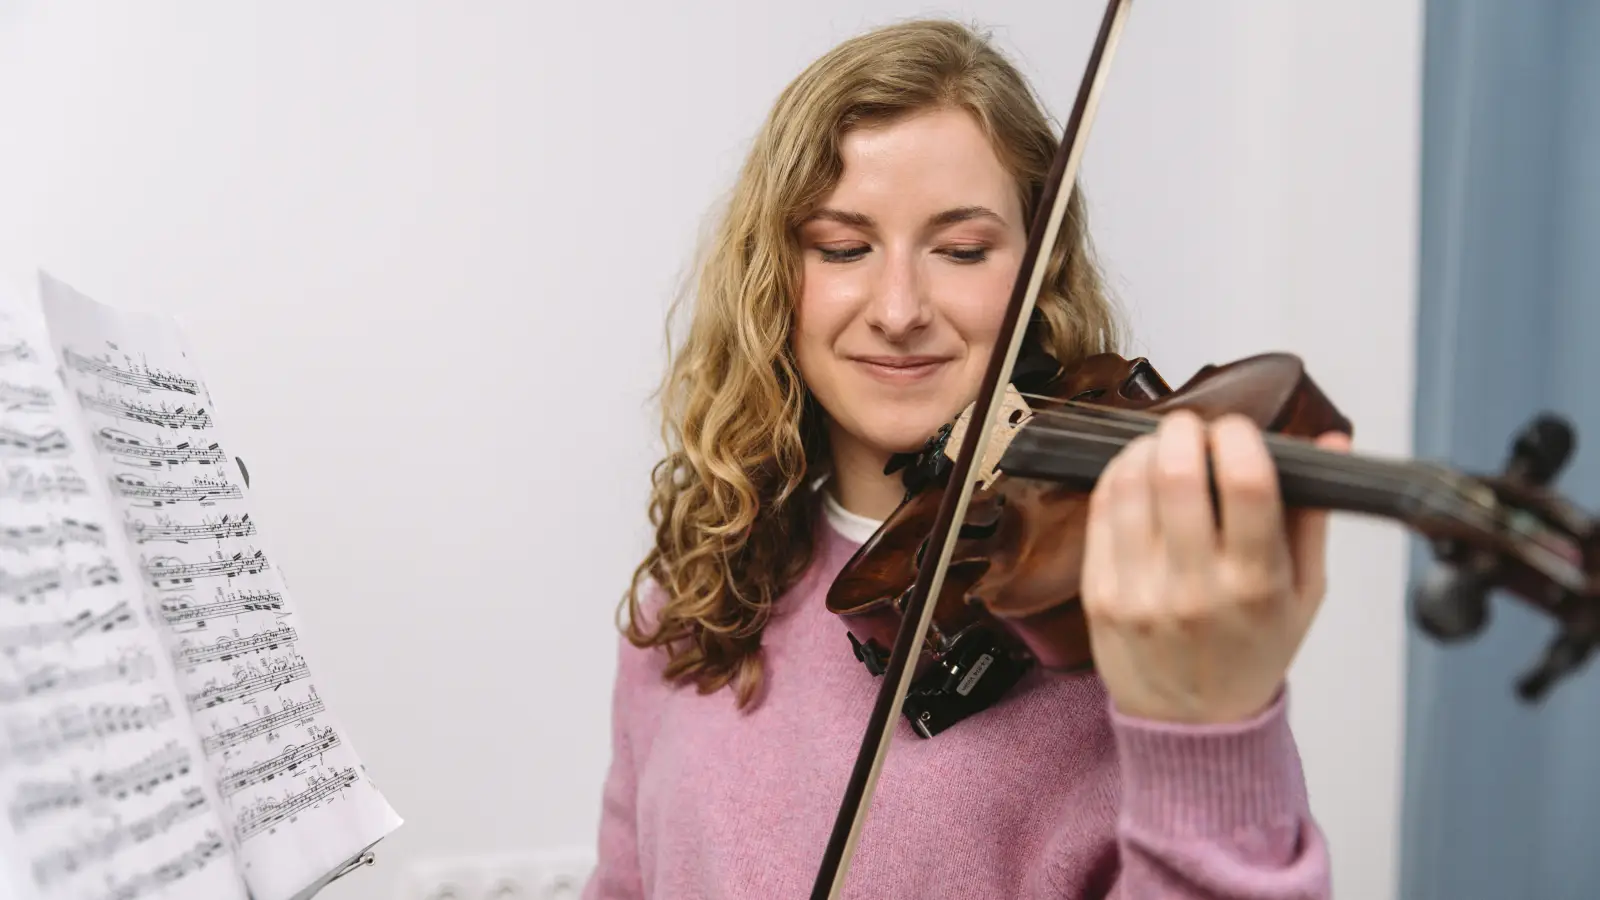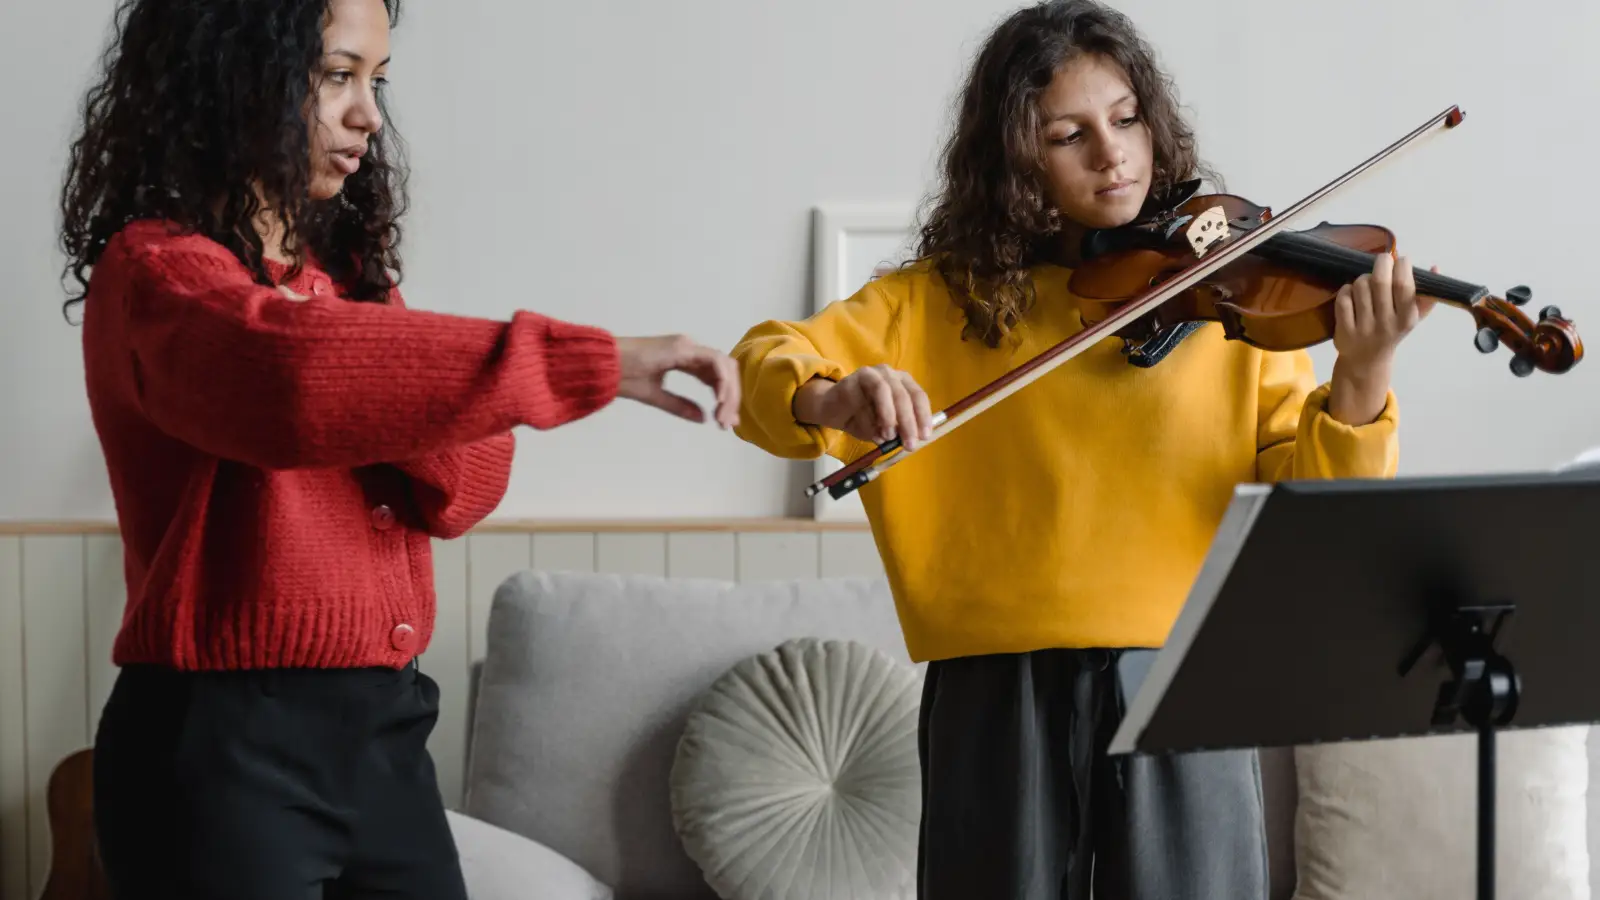
The 3-Minute Violin Warm-Up Routine Teachers Actually Use isn't a warm-up in the traditional sense. It's a calibration scan. You spend the first three minutes of practice checking your own body—finding the spots where tension has already settled in—so you don't drill those habits deeper for the next hour. The routine uses open strings and silent posture checks as diagnostic tools, not as music.
The Quick Calibration: 4 Steps in 3 Minutes
- Silent stance check—stand with feet roughly hip-width, knees soft, pelvis neutral, spine tall, shoulders released.
- Bow hold check without the bow—form the curved fingers, thumb bent, pinky round, then place the bow and test the grip for mobility.
- One open-string G (or D) full bow stroke every 4 seconds—watch the bow path for any sideways drift and listen for a steady, unpressured tone.
- Silent left-hand setup on the instrument—place fingers lightly on the string, check wrist straightness and thumb position without pressing down.
Diagnosing Tension and Alignment: Step-by-Step
1. Silent Stance Assessment
Stand facing a mirror, violin not yet on shoulder. Feet roughly hip-width apart, knees unlocked, weight evenly distributed. Release the pelvis so the tailbone points down rather than tucked under. Let the spine grow tall without lifting the chest. If the lower back is arched or the belly is pushed out, reset by gently exhaling and letting the torso settle. Shoulders should feel as though they are resting on the ribcage, not lifted.
What you're actually measuring: a neutral base. Locked knees back? Bend them just enough that the legs feel springy. One shoulder higher? Consciously drop it without collapsing everything else. Any asymmetry you let through now will sit at the center of every bow stroke for the next hour.
2. Bow Hold Check
First, form the hold away from the stick. Curve the fingers, keep the thumb bent at the middle joint, and round the pinky on top. Pick up the bow with the other hand guiding it in and check three indicators: the thumb is still bent (not locked straight), the pinky is curved and touching the stick with its tip, and the index finger makes contact around the middle knuckle. Wiggle the fingers a little. If the hold feels like a clamp, loosen it. If the stick tilts or slides, adjust the hand angle until it balances.
Pinky locking straight? Put the bow down, re-form the curve a few times without it, then try again with the stick. Wrist hinged outward? Let the forearm rotate slightly until the back of the hand flattens. The priority here is a grip that moves, not one that holds on for dear life.
3. Open-String Tone Scan
Place the bow on the G string (or D). Set a metronome to 60 and bow one full note every four beats. Watch the sounding point. If the bow slides toward the bridge or fingerboard, that's tension in the upper arm or shoulder overriding your line. If the tone wavers or breaks, check whether bow pressure is fluctuating because of a rigid wrist or gripping fingers.
What you're listening for is a clean, steady sound—not volume. A scratchy start signals too much bow speed: slow it down and let the arm weight do the work. Bow bouncing? Lighten index finger pressure until the stick settles.
4. Silent Left-Hand Setup
Without pressing down a string, bring the left hand to the neck. Place all four fingertips lightly on one string—say, the A string—without pushing. The wrist should form a straight line or a very slight outward curve; a collapsed inward bend is a warning sign. The thumb sits opposite the first or second finger, relaxed and slightly bent. If you see the knuckle whitening, stop squeezing. Let the thumb slide along the neck to confirm it's free.
Collapsed wrist? Raise the elbow a fraction until the forearm supports the hand. Thumb creeping above the neck? Lower the whole hand position and let the thumb rest naturally. The goal is a left hand that hovers, not one that claws.
Verifying That the Calibration Took
After the routine, run these checks:
- You can stand comfortably for a full minute without shifting weight or locking a knee.
- The bow hold allows small finger movements while holding the stick—no whitened knuckles, no frozen joints.
- The open-string tone is steady and clear, with no sudden growls or thin spots, and the bow travels parallel to the bridge.
- The left thumb touches the neck lightly enough that someone could tap it without resistance, and the wrist line is neutral.
If a mirror is available, confirm that the bow stays straight across all four strings when you move from G to E; any angle change suggests residual shoulder tension.
When the Warm-Up Doesn't Fix the Tension
Problem: Bow arm shoulder stays tight even after the open-string scan.
Fast fix: Stop bowing. Let the arm hang at your side for 10 seconds, shake it out lightly, then re-start with a slower tempo—one bow every 6 counts instead of 4. Focus only on the weight of the arm, not the bow direction.
Problem: Bow hold never feels loose; fingers keep straightening.
Fast fix: Put the bow down. Hold a pencil with the same finger shape for 20 seconds, repeatedly forming and releasing the hold, then transfer that shape to the stick. Do not play a single note until the pinky stays curved on its own.
Problem: Left wrist collapses as soon as you place the fingers.
Fast fix: Support the violin with your right hand so the left hand doesn't carry neck weight. Re-position thumb and fingers without pressing, then slowly release the support. If the wrist still buckles, raise the left elbow a little more and repeat.
Problem: Cramped foot stance returns during the open-string scan.
Fast fix: Mark two small spots on the floor with tape, roughly 16 inches apart. Re-check foot position between each long bow until the feet stay put without conscious effort.
Questions You Might Have
Can I do this routine without a mirror?
Yes. A mirror makes alignment checks easier, but you can also run through the silent posture checks by feeling where your weight sits in your feet and noticing any pulling or lifting sensations. For the bow path, look at the bow relative to the bridge from your usual playing angle; even that view reveals obvious drifting.
What if the open string doesn't sound clean after the scan?
If the tone is still inconsistent, narrow the scan to a single variable: try bowing only at the frog for ten seconds, then only at the tip, to isolate where the unevenness lives. Then re-run the full bow stroke at half tempo until the sound evens out.
Is this routine enough before a lesson or performance?
It is a calibration tool, not a full warm-up. Before a lesson or performance, add a few minutes of slow scales and shifting exercises after this routine. The 3-minute scan ensures you enter those next steps without pre-existing tension.
How often should I recalibrate during a long practice session?
If you feel shoulder clenching, wrist fatigue, or notice your tone getting scratchy, pause and re-run steps 1 and 2 silently, then spend 30 seconds on open strings. That under-a-minute reset can re-anchor your alignment mid-session.
Now that your posture is released and your bow hand moves freely, open the music you planned to work on today and play the first phrase with the same ease you just calibrated.