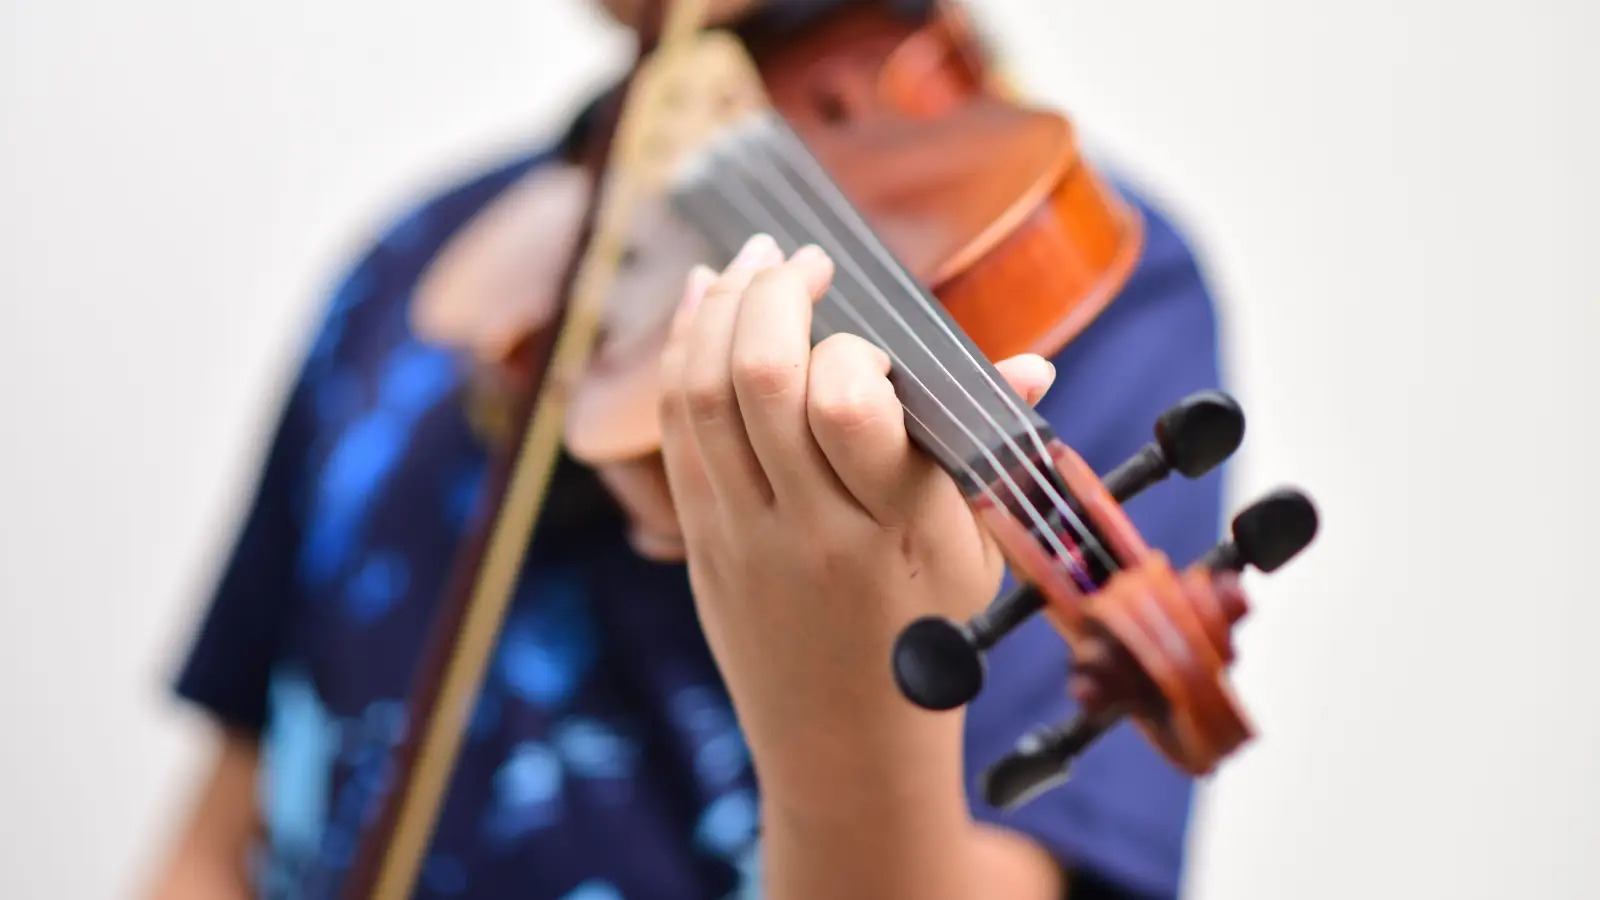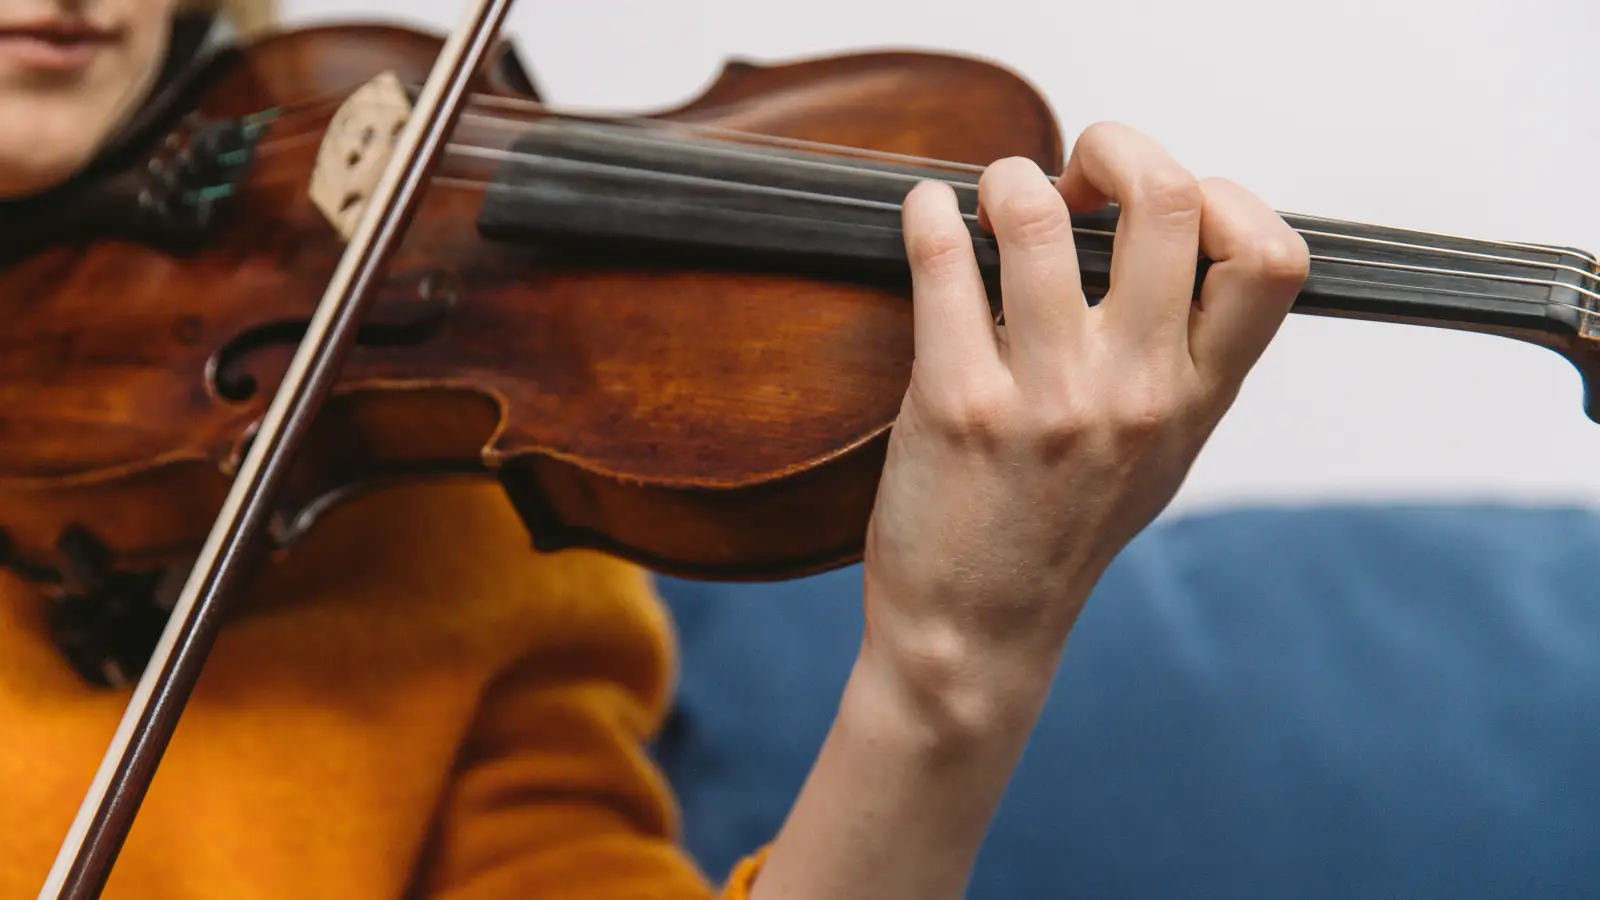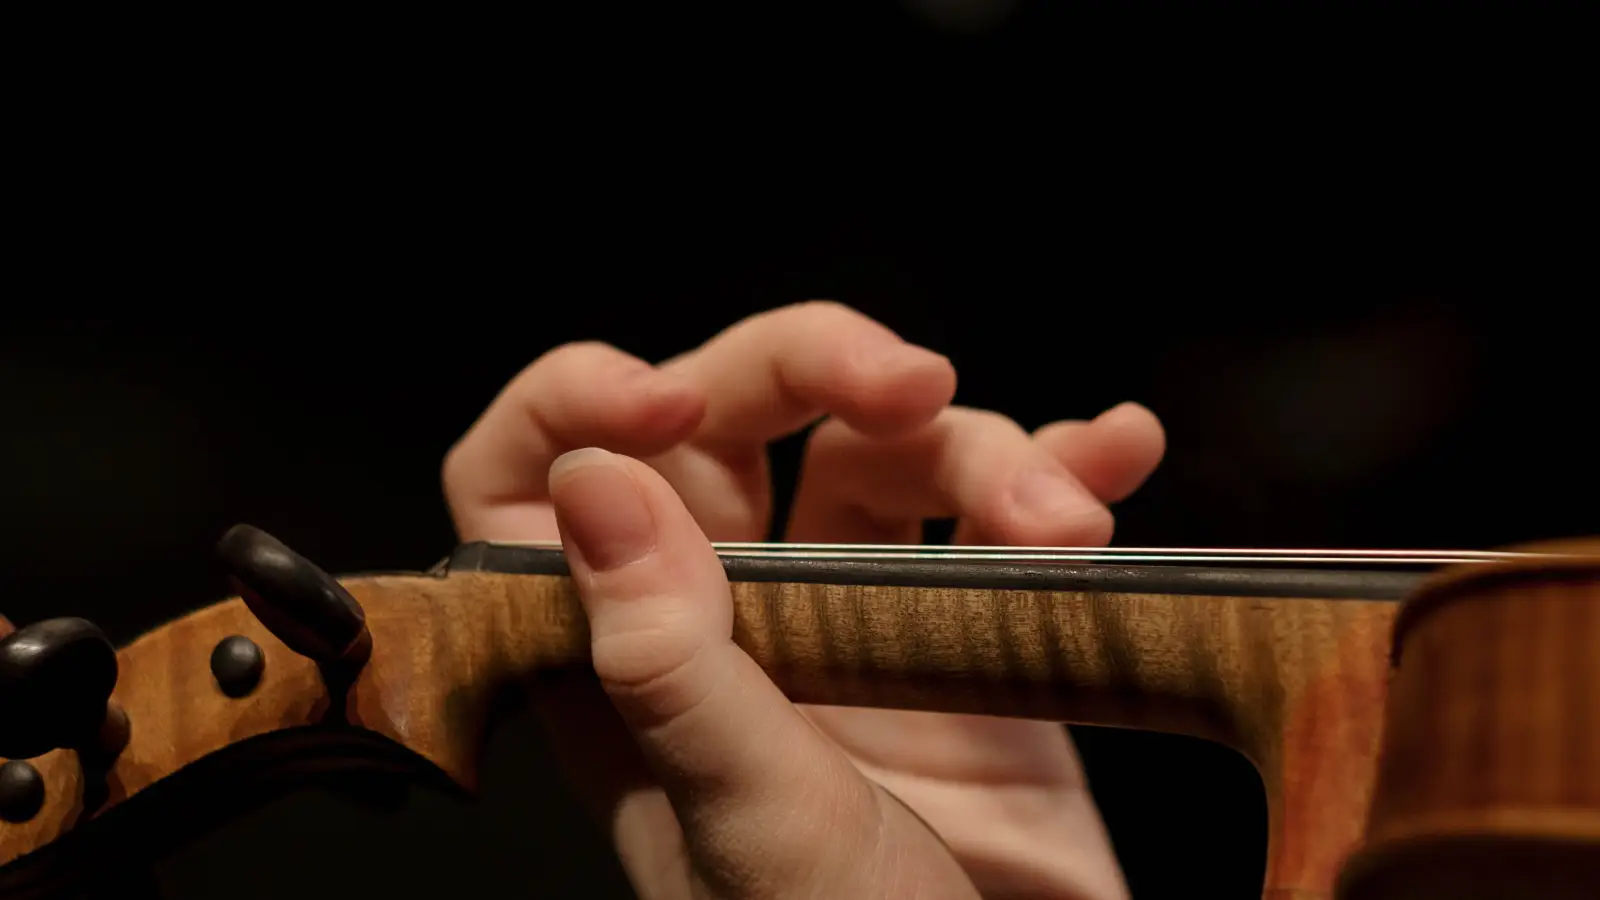
That stiff, unnatural feeling when you first place your left hand on the fingerboard is not a mistake. It's a predictable phase that every player passes through, and it says nothing about your potential. Vague advice to “just relax” offers no path forward when your fingers feel frozen. What helps is a concrete hand-framing drill that works with the stiffness instead of fighting it—building a stable shape step by step so the hand learns to settle into a reliable position before you ever play a note.
The Frame-First Drill in 5 Steps
- Place the thumb on the neck’s underside, opposite the space between your first and second fingers, using minimal pressure.
- Form a rounded tunnel with your fingers, as if holding a small ball, before they touch the strings.
- Lower the hand until the base knuckles run parallel to the fingerboard and your wrist stays neutral.
- Press only the first finger onto the string; let the remaining fingers hover curved and ready.
- Hold the whole frame for ten seconds, shake out the hand, and repeat three to six times.
How Each Step Locks In the Hand Frame
1. Anchor the Thumb — Then Let It Soften
Slide the pad of the thumb to the underside of the neck, roughly opposite the space between the first and second fingers. Its only job is stability, not gripping. Press just enough to feel the wood, then consciously release the muscle at the base of the thumb. If the neck slides away, the pressure is too high; if the scroll drops, bring your left elbow forward to support the instrument instead of squeezing harder.
A small hand rarely benefits from stretching the thumb higher. When the thumb arches backward into a tense banana shape, lift it off, shake the hand loose, and reset with a flat, relaxed pad. The frame holds itself from below, not from a forced pinch.
2. Shape the Finger Tunnel Before Contact
Hold the hand in front of you and curl the fingers into a gentle tunnel—the shape your hand makes when it loosely encloses a ping-pong ball. The arch must flow from the large knuckles through to the fingertips without collapsing inward. A common locked-hinge collapse at the middle joint signals that the brain hasn’t mapped the curve yet. Rest a pencil across the back of the knuckles for a few seconds while you deliberately reopen the arch. The object provides tactile feedback that a flat hand blocks, letting the nervous system feel the shape it needs.
3. Align the Knuckles and Wrist as You Lower the Hand
Bring the pre-shaped tunnel to the neck. Lower the hand until the large knuckles form a line that runs parallel with the fingerboard—not sloping forward or backward. The wrist should remain neutral, a straight continuation of the forearm. If the wrist bends sharply toward the scroll or kinks outward, stop and reposition your elbow farther forward under the instrument before lowering again. A quick mirror check from the side will confirm whether the forearm-to-knuckle line is straight. A strained wrist usually means the arm position, not the hand, needs adjusting.
4. Press the First Finger and Keep the Others Curved
Lower the hand until the pad of the first finger touches the string. Press firmly enough to stop the string cleanly, without extra force. The other three fingers stay suspended in their tunnel shape—not tense, but deliberately held in the curve. If the hovering fingers snap straight or clutch into a claw the moment you press, lift the whole hand, shake it out, and reshape the tunnel away from the instrument. Return to the string only when all four fingers can maintain their natural curve at the same time. This pause is not failure; it's the hand learning to separate tension from structure.
5. Hold the Frame Still So the Brain Can Register It
Once the position from Step 4 feels stable, do nothing for a full ten seconds. Breathe evenly. The purpose isn’t to produce a musical sound; it’s to give the motor system a clean impression of the shape without the distraction of movement. After the count, lift the hand, wiggle the fingers, and repeat the entire sequence. Three to six repetitions per practice session are plenty. Adding more tends to reintroduce the very tension the drill is trying to dissolve.
What the Completed Shape Should Look Like
- The thumb pad rests on the neck with a soft contact; after the hold, you should be able to slide a slip of paper between the thumb and the wood.
- All four fingers hover with an unbroken arch from the large knuckles to the tips; no joint collapses inward.
- The wrist, viewed from the left side, appears as a straight extension of the forearm.
- The first fingertip presses the string squarely, and the remaining fingertips point toward the string in a ready, curved position.
Troubleshooting: When Stiffness or Collapse Persists
The thumb keeps clamping, no matter how many times you relax it.
Reset the violin’s support. If the left hand is carrying the instrument’s weight, the thumb will instinctively grip. Use a shoulder rest or a rolled cloth under the collarbone so the weight transfers to your shoulder and jaw. Then return to Step 1, pressing only with the weight of the fingers, not with the thumb.
Fingers flatten or knuckles keep buckling.
The hand hasn’t stored the tunnel shape yet. Work off the instrument: wrap your fingers around a cylindrical object roughly 1.5 inches wide—a rolled washcloth or a drinking bottle—and let the hand drape naturally. This trains the arch without the pressure of a string. After a minute, return to the violin. If the arch still collapses, aim for a modest curve rather than a perfect circle and let the shape deepen over several days. Patience at this stage saves weeks of unlearning a flattened hand.
The wrist keeps angling outward or inward.
Focus on the arm, not just the hand. Bring the left elbow forward and under the violin as far as your shoulder permits without discomfort. When the elbow moves into that position, the wrist tends to straighten on its own. If a sharp angle persists, check the scroll: a drooping scroll forces the wrist into a tight bend. Lift the scroll slightly so the violin tilts forward and the hand can approach the neck squarely.
Frequently Asked Questions About Left Hand Comfort
How long until my left hand stops feeling awkward?
Most players notice the urge to fight the shape starts to fade after two to three weeks of daily, brief framing sessions. The awkwardness doesn’t disappear overnight; it softens gradually as the motor patterns strengthen, much like the way a pencil grip becomes automatic over time. Short, frequent repetitions work better than occasional long efforts.
Can I practice a good left-hand shape without the violin?
Yes. Any moment you can curl your fingers around a suitably sized object while keeping a straight wrist reinforces the same neural pattern. Doing this during a lull in the day or right before picking up the violin reduces the perceived pressure when the bow enters the picture later.
Why does my wrist hurt after just a few minutes?
Pain is usually mechanical, not a sign of weakness. Check first whether you’re unconsciously twisting your wrist to compensate for an elbow that’s placed too far back. Make sure the violin’s scroll isn’t drooping—a low scroll compresses the wrist joint. Finally, limit each hold to ten seconds; pain signals the need to rest and adjust, not to push through.
Is this drill suitable for small hands or children?
The drill works for any hand size because it builds the shape from the large joints, not from stretching the fingers apart. For very small hands, start with the thumb a little lower on the neck (nearer the pegbox) and allow the tunnel to be slightly flatter. The critical condition is that no joint collapses; a gentler arch is still a valid frame.
Once the hand settles reliably into the frame, finger placement becomes more accurate and stiffness fades because the shape itself reduces tension. The natural next step is to work on placing the second and third fingers while keeping the thumb, knuckle line, and wrist frame strictly intact—adding motion without dismantling the architecture you’ve built.