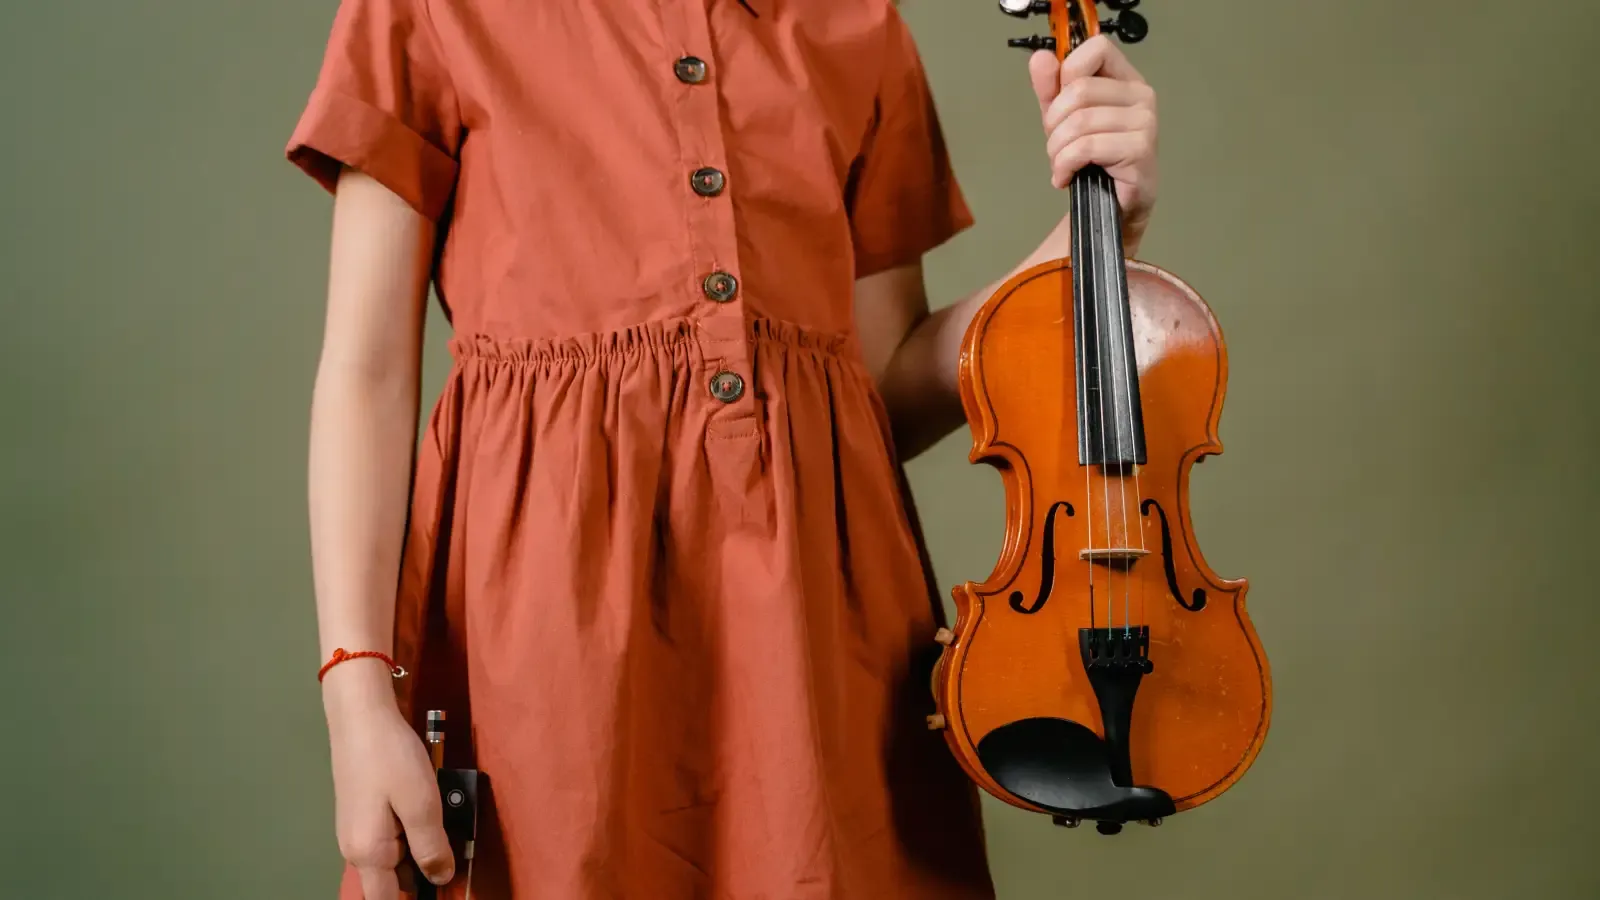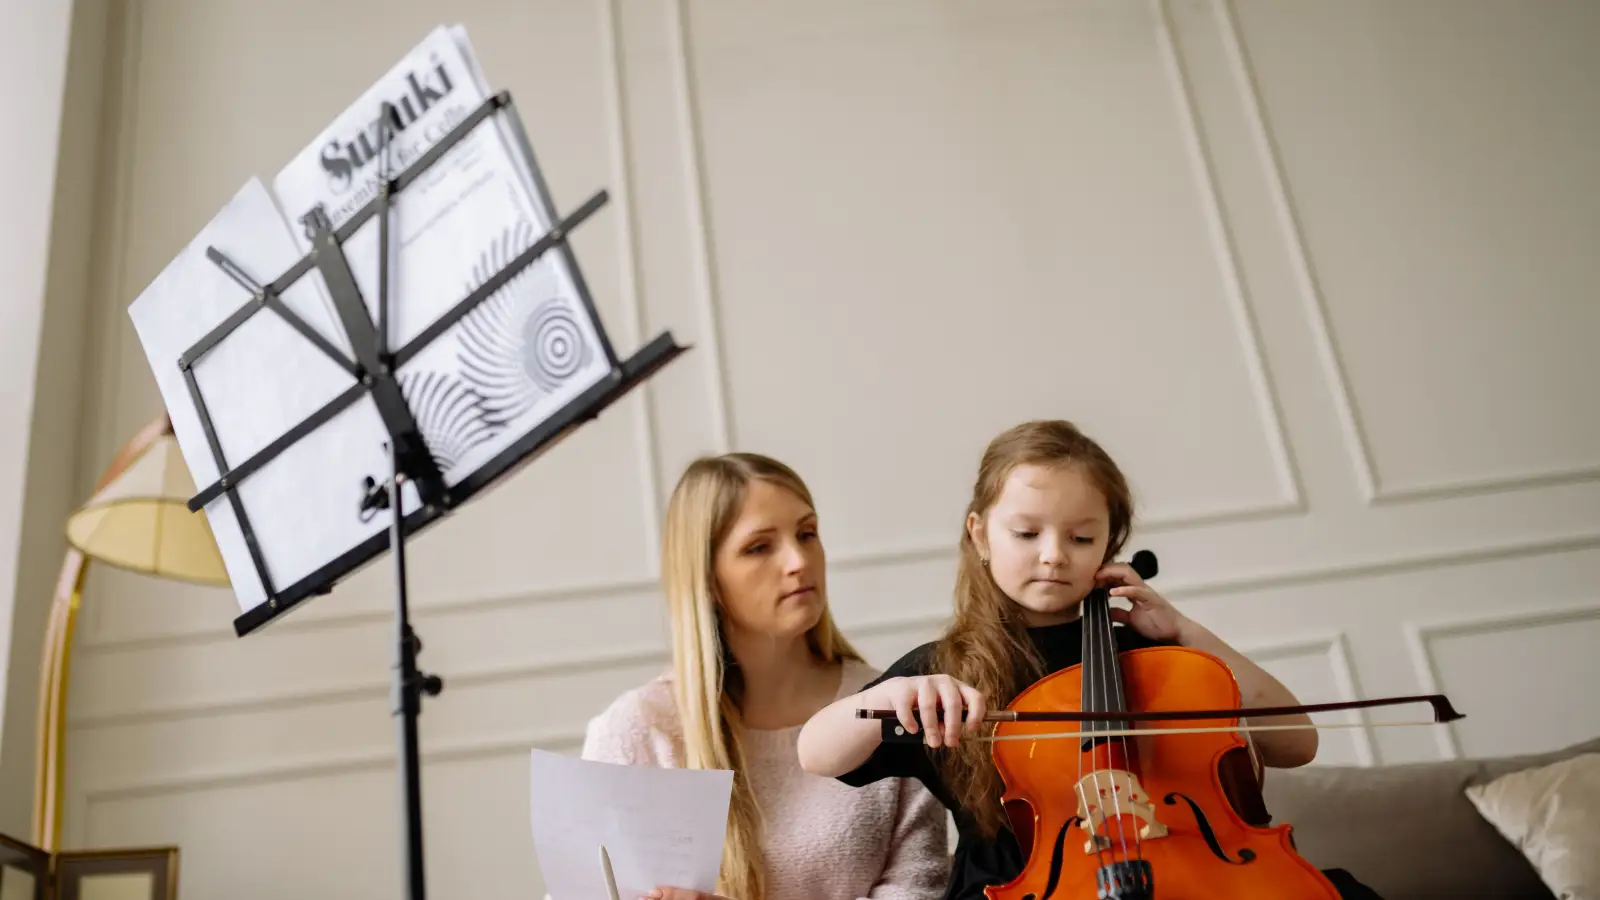
Teachers size violins by pairing a simple arm-length measurement with a sequence of posture and playing checks. A chart alone does not determine the right instrument—it only narrows the field. The real decision happens when the violin is in the player’s hands and a teacher watches for specific physical signals. This guide breaks down that exact process so you can evaluate fit with the same careful attention a teacher uses.
Start Where You Are: Four Common Sizing Moments
- You’re buying a first violin for a young child, and you want a fit that works rather than a guess.
Route: Start with the arm measurement (Stage 1), then verify through the posture checks (Stage 2).
- Your child’s teacher says it’s time to size up, but you’d like to recognize the signs yourself.
Route: Go straight to the upsize cues (Stage 4) to learn what the teacher observes, then return to the playing test (Stage 3) to see how the new size should feel.
- You’re an adult beginner unsure whether a full-size instrument is automatic.
Route: Focus on the posture test (Stage 2), where hand size and arm length—not age—dictate the fit, then use the playing check (Stage 3) to confirm.
- You already have a violin but something feels wrong—the instrument seems unstable under the jaw or the left hand works too hard.
Route: Run through the posture check (Stage 2) and the playing test (Stage 3) to determine whether the size is off or a different adjustment is needed.
The Arm Measurement That Starts the Process
Teachers begin with one measurement: arm length. The left arm extends straight to the side, palm up. A soft tape runs from the base of the neck—the collarbone area—to the middle of the palm. If a tape isn’t handy, a piece of string then measured against a ruler works.
The number gives a rough size category:
- 14–16 inches → 1/16
- 16–18.5 inches → 1/8
- 18.5–20 inches → 1/4
- 20–22 inches → 1/2
- 22–23.5 inches → 3/4
- 23.5 inches and above → 4/4
This measurement is not a verdict. It’s a filter. A teacher also notes hand size—finger length and spread—because a child can have arms that fall into the 1/2 range while the fingers still suit a 1/4. The number simply tells you which sizes to test first.
Ready to move on? You have a size estimate written down, and you understand that the number alone does not guarantee a correct fit.
The Hands-On Posture Test That Charts Omit
With a candidate size selected, the teacher checks how the violin sits on the body. The player places the instrument under the jaw, left hand at the scroll—not gripping the neck. A teacher looks for concrete markers:
- Left elbow bends at roughly 90 degrees when the hand rests on the scroll.
- Left shoulder stays relaxed; no upward hunch to support the instrument.
- Wrist remains straight, not collapsing.
- Player does not crane the neck or twist the back.
If the arm stretches forward just to reach the scroll, the violin is too small. If the elbow bends sharply and the hand feels crammed, it’s too large. For a young beginner, a teacher may hold the violin steady while the child brings the hand up, or use a basic shoulder rest for stability. Adults follow the same rules: the instrument should sit level and let the left arm drop into place without strain.
The right arm gets a brief look for bowing clearance, but the left arm provides the clearest sizing signal.
Ready to move on? The violin stays level under the jaw without forced adjustments, the left hand reaches the scroll without strain, and the arm angle feels neutral.
The Playing Check: Verifying the Fit While Making Sound
A still posture test is not sufficient. The teacher must see the left hand move. The player sets first position, and the teacher watches for these signs:
- Fourth finger (pinky) lands squarely on the G and E strings without overreaching or collapsing at the joint.
- The knuckle at the base of the hand keeps a slight, natural curve—not flattening against the neck.
- If the player can shift, they move to third position and back. The motion should be fluid, with the thumb releasing and the hand gliding. A too-large violin jams at the upper bout; a too-small one crowds the fingers, harming intonation.
For beginners, the check stops at first-position comfort and hand shape.
Ready to move on? In first position, all four fingers press the strings with a gentle curve, the pinky does not strain, and the hand feels uncrowded. If shifting was tested, it happens without the instrument blocking the hand.
The Physical Cues That Signal an Upsize
Even when a chart says the current size fits, a teacher watches for signs that the player has outgrown it. These cues emerge over several lessons:
- Left arm bends progressively more at the elbow, sometimes curling the hand around the scroll.
- Fourth finger consistently plays sharp or flat because it cannot land correctly.
- Left wrist collapses inward—a sign of cramping.
- The player reports shoulder tension or left-side discomfort.
- Shifting upward stiffens because the instrument feels too short to support the hand.
When multiple cues persist, the teacher remeasures and tests the next size. A student might still register within the arm-length range for a 1/2, but hand length now requires a 3/4. Often, trying the larger size settles the question.
Ready to size up? The teacher can no longer correct the form issues through reminders, and a trial with the larger instrument removes the tension and sharpens intonation.
Checkpoints: Trusted Signs of a Good Fit—and When to Recheck
Pulled from each stage, here are the indicators that sizing is on solid ground:
- Arm measurement gives a starting estimate, never a final answer.
- Posture check: violin rests level, left shoulder relaxed, elbow near 90 degrees, no hunching.
- Playing test: fourth finger lands squarely, hand feels uncrowded, shifting (if attempted) is smooth.
- Upsize cues: persistent cramping, wrist collapse, intonation issues solved by the next larger size.
If any sign points the opposite way, return to the previous stage before proceeding.
Concerns You Can Set Aside for Now
Several sizing worries appear early but are not yet pressing. Here is what a teacher would postpone.
- “The arm measurement says 1/8, but an age chart shows 1/4.”
Age charts are statistical averages. A teacher sizes the body present, not a birth year. Rely on the measurement and posture test. This becomes relevant only at the borderline where a child might grow rapidly—then a teacher may lean toward the slightly larger size, but only if the posture check approves it.
- “Should I buy a pricier violin so they can grow into it?”
Oversized instruments cause technical problems that linger. Provide the correct current size. Investment questions can wait until the player is settled in a stable size—usually 3/4 or 4/4—and has shown commitment.
- “I’m an adult—isn’t a 4/4 always right?”
Not necessarily. Adults with smaller frames or hand proportions often find a 7/8 more comfortable. Do the posture and playing checks before deciding. If those tests show fourth-finger strain or shifting trouble, try a 7/8.
- “The teacher says 1/2, but the rental shop gave me a 1/4.”
Shop fittings can be rushed and rarely include the full posture check. The teacher observes the student over time. Ask the shop to let you test the next size and repeat the checks from Stages 2 and 3. The discrepancy typically disappears once a proper fit is demonstrated.
Questions Teachers Hear Most Often About Sizing
Can an adult use a 3/4 violin if they have small hands?
Yes. When a 4/4 feels like a stretch, hand size—not age—determines the fit. Try a 3/4 or 7/8 and run through the posture and playing checks. Many teachers prefer the 7/8 as a more resonant option that still accommodates a small frame.
How often do children move up a violin size?
There is no fixed schedule. On average, children progress through fractional sizes every 1–2 years, but a teacher only moves them when the physical cues appear consistently. Moving too early introduces the very problems a correct fit prevents.
Can I measure at home and order the right size online?
You can take the arm measurement at home as a starting step. The posture check and playing test require a second observer—ideally a teacher. If you must order online, choose a seller with a straightforward return policy and get a teacher’s evaluation once the instrument arrives.
What if the left hand looks cramped despite the arm measurement matching the size?
Short fingers relative to arm length cause this mismatch. A teacher may try a smaller size, adjust the chinrest or shoulder rest to alter the instrument’s angle, or modify the setup. Hand comfort on the fingerboard always overrides the arm number alone.
Is it acceptable to play a violin that’s slightly too big?
For beginners and intermediates, no. A too-large violin forces the left arm into incorrect positions, leading to poor hand shape, intonation trouble, and possible discomfort. Even a small mismatch can embed habits that take months to correct. Advanced players sometimes select a larger size for tonal reasons, but that is a deliberate choice made with a teacher, not a beginner’s shortcut.
Closing Point
A properly sized violin removes resistance: the left arm moves naturally, the hand settles into first position without strain, and playing remains sustainable. For the most common starting point—a parent buying for a child or an adult beginning the instrument—the very first action is to measure the arm as described in Stage 1, then immediately arrange a hands-on posture check with a teacher or a knowledgeable adult.