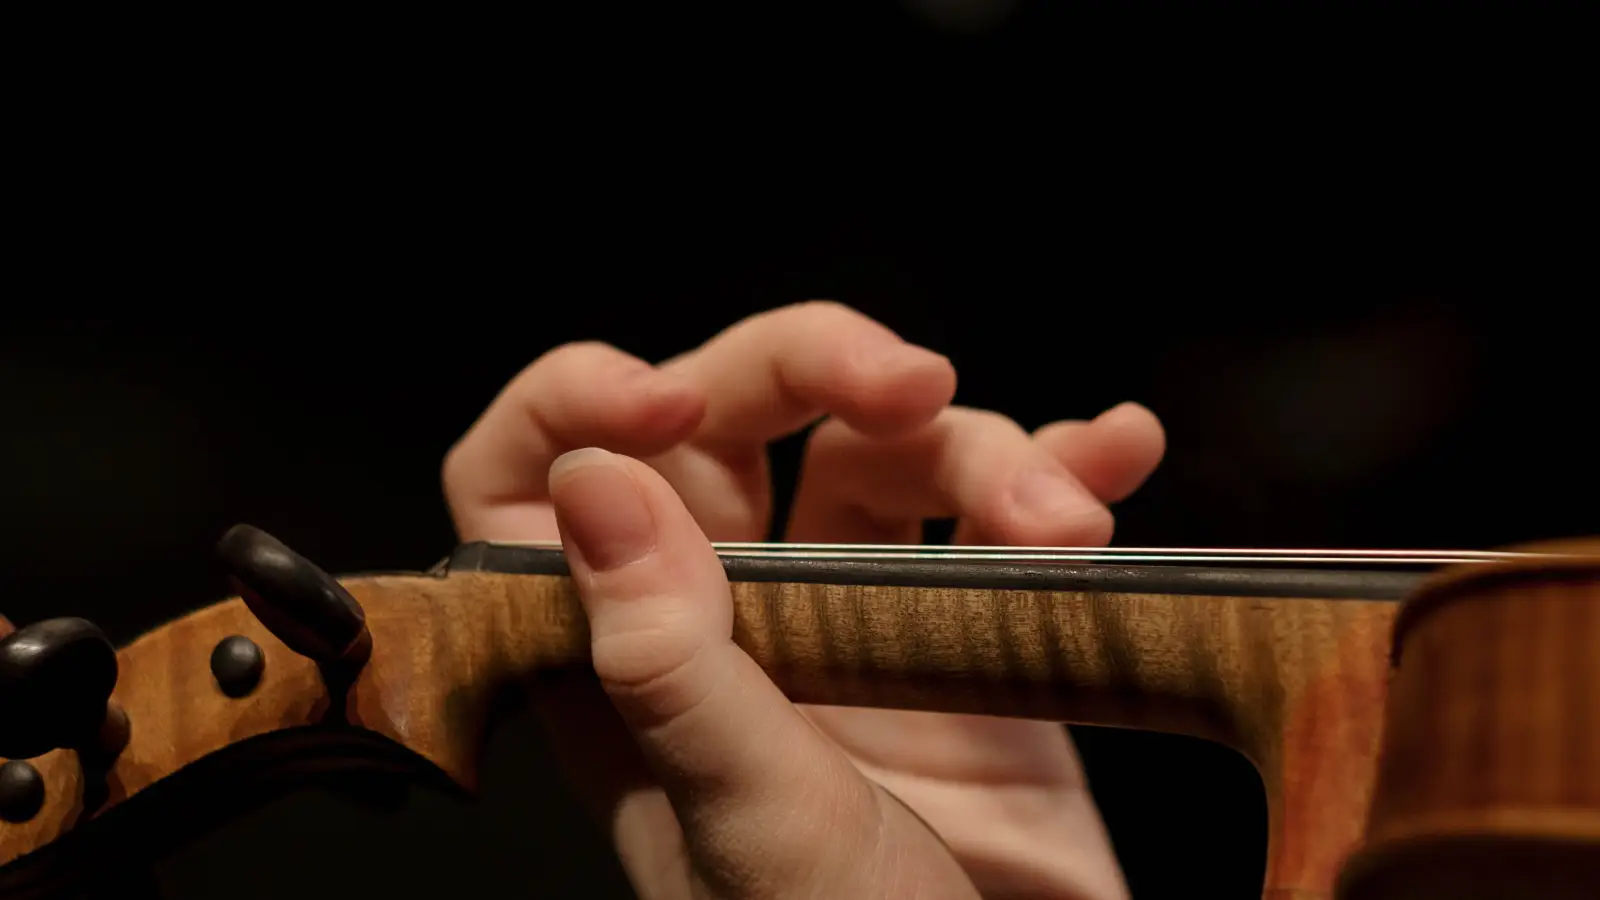
You hit the note but the sound wavers. The pitch drifts. Your hand tires ten minutes in, and you wonder if you need more finger strength or a better instrument. More often, the trouble starts at the wrist. When the left wrist collapses backward, the base knuckles recede behind the fingerboard, forcing each finger to stretch farther and land at an angle. Intonation becomes a guess. Stamina drops because the small hand muscles work overtime. A simple exercise — placing the scroll against a wall — exposes the problem before it hardens into an expensive habit.
Fix It Before It Sticks: A 3-Minute Wall Test
If you only do one thing after reading this, do this. It pinpoints the collapse in under a minute and starts correction immediately.
- Stand facing a smooth wall. Hold your violin in playing position, scroll lightly touching the wall.
- Bring the left hand up to play on the G string. Keep the wrist straight — the forearm, wrist, and back of the hand should make a nearly flat line. The heel of the hand stays off the neck.
- If the wrist bends backward toward the wall when you reach for the fingerboard, you’ve found the collapse. Straighten the wrist and let the fingers curl toward the strings instead. If the wrist feels rigid, step back from the wall and try again.
- Repeat for one minute daily. This builds the correct pattern into muscle memory without adding practice time.
Why a Bent Wrist Sabotages More Than Appearance
A dropped left wrist doesn't just look unpolished; it changes how the fingers work. With the wrist back, the fingers attack the string from the side instead of above. That lateral approach makes small intonation errors nearly unavoidable because the fingertip can’t land predictably on the same spot every time. The extra distance the fingers must travel also loads the intrinsic hand muscles, so fatigue arrives sooner. And because a collapsed wrist stiffens the shock-absorbing freedom needed for smooth shifts, each position change becomes jerky. Straighten the wrist, and the fingers begin to strike from above, which stabilizes pitch and reduces effort.
Step-by-Step: Isolating the Cause
A collapsing wrist often signals a deeper setup issue. Work through these causes in order, from most common to least. Each builds on the previous one.
The Hand Frame Sits Too Low on the Neck
A low hand frame — where the palm cups the neck from underneath — forces the wrist back so the fingers can reach the strings. To check, support the violin with your right hand and let the left arm dangle loose. Bring the left hand to the neck so the thumb rests opposite the first or second finger. The palm should approach the neck at a slight angle, not parallel to the floor. If there is a visible gap between the base of the index finger and the neck, the frame is too low. Lift the left elbow slightly; this rotates the forearm and brings the hand up, straightening the wrist without adding grip pressure.
A Gripping Thumb Pushes the Wrist Out of Line
Squeezing the neck with the thumb shoves the palm away and bends the wrist. Test this by playing a slow A-string scale with the lightest possible thumb contact. If the wrist straightens at once, the thumb grip is the source. To untrain the vise, practice left-hand pizzicato while deliberately relaxing the thumb, or wedge a small foam ball between the thumb and neck during scales to feel what minimal contact should be.
The Scroll Dips Toward the Floor
When the violin scroll droops, the hand chases the fingerboard downward and the wrist bends to compensate. Stand sideways to a mirror. The scroll should point near the horizon when the violin rests on the collarbone. If it dips, reduce the shoulder rest height or adjust the chinrest so the jaw supports the instrument. The left hand’s role is to place fingers, not to hold the violin aloft.
A Weak Fourth Finger Triggers a Collapse
A pinky that lacks independence makes the wrist drop to bring the finger within reach. On the D string, play E (first finger), then F-sharp (third), then G (fourth) while maintaining a straight wrist. If the fourth finger lands on the pad instead of the tip, the wrist likely gave way just before contact. Strengthen the pinky with tapping drills on a tabletop: hold the finger curved over an imaginary string, then press with only that digit. Keep the wrist aligned throughout.
When Standard Fixes Aren’t Enough
A stubborn collapse can survive correct hand frame and relaxed thumb. These cases require different adjustments.
Short Fingers or a Long Neck Alter the Optimal Position
A compact fourth finger or a proportionally longer neck may make the classic straight-wrist posture hard to sustain. Bring the left elbow further under the violin so the palm turns slightly more toward the ceiling. This reduces the reach. The wrist will look a touch more rounded, but it must not bend backward. Confirm with the wall test: if the scroll stays against the wall and all four fingers can tap the fingerboard without wrist break, the position is sound.
The Shoulder Rest Height Throws Off Alignment
An over-tall shoulder rest pushes the violin up and away, overextending the arm. Remove the rest and play with a folded cloth for a few minutes. If the wrist straightens, the rest needs lowering or repositioning so the violin sits closer to the body. The scroll should still aim forward, not downward, but the instrument moves inward.
Preventing the Collapse Over Weeks and Months
Old posture returns under pressure. Build these checks into your routine.
- Weekly wall check. A one-minute test keeps the pattern honest.
- Mirror sessions. Spend five minutes per practice watching the left hand, not the bow. Intonation often tightens without extra effort.
- Side-view video. Record a familiar passage from the side once every couple of weeks. Watch the wrist line; phone footage is enough.
- Soft brace as a reporter. A loose, flexible wrist brace gives tactile feedback when the angle changes. It should not immobilize — only signal.
Questions That Come Up Repeatedly
Why does my left wrist hurt while playing?
Pain typically stems from excess tension — either gripping the neck or bending the wrist under load. Straighten the wrist and ease the thumb grip. If the pain doesn’t ease, have a teacher check your full arm and shoulder alignment.
How can I tell if my wrist is bent too far?
Look at your left wrist from the side in playing position. The line from forearm to knuckles should be almost straight. The wall test gives an unambiguous yes/no.
Does a bent wrist interfere with vibrato?
Yes. Vibrato needs a loose wrist that can oscillate along the string. A collapsed wrist locks at the extreme end of its motion, making vibrato tight and uneven.
Can I correct a collapsed wrist without a teacher?
Most players do. Regular wall checks and mirror work fix it within a few weeks. If a structural limitation or a deeply set habit is at play, a few ergonomics-focused lessons can accelerate the fix.
Next Steps When Self-Correction Stalls
Commit to two weeks of wall checks, mirror work, and thumb-release drills. If the wrist still gives way or pain appears, stop and seek trained eyes. A violin teacher can catch subtle patterns a video misses. A session with an Alexander Technique instructor or a musician-informed physical therapist can reveal hidden postural chains — tight shoulders, a locked ribcage — that force the wrist into collapse. The hands operate inside a system; address the chain, and the wrist often straightens on its own.