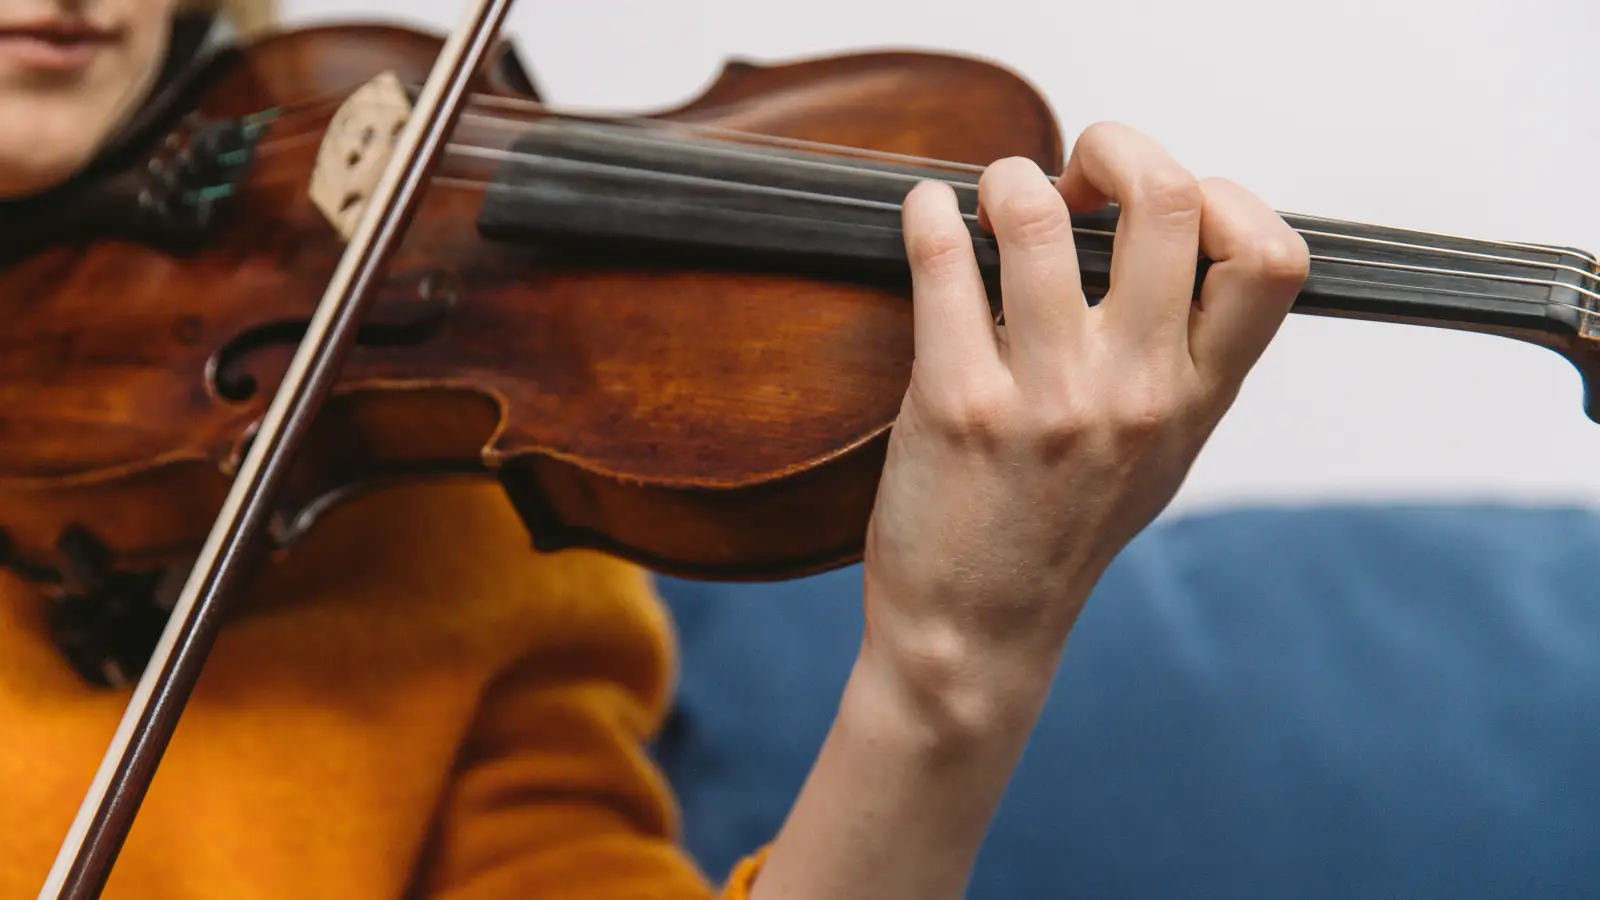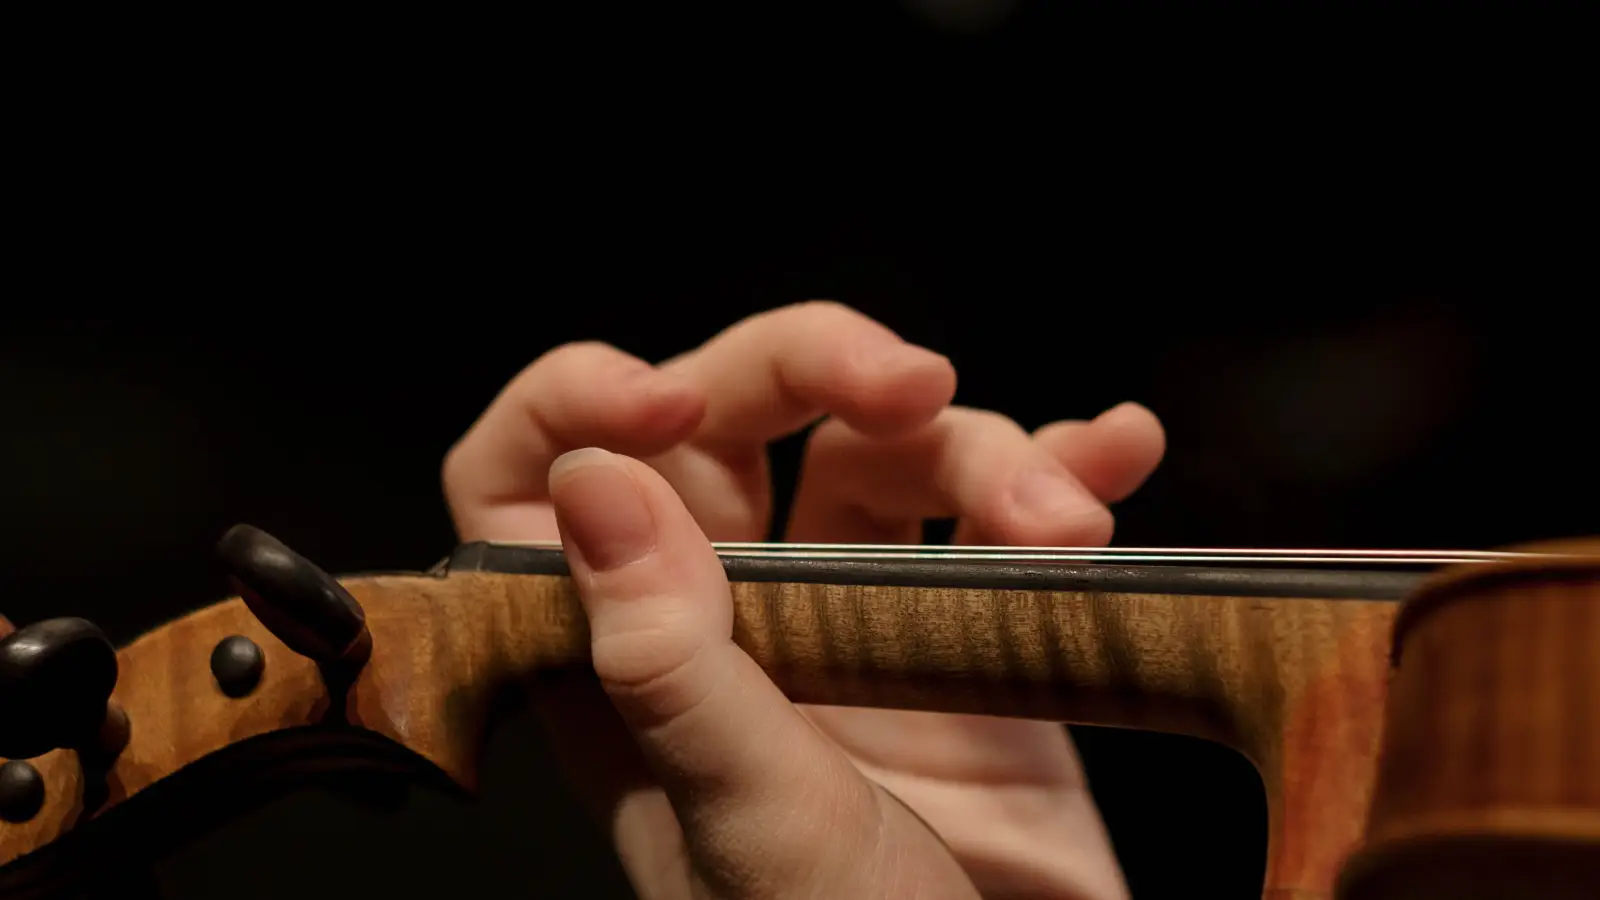
You don’t need perfect pitch to get finger tapes right—you need to think of the fingerboard as a three-dimensional map your hand can memorize. A tuner and a clean surface will get you there. By the time you’re done, your left hand will land on G, A, and B without your brain having to route through your eyes.
What Actually Changes When Tapes Are Used Correctly
The visible result is a set of straight, clean lines marking first position. The invisible one is a proprioceptive shift: your fingers start to feel the correct spacing before your ears even check the pitch. That’s the cognitive bridge people miss. The tape isn’t telling your hand where to go—it’s training it to know, so that intonation becomes a touch-based skill, not an anxious guess.
The Map-Building Checklist
- Pick a tape that won’t leave residue or wander under your fingertip
- Wipe the fingerboard clean of every trace of oil and rosin
- Lock in first-position spots with a digital tuner, never your gut pitch sense
- Apply each strip with even tension, perpendicular to the strings
- Test the tactile bump of every edge—your hand, not your eyes, is the final judge
- Run scales and shifts with your eyes closed until the spacing feels inevitable
- Verify tuning against open strings and natural harmonics as a reality check
- Strip the tapes one finger at a time, only when the motor pattern has stuck
Choose Tape That Peels Off Without a Fight
Automotive pinstripe tape and purpose-made violin tapes are the sweet spot—narrow, low-tack, and rigid enough not to stretch. Stay far away from masking tape or electrical tape; they leave a gummy mess and shift mid-phrase. Takes five minutes to test a sample and confirm it lifts clean. The most common blunder? Grabbing whatever’s in the kitchen drawer, then spending an afternoon scraping adhesive off an ebony fingerboard.
Swipe the Fingerboard Twice Before You Start
Even invisible dust and skin oil will sabotage adhesion. A dry, lint-free cloth passed from nut to bridge twice does the job. If you recently oiled the fingerboard, give it a full day to dry. Two minutes, tops. Skip this step and the tape will curl up during your lesson, and you’ll blame the tape instead of the prep.
Let a Tuner, Not Your Ear, Call the Shots on Placement
Clip or place your digital tuner where you can watch it while pressing a string. Pluck the open string, then slowly press down while watching the display; mark the exact spot where the target pitch locks in. For example, find A on the G string, B on the A string, and so on. This takes roughly ten minutes for a standard set of first-position marks. The single biggest error is trusting your internal pitch memory instead of measuring an objective spatial template. A tape placed by ear often lands a hair flat or sharp and ingrains that mistake from day one.
Lay the Tape Down Flat, Not Stretched
Cut a strip long enough to span all four strings with a little overhang. Start pressing in the center of the fingerboard and smooth outward, keeping the tape exactly perpendicular. If it stretches at all while you’re applying it, rip it off and cut a fresh piece—stretched tape warps later and turns into a wavy ridge. Plan on three to four minutes per strip. The common misstep is pulling the tape taut, which creates an uneven edge that irritates your fingertip instead of defining the reference point.
Feel the Edge With Your Finger
Slowly drag your finger across every tape edge. It should register as a clean, shallow step—noticeable but not a speed bump. If it snags, trim it with a sharp blade. If you can’t feel it at all, reapply so it lies a fraction flatter or reposition it to avoid a dip. This takes two minutes. Most people never do it, and then wondering why their hand hesitates at the tape during a run.
Practice Blind So Your Hand Takes Over
Play a one-octave scale twice with eyes open. Then close your eyes and play it again, concentrating on the sensation where the tape interrupts the finger. When a note sounds off, open your eyes, correct visually, and close them again. Aim for five to ten minutes a session. The mistake is giving eyes-closed practice a single try and expecting instant results; proprioception is stubborn—it needs repetition to rewire.
Use Open Strings and Harmonics to Check What Your Tuner Can’t
After a scale, match each stopped note to the appropriate open string that forms a perfect interval—for instance, D on the A string against the open D string. Listen for the beating; adjust until it vanishes. Also tap the octave and fifth harmonics to confirm the frame of reference is still true. This adds about three minutes to a warm-up. The classic goof is leaning entirely on the tuner after taping. A tuner won’t teach your ear to catch the micro-drift that creeps in under performance nerves.
Remove the Tapes One Finger at a Time
When you can land a note consistently with your eyes shut for three consecutive days, pull off just that one strip. If the intonation wobbles, stick it back and try again in a week. Work through all four fingers at this pace. Total time varies—two to six months depending on practice rhythm. The biggest mistake is tearing everything off in one decisive Sunday afternoon. That deletes the map while the brain is still drawing its own.
Before You Call It Done
- Every tape sits flush without lifted corners
- A slow, eyes-closed G major scale stays true through the first octave
- You can silence the beating between a third-finger note and its neighboring open string
- At least one tape is gone, and the pitch didn’t wander
The Questions Nobody Says Out Loud
Will finger tapes mess up my ear training?
They sharpen it. By giving your hand a consistent starting point, tapes let your ear do delicate fine-tuning instead of frantic searching. That’s how you build a mental pitch map—from accuracy outward, not by groping.
How long do tapes stay on?
Anywhere from a few months to over a year, depending on age, how often you practice, and whether you’re systematically training proprioception. They stay until your hand finds the notes as automatically as it finds a light switch in the dark.
Can I use stickers instead of tape strips?
Stickers under each string work, but full-width strips deliver better tactile feedback across the hand. Stickers also tend to wander and splinter your reference points into disconnected dots rather than a unified line.
What if my teacher rolls their eyes at tapes?
Explain that you’re building a proprioceptive map, not leaning on a visual crutch. Plenty of effective teachers use tapes with students of every age—the tool only becomes a crutch when nobody ever phases it out.
This Fingerboard Now Works for You
You’ve turned a piece of wood into a learning instrument that connects sight, touch, and sound on equal terms. The left hand knows where home base sits on every string. Next time you need to set up a different instrument or shift positions, speed things up by making a paper template of the current tape marks while everything’s still fresh—trace the spots onto cardstock, label the notes, and keep it in the case. A repeat application will take ten minutes instead of starting from scratch.