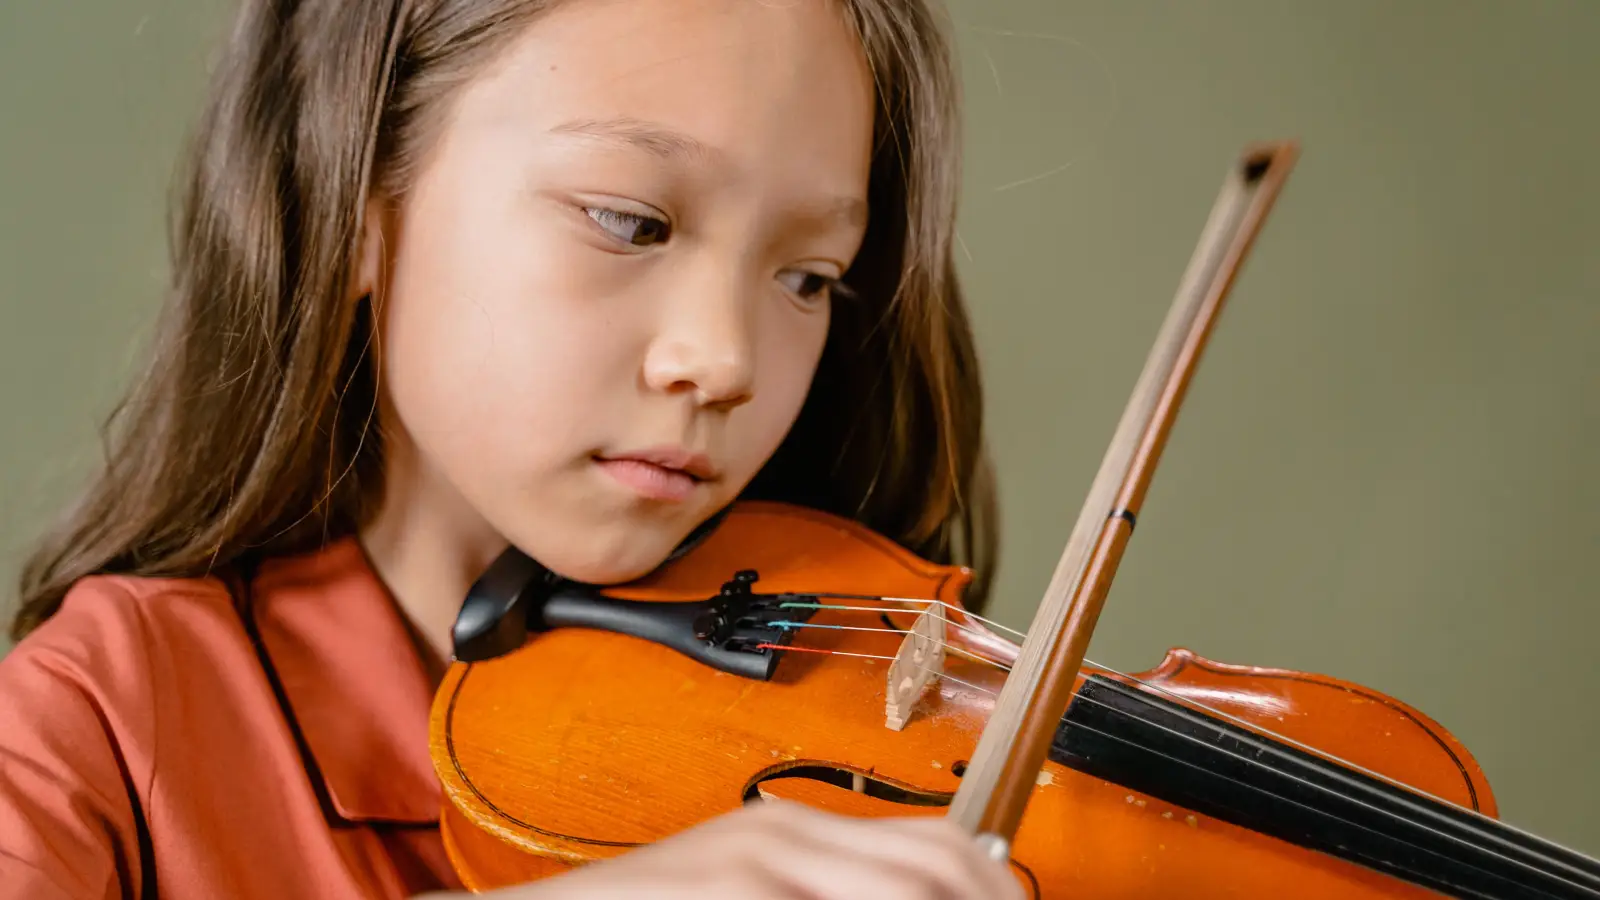
Violin sizing has nothing to do with how old the player is. A teacher determines violin size by measuring the left arm from the base of the neck to the center of the palm, matching that number to a standardized chart, and then placing the instrument in the player’s hands to verify the fit. The goal is straightforward: a violin that fits prevents shoulder strain, supports a relaxed left hand, and gives a beginner the physical conditions needed to build correct technique from the first lesson.
Arm Measurement, Not Age: The Non‑Negotiable Starting Point
Every sizing decision rests on one measurement — the distance from the left shoulder joint to the middle of the left palm. This distance governs how far the arm can reach around the scroll and place the fingers on the fingerboard without contorting. A too‑large violin forces the elbow straight, hikes the shoulder up, and makes the hand stretch for notes that should be under the fingers. A too‑small violin cramps the arm and can cause the bow arm to compensate in ways that strain the wrist. Age and height are unreliable substitutes; the only number that matters is the arm measurement.
The process in this guide follows a strict sequence: take the measurement, read the size chart, check the fit with the actual violin, and apply adjustments for players who fall outside the chart’s typical ranges — namely small adults and very young children. Each stage catches problems the previous one might introduce. Nothing is left to a hunch.
Stage One: Measure the Left Arm Precisely
The measurement comes first, before any talk of quarter sizes or rentals. The player stands straight with the left arm extended sideways at shoulder level, palm facing up. A flexible tape measure runs from the bony depression just below the neck — the acromion process at the outer edge of the shoulder — to the exact center of the palm, where the middle crease crosses the life line. Do not use the wrist or the fingertips as the endpoint. An error of just half an inch can push the player into the wrong fractional size.
Two common mistakes to avoid: letting the player bend the elbow, which shortens the length, and starting the tape at the collarbone instead of the shoulder joint. Each adds error that the rest of the process cannot fix. A correct measurement is repeated once for confirmation and recorded to the nearest half‑inch. Without this number, everything that follows is guesswork.
Stage Two: Match the Measurement to a Standard Size Chart
Once the arm measurement is recorded, the teacher turns to a size chart. The following chart represents typical fractional sizing used by many teachers and shops:
| Arm Length (inches) | Violin Size |
|---|---|
| Under 14″ | 1/32 |
| 14″ – 15½″ | 1/16 |
| 15½″ – 17″ | 1/10 |
| 17″ – 18½″ | 1/8 |
| 18½″ – 20″ | 1/4 |
| 20″ – 21½″ | 1/2 |
| 21½″ – 23″ | 3/4 |
| Over 23″ | 4/4 (full) |
Charts may differ by a quarter‑inch between sources, but the general rule is consistent: each step up in violin size corresponds to roughly a 1½‑inch gain in arm length. When a measurement falls right on a boundary, the teacher defaults to the smaller size for the fit check. The reason is practical — a slightly small violin is playable for a short time; a slightly large one introduces tension that undermines the first months of habit formation.
Teachers sometimes note hand size during this stage, especially if the player has unusually short fingers for their arm length. But the chart decision is made on arm measurement alone. Hand size becomes a factor only later, during the fit verification.
Stage Three: Verify the Fit with the Instrument in Playing Position
A chart gives a theoretical match. The real test happens when the player holds the violin. The player positions the instrument under the chin, left arm reaching forward and slightly outward. The scroll should sit directly in the center of the left palm while the wrist stays straight and the arm hangs naturally.
The teacher checks three specific points. First, the left elbow must show a slight bend — a fully locked elbow signals that the violin is too long. Second, the fingers should curl easily over the fingerboard, with no hyperextension or cramped crowding. Third, the left shoulder stays down and relaxed; any lifting or tilting of the neck means the reach is excessive. If all three points pass, the size is confirmed. If any point fails, the teacher tries the next smaller fraction immediately.
This hands‑on step catches mismatches that a measurement alone obscures. For example, a child whose arm length fits a 1/2 violin on the chart might still have hands small enough that the string spacing feels like a stretch. The fit check is not optional.
Stage Four: Adjust for Small Adults and Very Young Players
The standard chart works for people inside the typical growth curve. Two groups rarely fit neatly into it: adults with shorter‑than‑average arms and children under five.
Small adults — especially those under five feet tall — frequently find a 4/4 violin too large for their frame. A 22‑inch arm measurement places an adult squarely in 3/4 territory on most charts. Insisting on a full‑size instrument leads to a lifted shoulder, a straightened elbow, and neck and back strain that appears within ten minutes of practice. The correct choice is a 3/4 violin or, where available, a 7/8 size. The tone of a well‑fitted smaller violin is not a compromise; tension caused by a too‑large instrument is.
At the youngest end, a three‑ or four‑year‑old may need a 1/16 or even a 1/32 instrument. These sizes exist through rental programs and specialty suppliers. The sizing procedure does not change: measure the arm, consult an extended chart, and verify the fit. A common error is pushing a young child into a 1/8 violin under the logic of “they’ll grow into it.” What actually happens is the child develops a rigid left hand and a habitually raised shoulder that persist long after the instrument finally fits. Resizing every six to twelve months is the expected cost of a developing young player; a too‑large violin now is not a saving, it’s a long‑term technique problem.
A Complete Example: From a Six‑Year‑Old’s Arm to a 1/8 Violin
Consider a six‑year‑old attending a first lesson. The teacher measures her left arm at 18 inches. The chart places 18 inches inside the 1/8 range (17″–18½″), and since she is near the upper end, the teacher selects the 1/8 size for the fit check rather than moving to the 1/4.
With the 1/8 violin in playing position, the scroll rests in her palm without strain. Her left elbow shows a noticeable but comfortable bend. Her fingers reach the fingerboard easily, and her left shoulder remains level while she bows open strings. All three fit‑check points pass, so the 1/8 is confirmed. The teacher will re‑measure in a few months when the arm approaches the threshold, but for now the instrument fits.
If the same child had measured 18¾ inches, the chart would indicate a 1/4 size, but the teacher would still start the fit check with the 1/8. A number alone cannot account for individual arm proportion or hand size. The example illustrates exactly the sequence: measurement provides the starting selection, the fit check either confirms or overrides the chart, and the teacher remains ready to adjust.
Common Ways the Sizing Sequence Falls Apart
Leaving Out the Arm Measurement and Guessing by Age
Guessing a size based on the player’s age or grade produces a violin that is too large more often than not. A seven‑year‑old does not automatically need a half size; they may need a quarter size depending on arm length. When the instrument is too large, the shoulder rises, the wrist locks, and the entire practice session becomes a physical struggle. Within a month, the player associates the violin with discomfort, and the teacher spends lesson time untangling posture problems that measurement could have prevented.
Using the Chart as the Final Word Without a Fit Check
A chart is a reference based on averages, not the specific body in front of the teacher. A 21‑inch arm measurement points to a 1/2 violin on most charts, but a narrow shoulder frame or a short neck can make that same size feel uncomfortably long. The fit check exists to catch those discrepancies. Treating the chart as the final answer turns it into a guess dressed as a precise tool.
Forcing a Full‑Size Violin on a Small Adult Because “Adults Play 4/4”
Adults shorter than about five foot four rarely find a full‑size violin comfortable. The rule that adulthood equals 4/4 ignores the simple physics of arm reach. An adult beginner who cannot hold the violin up without shoulder strain or who feels neck tension after brief practice is most likely fighting an instrument that is too large. Moving to a 3/4 or 7/8 violin often eliminates those symptoms entirely. The fraction printed on the instrument’s label does not define the musician; fit does.
Quick Reference: The Sizing Stages Summarized
| Stage | Goal | Key Action |
|---|---|---|
| Arm Measurement | Obtain a reliable baseline | Measure left arm from shoulder to mid‑palm in inches |
| Size Chart | Select the initial fractional size | Match measurement to chart; choose smaller size when on boundary |
| Fit Check | Confirm the size physically | Player holds violin; verify elbow bend, finger reach, shoulder level |
| Exception Handling | Adjust for small adults or very young children | Test smaller fractional violins; never force a too‑large instrument |
Frequently Asked Questions
Can I size a violin at home without a teacher?
A parent can take the arm measurement with a flexible tape and use a size chart to get a starting point. But the fit check is difficult to do accurately without training. Whenever possible, ask a teacher or an experienced violinist to confirm the size before finalizing a rental or purchase.
What if my child’s arm measurement falls exactly between two sizes?
Begin the fit check with the smaller size. A violin that is slightly small works for a few months with relatively little trouble. A violin that is too large creates tension that is far harder to correct later.
Does violin size affect sound quality?
Smaller violins have shorter string lengths and smaller bodies, so they tend to project less volume and have a brighter tone. For a beginner, ergonomic fit is the dominant concern. A well‑fitted small violin played with relaxed technique will sound better than a too‑large instrument played with stiffness.
How often should a growing child be remeasured for violin size?
Every six to twelve months, or sooner if the child reports discomfort, struggles to reach notes, or begins lifting the shoulder. Many teachers re‑measure at the start of each academic year as a routine practice.
Can an adult use a 3/4 violin indefinitely?
Yes. Several professional musicians with smaller frames perform on 3/4 or 7/8 instruments by choice. The right size enables healthy technique and full musical expression. An instrument’s value is not in its fraction but in how well it fits the player holding it.
Begin with the Measurement Today
The four‑stage sequence — measure, match, fit‑check, adjust for exceptions — turns violin sizing into a repeatable, ergonomic safety process. If you are a parent, a teacher, or an adult beginner, start by measuring the left arm from the shoulder joint to the center of the palm. That single number is the only reliable entry point into every decision that follows.