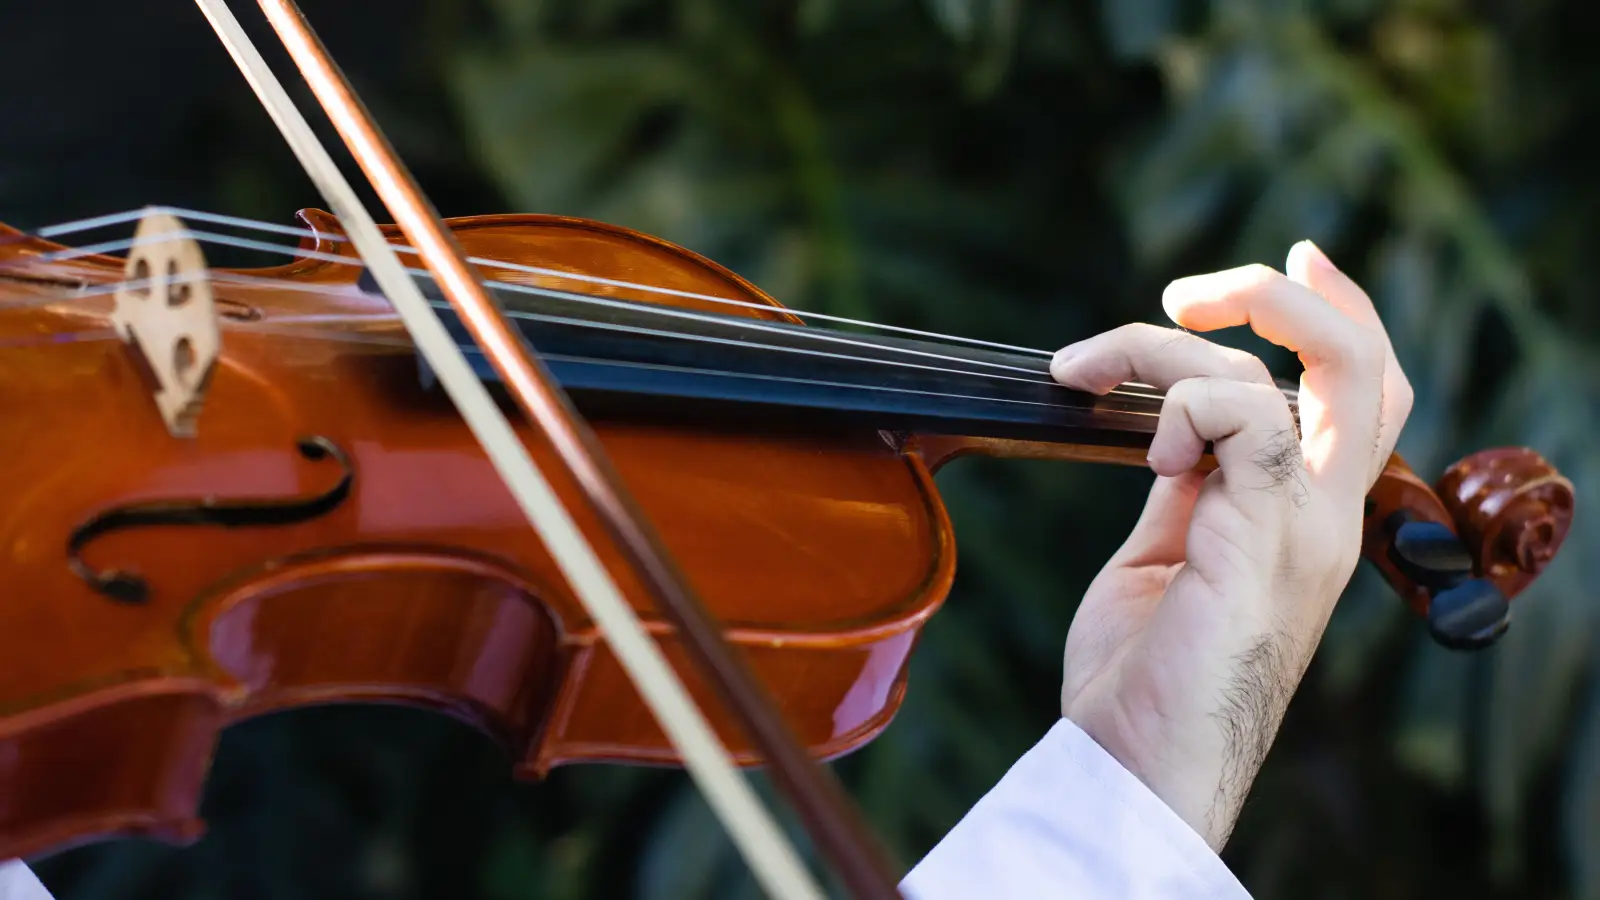
You don't need a violin to build a bow hold that feels secure and free. This sequence of six off-instrument exercises takes just 10 minutes a day and guides your fingers from a soft, static hold all the way to an independent tapping pattern that sticks. Within the first week, the shape starts to feel natural, the thumb stops locking up, and the pinky learns to balance instead of press. It's a gentle, consistent path toward muscle memory that shows up the moment you pick up the bow.
What a Relaxed, Independent Bow Hold Feels Like (and What You'll Build in a Week)
A calm, capable bow hold isn't about tightening every knuckle. It's a rounded thumb that never stiffens, a curved pinky that rests lightly on the stick, and fingers that can move one at a time without the whole hand following along. The wrist stays soft, and the bow becomes something you guide rather than grip. After seven days of this daily routine, that setup will start to come forward on its own. You'll feel less effort when you place your fingers, and the tone you draw will be cleaner because the tension that used to sneak in is fading.
The 6-Exercise Sequence at a Glance
- Form a relaxed thumb-cradle hold around a pencil, all fingers curved
- Tap your index and middle fingers while keeping the thumb and pinky still
- Practice isolated pinky taps on a table to build independence
- Mobilize your thumb with pressure-release motions against a fixed side
- Slide the ring and middle fingers along the pencil without losing contact
- Perform a full-hand tapping sequence, fingers lifting and landing in rhythm
Work through the list daily, spending one to two minutes on each step. The routine is short enough to fit into a coffee break, and its cumulative effect is what turns a conscious effort into an unconscious habit.
Exercises Explained
1. The Pencil Thumb-Cradle
Take a pencil or dowel and let your thumb and middle finger hold it, thumb bent so its tip rests against the side. Curve the remaining fingers around, and place the pinky on top with a slight bend. The hold should feel steady, not squeezed. Sit with that shape for 60 seconds, noticing where tightness creeps in and consciously inviting it to release. Typical duration: 1–2 minutes. Most common mistake: Letting the thumb straighten or lock. Once the thumb goes stiff, the wrist follows. Keep it rounded and easy, and you'll give the rest of the hand permission to stay soft.
2. Index and Middle Finger Taps
With the thumb, pinky, and ring finger quiet, lift your index and middle fingers just a few millimeters off the pencil and tap them back down. The motion comes from the base knuckles—not the whole hand. If the thumb or pinky wants to join in, slow the taps until only the two intended fingers move. Typical duration: 1–2 minutes. Most common mistake: Letting the entire hand bounce along. A quick glance in a mirror or a phone video will show whether the isolation is clean. Embrace the slower, cleaner version; speed will arrive on its own.
3. Pinky Lifts and Taps on a Flat Surface
Rest your hand on a table as if you're holding a bow, thumb bent and relaxed. Lift only the pinky and tap it down, keeping the other fingers still. Then reverse the challenge: hold the pinky down and try to move the ring finger independently. This builds the small but essential strength the pinky needs to balance the bow without cramping. Typical duration: 1–2 minutes. Most common mistake: The ring finger tagging along for the ride. If they lift together, slow the tempo until the brain learns the separation. Patience here pays off faster than pushing through sloppy reps.
4. Thumb Mobility Press-and-Release
Bring the pencil hold back, but now focus entirely on the thumb. Press the side of the thumb gently into the pencil, then release the pressure without changing its bent shape. That tiny rocking motion trains the subtle adjustments you'll use to vary bow weight later. Typical duration: 1 minute. Most common mistake: Unbending the thumb to apply pressure. Keep the joint curved; the work comes from the muscle pad at the base, not from locking and unlocking the knuckle.
5. Ring and Middle Finger Slide
From the same hold, slide the ring and middle fingers up and down the pencil in small increments while the thumb and pinky stay put. This teaches the hand to reposition without tensing up—a skill that translates directly to smooth bow changes. Typical duration: 1–2 minutes. Most common mistake: Squeezing harder as the fingers move. Watch the thumb; if it whitens or stiffens, shorten the slide distance until you can move freely without added grip.
6. Full-Hand Rhythmic Finger Tapping
Now tie everything together. Tap all four fingers in a repeating pattern—index, middle, ring, pinky—while the thumb stays bent and motionless. Keep the taps small, the rhythm steady, and the hand relaxed. This is where the week's isolation work becomes a unified, musical motion. Typical duration: 1–2 minutes. Most common mistake: Letting the pinky peel away from the pencil. It should stay lightly on top, tapping with control rather than floating off. If it lifts too far, reduce the tap height until the contact is maintained.
Before You Put Your Bow Down: A 30-Second Verification
After the routine, take a quick check with these three questions:
- Is the thumb rounded, not straight or locked?
- Does the pinky stay curved and tap with control, not fly away?
- Can the other fingers move independently without the whole hand tensing?
If any answer is no, spend an extra minute on the exercise that targets the weak spot. That little bit of focused attention compounds over the week.
Frequently Asked Questions
Do I need a special object for these exercises, or will a regular pencil work?
A regular pencil or a wooden dowel about the thickness of a bow stick is ideal. Objects that are significantly thinner or thicker won't give your fingers the same spatial feedback, so stick with something roughly bow-stick width.
How quickly will I notice a difference in my actual bow hold?
Most beginners notice less tension and a more comfortable finger placement within three to five days. The full muscle memory pattern gels over a week, but the greater ease often arrives sooner.
My pinky keeps collapsing; what specifically helps?
The table taps (exercise 3) are the most direct fix. Pair them with the thumb mobility work, and avoid the temptation to press the pinky flat to “lock” it. Strength develops through controlled, light motion—not through bracing.
Can I do this routine more than once a day?
You can do it twice a day, but more than that risks fatiguing the small hand muscles, which can bring tension back. Ten focused minutes once daily is a reliable dose for steady, noticeable progress.
After 7 Days: What Should Feel Different
By the end of a week, the bow hold will no longer feel like a puzzle you're solving every time. The thumb will stay rounded under pressure, the pinky will offer a stable counterbalance without cramping, and the fingers will find their places with less conscious effort. To lock in the progress, do the full-hand rhythmic tapping exercise for 60 seconds right before you pick up the violin. It bridges the off-instrument work straight into your playing, so the relaxed shape you've built is the shape you start with.