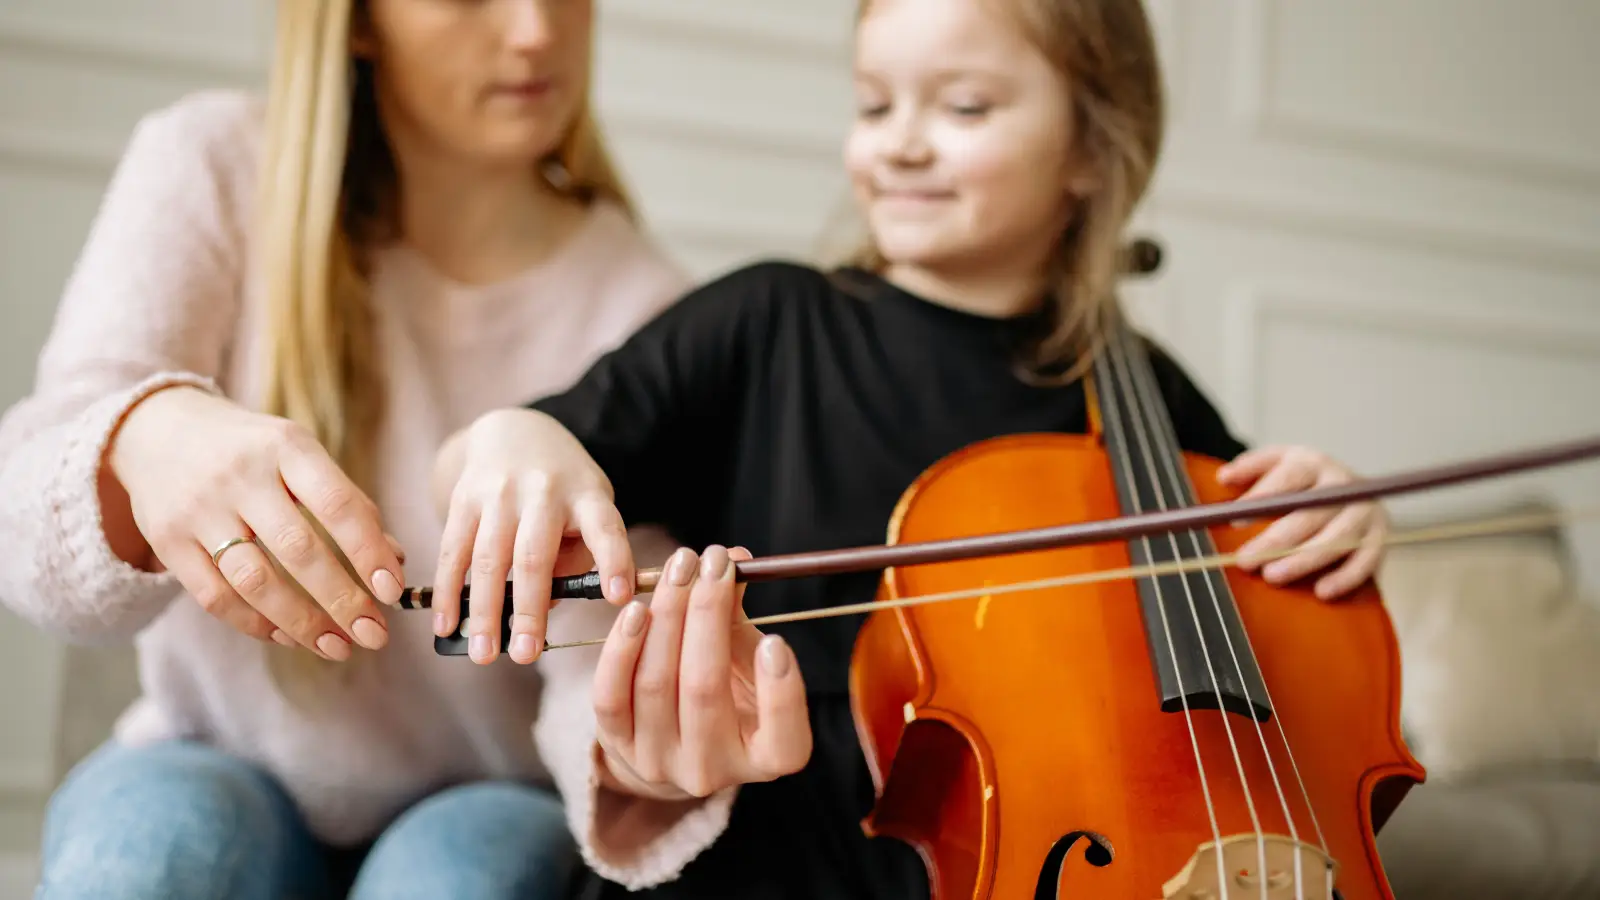
A straight bow results from the elbow and wrist functioning as a coordinated mechanical linkage, not from drawing a precise line with the hand. Most beginners never get this because they focus narrowly on the bow hand while ignoring the two joints that actually determine the bow's path.
Teachers don't fix a crooked bow by adjusting finger placement. They reposition the shoulder, recalibrate the elbow, then ask the wrist to comply. The command “keep the bow parallel to the bridge” is a destination, not a method. The method is an arm-led sequence where the shoulder anchors, the elbow drives, and the wrist absorbs the rest. If the bow drifts toward the fingerboard at the tip or skates outward at the frog, the failure is almost never in the grip — it's a joint-timing error that needs a systematic reset.
The Two Joints That Determine the Bow's Trajectory
Three structures participate in every stroke: shoulder, elbow, and wrist. The shoulder sets the plane and must remain stable. The elbow is the prime mover — a hinge that opens and closes to transport the forearm. The wrist operates as a compliant connector that adjusts its angle so the bow stays perpendicular to the string at every point, regardless of how far the elbow is from the bridge.
A straight bow maintains a constant contact point roughly midway between bridge and fingerboard. Geometrically, the arm must change shape across the stroke. Near the frog, the elbow is deeply bent and the wrist flexed. Mid-bow, the forearm is square, wrist neutral. At the tip, the elbow is near full extension and the wrist extends. The shoulder remains quiet throughout, providing a fixed reference. The elbow provides direction and power; the wrist fine-tunes the path. Understanding this division of labor is what separates productive practice from endless correction.
Anchor the Shoulder Before a Single Note Sounds
Every clean stroke starts with a stable shoulder. A shoulder that lifts or rolls forward shifts the entire arm plane, making a straight bow impossible no matter what the elbow and wrist do later.
What to do: Take position with the violin secure. Let the upper arm hang from the shoulder socket without gripping. Raise the bow arm to the string and settle the bow at the midpoint. Before moving, check that the shoulder blade is drawn back and down — not raised toward the ear. The sensation is one of the upper arm sitting in the joint, not of muscles bracing to hold it up.
Why this comes first: Until the shoulder is anchored, every subsequent joint action occurs on a shifting base. The elbow will overcorrect, the wrist will fight the instability, and the bow will never track straight.
A clean anchor looks like this: Watch the shoulder cap in a mirror during a downbow from the middle. It should stay fixed — no hike upward, no roll forward. If it moves, stop and re-settle.
Let the Elbow Lead the Forearm
With the shoulder stabilized, the elbow takes charge. The elbow is a hinge; its purpose is to extend and flex the forearm so the bow travels along a plane parallel to the bridge. Many beginners mistakenly swing the entire arm as a rigid unit from the shoulder, which creates an arc — not a straight line.
What to do: From the middle, initiate a slow downbow by allowing the elbow to open forward, away from the ribs. The forearm moves like a drawbridge lowering. There is no horizontal push; the elbow simply straightens, carrying the hand outward without letting the hand drop toward the floor.
Why this follows shoulder anchor: With the shoulder fixed, the elbow can open along a predictable plane, and the bow's middle third remains parallel. A moving shoulder would cancel out this directional effort.
A correct elbow lead looks like this: At mid-bow, the forearm points across the string, wrist and hand forming a straight line from elbow to knuckles. By the tip, the elbow is nearly extended but never locked, and the contact point hasn't shifted.
Let the Wrist Yield — It’s Not a Steering Wheel
Between mid-bow and the tip, the distance from elbow to bridge grows. If the wrist stays rigid, this increased distance pulls the bow sideways, and the contact point slides toward the fingerboard. The wrist must yield slightly to keep the bow on its straight track. It acts as a variable-length link, not as a steering mechanism.
What to do: During the final third of a downbow, allow the wrist to extend a small amount. Picture the hand gliding on a rail while the forearm continues forward. The wrist should feel elastic, not floppy. On the upbow, the wrist flexes gently as the elbow closes, restoring the original position at the frog. The wrist responds to the elbow's motion — it never initiates.
Why this comes after the elbow phase: Applying wrist flexibility before the elbow direction is stable produces wobbly, unfocused strokes. The wrist fine-tunes; it cannot compensate for a sloppy elbow path.
A compliant wrist looks like this: At the tip, the wrist is slightly extended (bent back) without collapsing. The bow remains parallel to the bridge, and the pinky and ring finger stay in light contact with the stick.
Merge Elbow and Wrist into a Single Motion
With the shoulder stable, the elbow driving, and the wrist yielding, the final step is to blend these elements into one connected motion. Isolated joint work can leave a player with a mechanical, segmented stroke: an elbow action, a pause, then a corrective wrist nudge. That produces an uneven tone.
What to do: Set a metronome to 60 bpm and bow one open string per beat, frog to tip. Focus on the transfer of forearm weight onto the string while the wrist floats. Pay attention to the mid-bow transition, where the elbow becomes nearly square and the wrist moves from flexion to neutral to extension. Aim for a seamless, uninterrupted flow.
Why integration comes last: Coordinating multiple joints demands slow, deliberate practice that layers the earlier stages. Attempting full integration too early only ingrains old habits. Each preceding stage must be automatic before you attempt to combine them at tempo.
Integration looks like this: In a side mirror, the bow travels in a straight line at a constant sounding point. The elbow and wrist move in a smooth, wave-like rhythm. The shoulder stays still while the two active joints trade responsibilities across the stroke.
A Complete Stroke, Step by Step
Take a typical starting point: a new player bows an open A string and watches the bow slide toward the fingerboard near the tip. The hand feels tight, the tone thins.
Begin at the frog with the shoulder anchored. The elbow is bent into the side, the wrist gently flexed. Initiate the downbow by letting the elbow open. For the first third, the wrist holds shape — the elbow does the work. As the bow passes the midpoint, the elbow continues forward and the wrist begins to extend, allowing the hand to rise and keep the bow parallel. At the tip, the elbow is near full extension, the wrist extended, contact point unchanged. The tone stays even because the bow never drifted.
On the upbow, the elbow leads again, closing from the extended position. The wrist flexes to bring the hand back toward the frog without letting the bow angle narrow. By the frog, the elbow is bent, the wrist flexed, and the contact point hasn’t moved toward the scroll. With the stages internalized, the whole motion feels like a pendulum — elbow as pivot, wrist as the trailing end.
Where the Coordination Breaks Down
When the bow isn't straight, the cause is almost always a joint sequence error, not a grip problem. Three patterns are especially reliable.
Steering with the Hand Alone
Trying to correct a crooked bow by manipulating the fingers or twisting the hand tenses the wrist and overrides the elbow’s path. The bow becomes unstable and the tone thin because the hand can't maintain steady weight. The fix: forget the hand. Return to the elbow-led downbow and let the hand follow without effort.
Locking the Wrist Rigid
A player instructed to “keep the wrist straight” sometimes locks it. The bow can't travel in a straight line beyond the middle because arm geometry forces an arc. The result: the bow diagonals toward the fingerboard at the tip and toward the scroll at the frog, and the sound turns harsh. The remedy is short-stroke exercises from the middle with the elbow still, so the wrist learns to yield.
Letting the Shoulder Lift
When the shoulder rises with the bow arm, the arm plane shifts upward and the bow contacts the string at an angle, sliding erratically. This often stems from tension in the neck and shoulder while holding the instrument. The shoulder must stay down and back, period. Using a wall behind the shoulder blade or a partner’s light touch on the shoulder cap can reinforce the feeling.
Quick Reference: The Arm-Led Bowing System at a Glance
| Stage | Goal | Key Action |
|---|---|---|
| Anchored Shoulder | Stable pivot | Set shoulder blade down and back; verify no movement in a mirror. |
| Elbow-Driven Stroke | Consistent direction | Open and close the elbow to move the forearm; keep the hand passive. |
| Wrist Compliance | Straight contact point | Allow wrist to extend at the tip and flex at the frog without steering. |
| Integrated Flow | Smooth, connected tone | Merge elbow and wrist into one fluid motion at a slow, steady tempo. |
Frequently Asked Questions
How do I know if my bow is actually straight without a teacher?
Use a mirror or record yourself from the side. Watch the gap between the bow hair and the bridge — if it changes during the stroke, the bow is not straight. Bowing exercises that keep the contact point fixed also build internal feedback.
Why does my bow slide toward the fingerboard at the tip even when my arm feels correct?
The wrist isn't extending as the elbow opens. Without that small extension, the fixed hand-to-elbow distance pulls the bow inward. Isolate the final third of the downbow and consciously allow the hand to rise.
Is it okay to use a bow guide or mirror while learning?
Yes. Both provide objective feedback. Rely on them early but wean off gradually — otherwise you risk tying straightness to the visual cue rather than to the physical sensation of the arm.
How long does it take to make straight bowing automatic?
With daily, focused practice on elbow and wrist coordination, most beginners see steady improvement in 4-6 weeks. Full automaticity may take several months. Slow, consistent repetition works; rushed practice does not.
Does the bow hold affect straight bowing?
A stable, relaxed hold gives the arm a reliable connection to the stick. But if the hold is correct and the bow is crooked, the problem is in the shoulder, elbow, or wrist. Address the coordination first, then fine-tune the hold if necessary.
Start with the Shoulder
Straight bowing is a shoulder-elbow-wrist system where the elbow leads and the wrist adjusts. The sequence that builds it — anchor, lead, yield, integrate — turns a scattered correction process into a clear, repeatable path. Start today by locking in your shoulder joint and watching how that single change reorders everything above it.