A crooked bow kills your tone. It forces the hair to slip across the string instead of digging in, leaving a thin, scratchy sound where there should be resonance. Three mechanical faults cause almost every case: a locked wrist, a rigid thumb, or an over-reaching upper arm. Fix those three, and you fix the bow path — and the tone.
What Crooked Bowing Really Costs Your Sound
When the bow drifts off the ideal perpendicular line, the contact point migrates — toward the fingerboard or the bridge — during a single stroke. That migration makes bow pressure and speed inconsistent. The string can’t sustain a full vibration, so overtones flatten out and what you hear is a nasal, pinched tone instead of a ringing one.
Some players treat a crooked bow as a visual flaw. That’s a mistake. It’s an acoustic problem first. A locked wrist blocks the tiny swivels that keep the bow parallel. A rigid thumb twists the stick sideways, choking the string. Over-reaching with the upper arm shoves the bow off track at the tip, producing a brittle shriek. Each fault has a distinct tonal signature — and a direct fix.
Your 60-Second Test and Fix for Bow Drift
Use this mirror test to confirm the problem and feel an immediate improvement.
- Stand in front of a mirror, violin tucked under your chin, bow at the middle of the A string.
- Play one slow down-bow from frog to tip, eyes fixed on the contact point in the mirror.
- If the bow drifts even a finger’s width toward the fingerboard or bridge, the path is crooked.
- Without adjusting anything else, shake out your wrist, deliberately relax your thumb into a soft bend, and shorten your upper-arm motion. Repeat the stroke. The tone will become fuller and more stable — proof that straightness equals resonance.
This is a bandage. The real fix is in the three mechanics below. The test tells you which one is sabotaging your bow.
Three Tone Robbers to Diagnose and Correct
A Locked Wrist Stops the Bow from Following Its Natural Path
A wrist that stays rigid and in line with the forearm can’t perform the subtle up-and-down and rotational adjustments that keep the bow perpendicular. As a result, the bow path wobbles, and the tone surges and fades unpredictably.
How to tell: Play a down-bow on an open string. Try to lift your hand upward at the wrist as you approach the tip. If the hand stays locked straight or feels stiff, the wrist is the problem. Adult beginners often tighten the wrist as a way to feel in control — but control comes from mobility, not rigidity.
Fix it immediately: Sit down and hold the bow in the middle. Move only your wrist in short, loose strokes an inch long, forearm still. Then transfer that feeling to full bows, making the wrist the leader and letting the forearm follow. Think of the hand as a paintbrush pivoting from a relaxed wrist.
A Rigid Thumb Twists the Bow Sideways and Chokes the Tone
A thumb that jams straight against the leather creates a fixed lever. Instead of cradling the bow in a flexible loop, it pushes the stick off-axis, so the hair compresses the string unevenly. The fundamental gets muted, and a harsh, high-frequency edge takes over.
How to tell: Play a slow down-bow and watch the right thumb. If the tip whitens, or the bow handle jumps at bow changes, the thumb is too tense. A bouncy, skittering sensation even on light strokes is another clear sign.
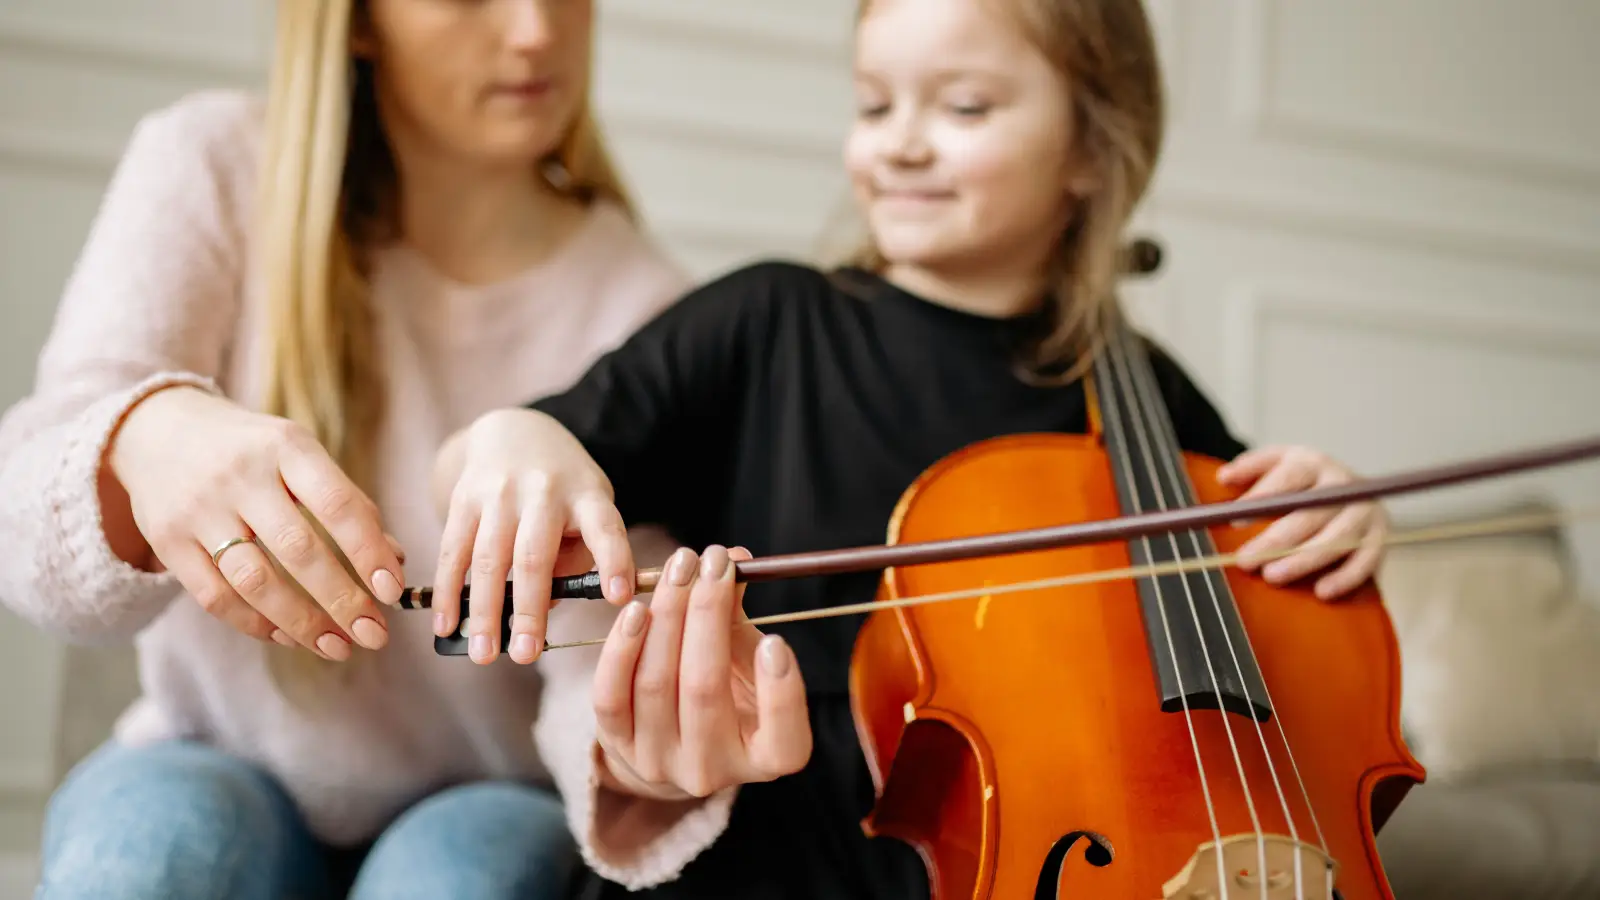
Fix it immediately: Hold the bow loosely between thumb and middle finger, thumb bent at the first joint and touching the stick at the edge of the leather — not the center of the pad. Play open strings while deliberately softening the thumb through each bow change. A useful drill: bow for a few strokes without the index finger, forcing the thumb to become the main support. This retrains the thumb to stay pliable.
Over-Reaching with the Upper Arm Shoves the Bow Off Course
When the upper arm pushes outward and up, the bow’s contact point slides toward the bridge at the tip. That narrow contact point produces a thin, whistling tone — all bite, no warmth — because the bow can’t catch enough string to vibrate fully.
How to tell: Play a full down-bow on the G string and watch your right elbow in the mirror. If the elbow lifts much above wrist height or moves far from your torso before you reach the tip, you’re over-reaching. A proper stroke keeps the upper arm relatively still, with the forearm extending to reach the tip.
Fix it immediately: Drop the upper arm to your side and bow from the middle to the tip using only the forearm. Once that feels stable, reintroduce a small upper-arm swing — like a door hinge anchored at the side. Practice long tones on the lower strings with the mirror; the goal is a contact point that stays dead steady from frog to tip.
When Wrist, Thumb, and Arm Fixes Aren’t Enough
Some bow-tracking problems persist even after correcting these three causes. Rarer culprits include:
- Bow tilt: A stick leaning too far toward or away from the bridge reduces hair contact and makes the bow slide sideways.
- Shoulder-rest mismatch: A chinrest or shoulder rest that is too high or low forces the arm into an awkward angle, tugging the bow off course.
- Swaying posture: A moving torso or locked knees transmits instability to the bow arm.
- Left-hand tension: A vise-like left hand torques the violin, shifting the string plane relative to the bow.
- Poor rosin or worn hair: Slick patches cause the bow to skid, mimicking a crooked path.
Start with a seated mirror check on a stool to eliminate posture variables, then test each factor one at a time.
Preventative Drills to Lock in a Straight Bow
Five minutes a day of targeted work stops crooked bowing from creeping back. Add these to the start of every practice.
- 20-second mirror bows: A single open-string down-bow, eyes on the mirror, keeping the bow parallel to the bridge. Reset immediately if it drifts.
- Contact-point spot checks: Place a tiny pencil mark on the string where the bow should ride. Bow until you hear the tone shift, then reset.
- Thumb squeeze-release: Between pieces, squeeze and relax the thumb three times to reinforce softness.
- Ghost-bow near the bridge: Bow a millimeter from the string, parallel to the bridge. This trains the arm to hold a straight line without sound feedback.
- Eyes-closed tracking: Bow a down-bow with eyes shut, then open them to check. This builds the body awareness that makes straight bowing automatic.
If the Bow Still Won’t Track Straight: Next Steps
If a week of daily drills doesn’t produce a stable, straight bow, record a video from the side and front. Often a pattern invisible in a mirror becomes obvious on replay.
If the video doesn’t reveal the cause, book a single lesson with a violin teacher who can watch your bow arm in real time and make an immediate correction. Meanwhile, a bow guide — like a “Bow Hold Buddy” or a strip of tape on a mirror marking the straight line — can provide reliable external feedback. Also, have a teacher or luthier check your setup: a poorly fitted chinrest or shoulder rest can make a straight bow path far harder than it needs to be.