If your bow hand cramps the moment you pick up the violin, there’s some genuinely good news: a set of five simple prop-based exercises can retrain those tight muscles before you even touch a bow. Using a pencil, a rubber band, a sponge, a credit card, and a rolled sheet of paper, these off‑the‑violin drills teach your hand the curved thumb, bent pinky, and relaxed knuckles it needs — exactly the combination that adult beginners tell each other about after weeks of stiff, frustrating practice.
What makes the difference for most adults isn’t more time gripping the bow itself; it’s learning the shape away from the instrument, where there’s no fear of dropping something delicate and no rush to produce a sound. Each exercise below isolates a specific point of stiffness — a locked thumb, a straight pinky, raised knuckles — and gives your hand a chance to memorize the relaxed, curved posture that will eventually feel like second nature.
Why Adult Hands Get Stiff on the Bow
Adults bring decades of gripping habits to the violin — steering wheels, pens, phones, even kitchen sponges squeezed far harder than needed. The bow hold asks for a bent thumb, a pinky curled on its tip, and knuckles that slope gently downward, a shape no daily task ever demands. When that unfamiliar configuration meets an expensive bow and the pressure to get a good sound, the hand’s natural response is to clamp down. Stiffness becomes the default, and a tense bow hold all but guarantees a scratchy, uneven tone.
Untangling that pattern doesn’t start with more bow exercises. It starts with teaching the hand, in a completely pressure‑free way, what “relaxed” actually looks and feels like. The props bridge that gap.
The 5 Exercises in 30 Seconds
- Hold a pencil between thumb and middle finger, then curl remaining fingers around it to feel the arched thumb.
- Loop a rubber band around the pinky and ring finger; repeatedly curl the pinky outward to build the bent‑pinky muscle.
- Squeeze a soft sponge with only the fingertips, then release to flatten the knuckles.
- Balance a credit card on the bent thumb to lock in the correct curve.
- Roll a sheet of paper into a tube, hold it with a bow grip, and practice rotating the wrist as if bowing.
What You’ll Need (Household Items Only)
All five exercises use ordinary objects. Gather:
- A standard pencil (unsharpened is fine)
- A small rubber band (the kind for hair or produce)
- A soft kitchen sponge
- An old credit card or a piece of cardstock
- A sheet of printer paper
No violin is touched until the very end, so you can practice at a desk, on the couch, or during a break.
The 5 Prop-Based Bow Hold Exercises
1. Pencil Grip: Teaching the Thumb Its Arch
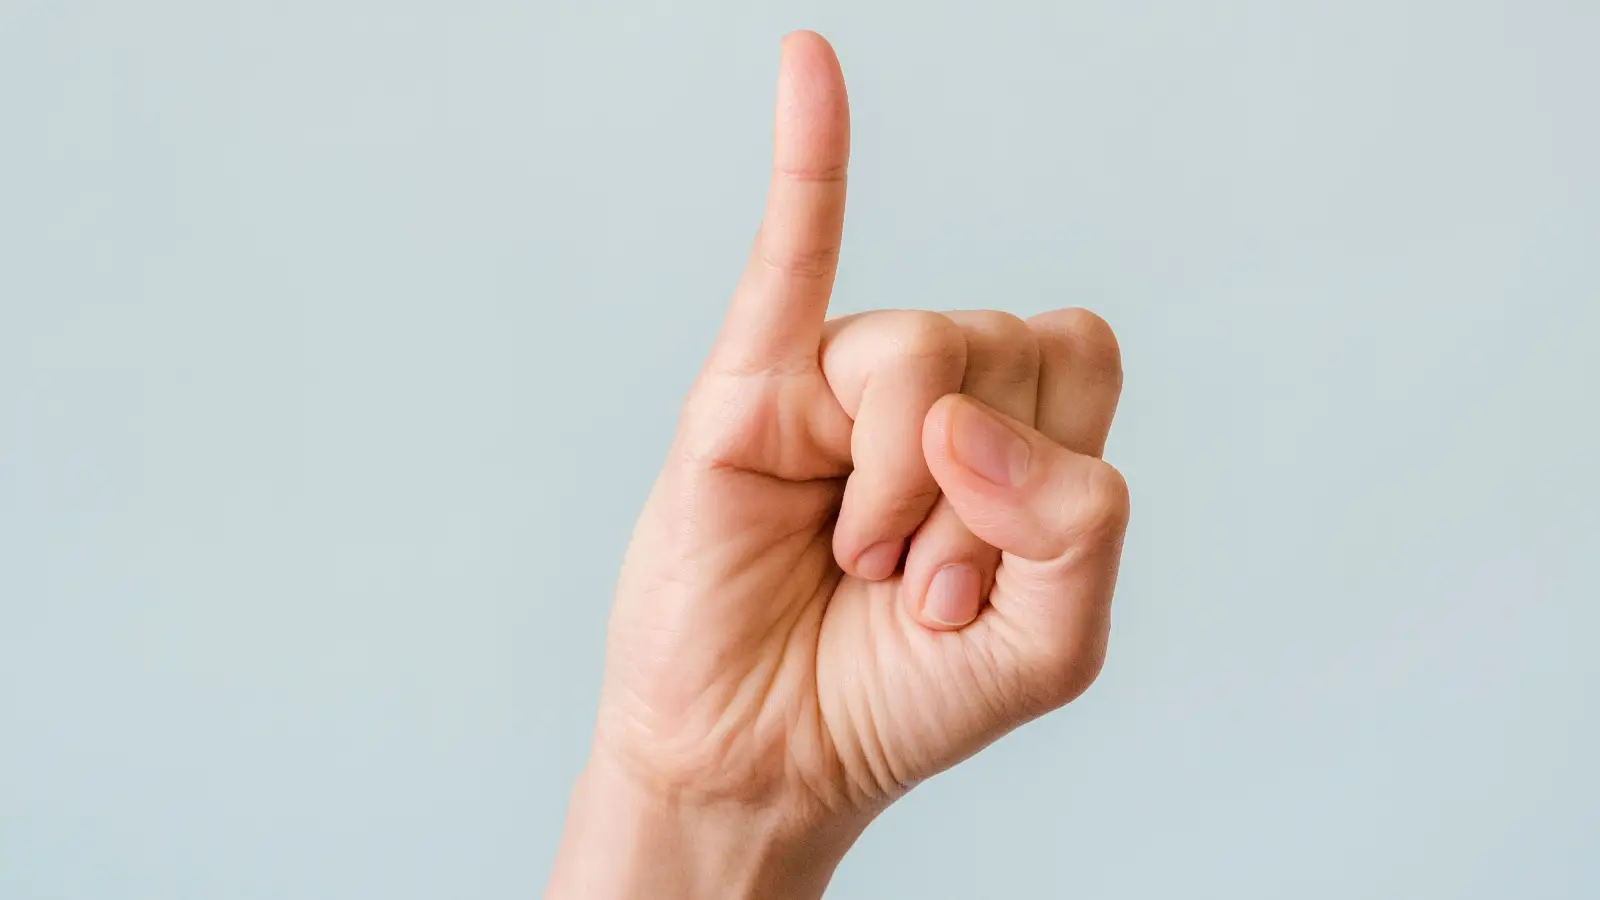
Set the pencil across the base of your fingers. Place the tip of your thumb against the pencil, roughly opposite the middle finger, and let the thumb bend into a rounded arch. The pencil should rest on the inside edge of the thumb, not flat across the pad. Then curl your index, middle, and ring fingers over the top — the grip should feel almost like holding a small handle. Relax the pinky so it lightly hooks around the end of the pencil.
It’s completely normal for this shape to feel odd at first. Your hand has probably never been asked to curve this way. If the thumb straightens and the pencil slides forward, shift your thumb backward so the arch deepens. If the pinky lifts off entirely, intentionally curl it and let its tip touch the pencil. Hold the shape for 30 seconds, release, and repeat three times. The aim is to feel the hand’s “soft” curve, not a rigid clamp.
2. Rubber Band Pinky Curl: Building the Bent Pinky Muscle
Place a small rubber band around the tips of your pinky and ring finger. The band should be just tight enough to create light resistance when you straighten the pinky. Now, slowly curl the pinky into a rounded shape, pulling against the band. The motion should come from the pinky’s middle knuckle, keeping the other fingers still. Hold the curl for two seconds, then release. Perform ten repetitions per hand.
Many adult beginners notice the pinky snaps straight the moment they stop concentrating. That’s a sign the tiny muscle on the outside of the hand hasn’t yet learned to hold a curve. If the snap happens, reduce the band tension or double the band for more control. If the ring finger joins the movement, press that finger lightly against a tabletop to isolate the pinky. This exercise patiently builds the strength and coordination the pinky needs to stay bent on the bow.
3. Sponge Squeeze: Releasing Knuckle Tension
Place a soft, dry sponge in your palm. Using only your fingertips — not the whole hand — press lightly into the sponge, aiming to create small indentations with each finger pad. Then, relax the hand completely until the knuckles drop and the fingers straighten. The sequence is: squeeze lightly (enough to feel resistance), then fully let go. Do this 15 times, focusing on the release phase. The point is not to strengthen the grip but to teach the hand to return to a relaxed, open position.
Raised knuckles are a common source of bow bounce, and adult hands often hold that tension without realizing it. This drill gives you a reliable way to feel — and then reproduce — the soft, flat‑backed hand that allows a smooth stroke.
4. Credit Card Arch: Locking in Thumb Curve
Rest a credit card horizontally across your bent thumb, with the card’s edge sitting in the crease of the first thumb joint. The card should balance without your index finger touching it. If the thumb is too straight, the card will slide off toward the palm. Adjust until the card stays level for ten seconds. Then, without moving the thumb, gently place your middle finger opposite it and let the other fingers drape over the card’s edge — as if holding a very thin bow. This gives a clear visual feedback: a straight thumb collapses the card; a properly arched thumb supports it.
If balancing feels impossible at first, slide a folded piece of paper onto your thumb as a more stable substitute before graduating to the card. The real test is not how soon you master the card but how securely the thumb holds its arch when you later pick up the bow.
5. Rolled Paper Bow Handle: Wrist Rotation Without Fear
Take a sheet of printer paper and roll it tightly into a tube about the thickness of a bow stick. Hold it exactly as you would a bow — thumb bent, pinky curled on the end, knuckles sloping down. Now, with a relaxed shoulder, gently rotate your forearm as if you were drawing a straight bow from frog to tip. Focus on keeping the wrist flexible: it should bend slightly on up‑bows and straighten on down‑bows, but never lock. Because the paper tube is light and disposable, you can experiment without the anxiety of dropping a real bow. Do three full rotations slowly, then speed up while maintaining the hand shape.
This final exercise weaves the separate finger shapes into the full‑arm motion that will soon move a real bow across the strings.
Signs Your Bow Hand Is Loosening Up
Use these checkpoints after each practice session to confirm the exercises are working:
- After Exercise 1: Holding the pencil, you can wiggle the thumb without the knuckles tightening.
- After Exercise 2: The pinky stays rounded when you relax — no longer snapping straight like a spring.
- After Exercise 3: When you release the sponge, the back of your hand appears flattened, not ridged with raised knuckles.
- After Exercise 4: The credit card remains steady on the bent thumb for ten full seconds without slipping.
- After Exercise 5: While rotating the paper tube, the wrist moves freely and the thumb maintains its arch — no stiffening.
- Overall: When you pick up the actual bow, the hand feels neutral and you no longer need to “force” the pinky down or consciously arch the thumb.
When the Bow Hold Still Feels Stiff: Quick Fixes
The thumb locks straight as soon as you pick up the bow.
Go back to the credit card balance. Hold the bow horizontally in the air (no violin), and place a small folded paper between the thumb and the stick. If the paper falls, the thumb isn’t arched enough. Practice holding the bow with the paper wedge until the curved shape feels secure.
The pinky refuses to stay bent.
Double up the rubber band and repeat the pinky curls for a full minute. Then, with the bow held vertically in front of you like a magic wand, lightly tap the pinky tip against the stick while keeping it rounded. The vertical position removes gravity’s pull and makes it easier to hold the shape.
The knuckles remain raised even after sponge work.
Stand in front of a mirror and practice the sponge squeeze, but this time keep the back of your hand completely flat against a tabletop while you squeeze. The table prevents the knuckles from popping up, giving your hand a clear model of the relaxed position.
The whole hand cramps within seconds of gripping the bow.
You may be holding too much weight in the fingers. Switch to the rolled paper tube and practice until you can support it with only the thumb and middle finger, letting the other fingers simply rest. Then gradually introduce the index and ring finger, keeping the grip light.
Questions Adult Beginners Ask About Bow Hold Exercises
How long should I practice these exercises each day?
Five minutes total, spread across the five drills, is enough to build muscle memory. The key is consistency — do them daily for two weeks, and you’ll notice a difference the next time you bow.
Can these exercises be done left‑handed if I play opposite?
Absolutely. Simply mirror the instructions for your dominant bow hand. The muscle‑memory principles remain identical.
I don’t have a credit card — what else can I use?
A hotel key card, a folded train ticket, or any stiff rectangular piece of cardboard works. The important part is the slight slipperiness that forces the thumb to find stability through its arch.
Will these exercises fix a tense bow grip permanently?
They build the right neural pathways, but like any physical skill, you’ll need to stay mindful. Use the pencil grip and credit card as a quick warm‑up before each practice session, and the tension will stay away longer each time.
From Props to Bow: Your Next Step
Once the five exercises feel automatic, pick up your bow and simply hold it in the air for ten seconds with the relaxed grip you’ve been training; if your hand stays soft, you’re ready to start bowing open strings with full, free tone.