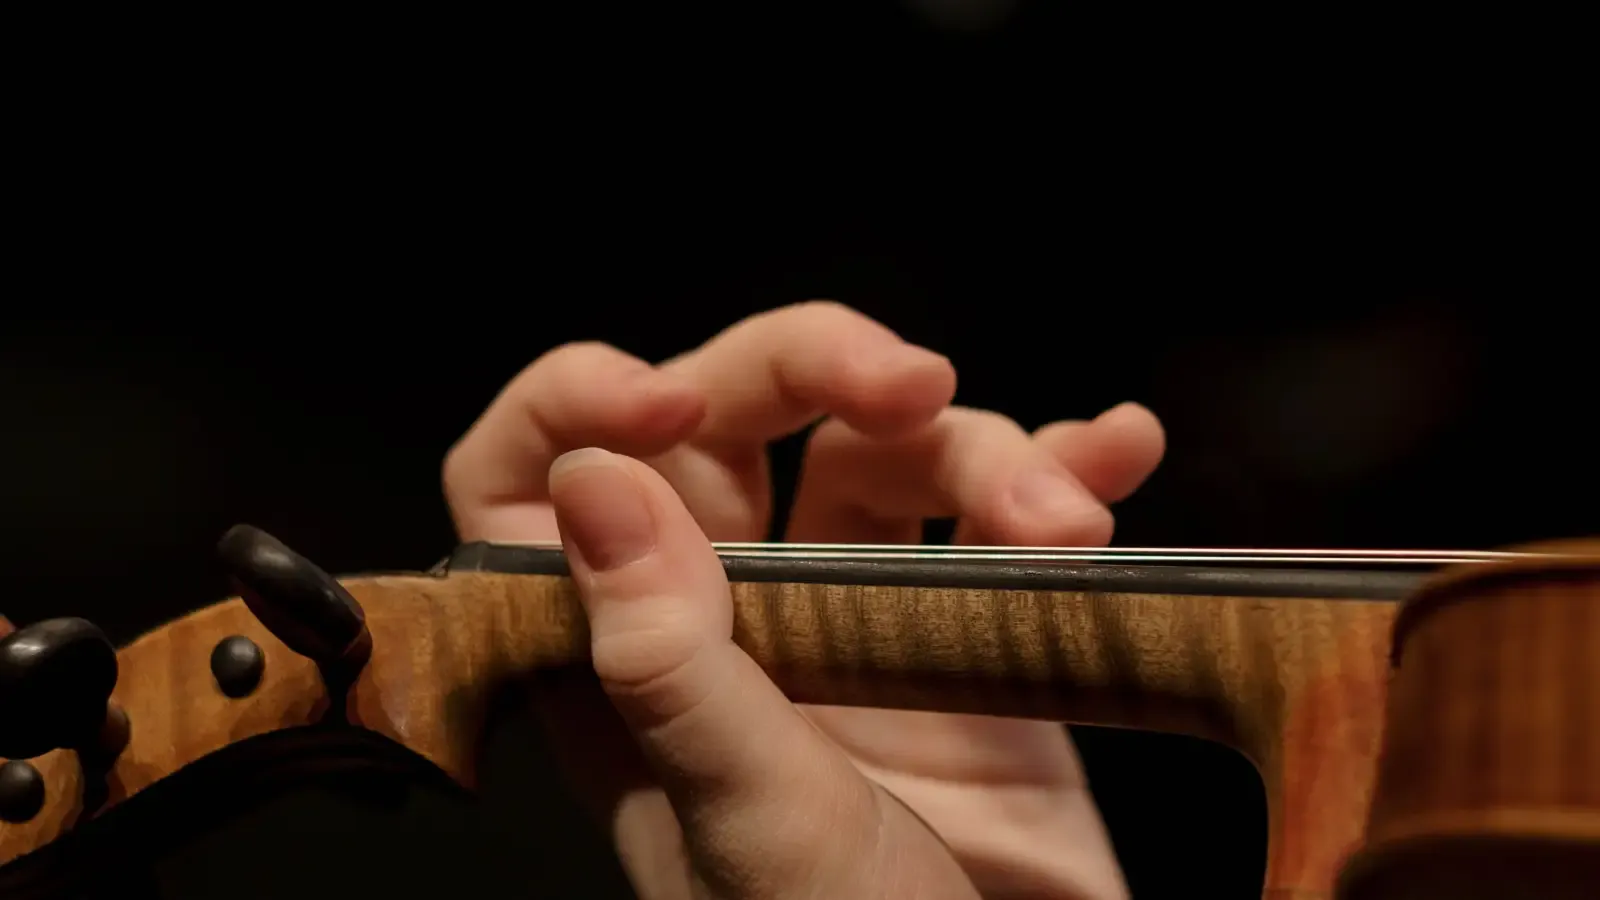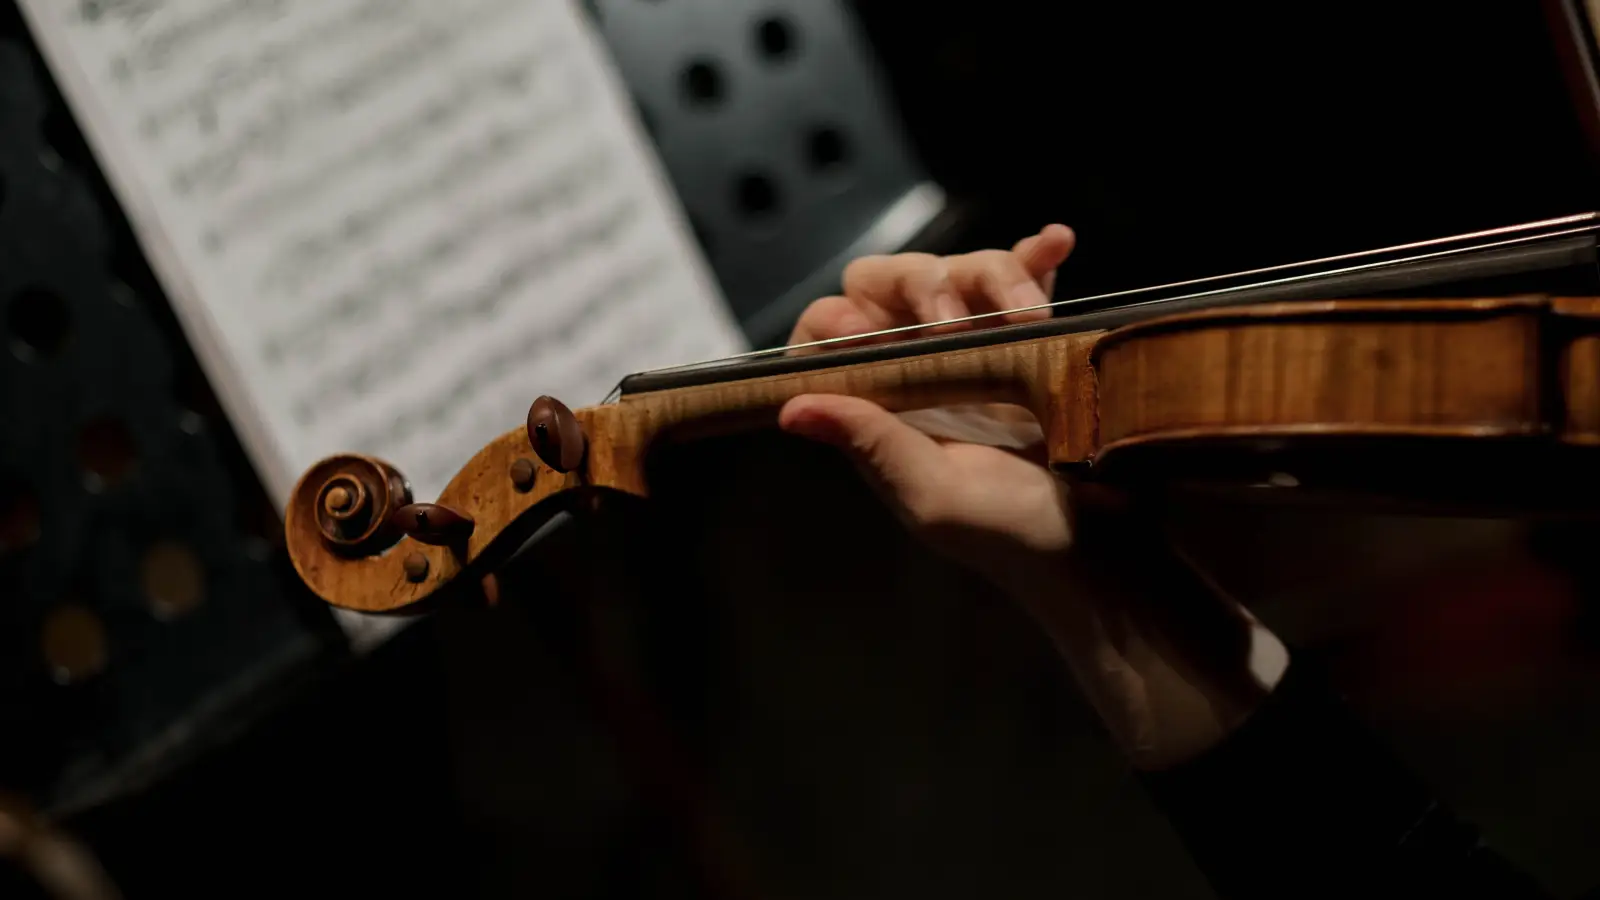
Beginners who rely only on tape strips end up chasing marks with their eyes rather than training the hand to read interval spacing. The left hand clicks into tune when you stop guessing and start working with four finger patterns that convert the music’s whole‑step and half‑step relationships into a tactile plan—one the hand can feel from the very first lesson.
The Short Version
- Pick the string and key signature for the passage.
- Find every half step—between open‑1, 1‑2, 2‑3, or 3‑4.
- Map that half‑step pair to one of the four patterns.
- Build the hand frame around the touch point where fingers meet, keeping whole‑step gaps elsewhere.
- Set all four fingers in that shape, then cross‑check with an open string.
Tools & Setup
A tuned violin and a clear mental note of where half steps sit are enough. A drone or clip‑on tuner helps if the ear is still developing, but the aim is to shed the tool as soon as the spacing locks in.
The Four Patterns as a Whole‑Step / Half‑Step Blueprint
First position uses only four spacing plans. Each plan states which finger pair stays close and which stay apart. Instead of note‑name drills, a beginner can read a key and immediately know the spacing. The patterns:
- Pattern 1 – half step between 2 and 3 (fingers 2‑3 touch). D major on the D string, G major on the G string, and others.
- Pattern 2 – half step between 1 and 2. Shows up in keys like B‑flat major on the A string, where the first finger slides back toward the nut.
- Pattern 3 – half step between 3 and 4. Found in G major on the D string, D major on the A string.
- Pattern 4 – half step between open string and first finger. Appears in keys with a flat leading tone, such as F major on the A string.
A simple check: fingers that share a half step should touch or nearly touch; all other pairs carry a visible, consistent gap. No tape can provide that feedback—only the hand can.
Step 1: Extract the Half‑Step Pairs from the Key Signature
Major‑key piece – Use the circle of fifths or the accidentals to find where semitones lie. On a single string, the tonic reveals it. D major (two sharps) has half steps F♯‑G and C♯‑D. On the D string, notes are D 0‑E 1‑F♯ 2‑G 3, so the half step lands on 2‑3. That’s Pattern 1. The other half step sits between a raised third finger and the fourth (or on the next string), but the string‑by‑string approach keeps decisions simple.
Minor‑key piece – The raised leading tone moves the half‑step location. In E minor, the D♯ forced on the A string creates a half step 3‑4 instead of the 2‑3 of G major. Check the altered note and reassign the half‑step pair.
One‑octave scale – Write the notes on one string, circle the semitones, and read off the finger numbers. That tells you the pattern immediately.
Step 2: Turn the Half‑Step Pair into a Hand Position Cue
The hand takes its shape from the touch point. Fingers that share a half step rest lightly against each other; whole‑step fingers keep a sliver of space. This tactile cue works without looking.
- Half step 2‑3 – Fingers 2 and 3 stay in contact. Finger 1 spreads away from 2; the gap between 3 and 4 opens to approximately the same size.
- Half step 1‑2 – Fingers 1 and 2 touch, pulling the first finger back toward the nut. The other gaps remain wide.
- Half step 3‑4 – Fingers 3 and 4 touch. The first three fingers spread normally; the fourth naturally leans into the third.
- Half step 0‑1 – The first finger sits near the nut, as if a virtual fret existed. The rest of the hand spreads normally.
Always lock in the contact fingers first, then let the other fingers settle where the spacing demands. No tape ever taught that sensation.
Step 3: Place All Four Fingers at Once, Not One by One
With the shape set, drop all four fingers onto the string simultaneously to anchor the pattern. Keep the wrist neutral and the thumb loose. Whole steps should feel like a comfortable, balanced stretch; half steps feel like a soft touch.
If the pattern forces a wide stretch – For example, the stretch between 1 and 2 in Pattern 3, where the half step is 3‑4. Don’t fight your hand. Pivot the left elbow slightly inward so the fingers arrive from above without twisting the wrist. The spacing adjusts with the arm, not by stretching the fingers alone.
If the spacing feels vague or forced – Re‑read the key’s half‑step pair. Odds are the hand is trying to put a whole step where a half step belongs. Reset.
Step 4: Verify with an Open String
Every pattern has at least one open string that acts as a pitch anchor. On the D string, open D confirms the first finger’s E (a whole step up). The third finger’s G should ring in sympathy with the open G string. When those two points align, the pattern is right.
Bow open D and third‑finger G as a double stop. A beatless perfect fourth says the spacing is accurate. If the interval wavers, slide the third finger slightly, then note how the half‑step contact feels in the new spot. Ear and hand link up.
Checkpoints
- After Step 1, you can point to the score and name which finger pair carries the half step without looking at the neck.
- After Step 2, the half‑step fingers physically touch when placed on the string, and the whole‑step gaps are even.
- After Step 3, bowing the four fingers in order produces a clear whole‑step/half‑step rise that sounds like the expected scale fragment.
- After Step 4, the open‑string double stop is clean and beatless.
If Something Went Wrong
The pattern feels correct but sounds out of tune.
A tilted hand usually pulls one finger away from its contact point. Line the knuckles up parallel to the fingerboard, re‑establish the half‑step touch, and test again against a reference pitch.
The fourth finger collapses or won’t reach.
The elbow is probably tucked too far left. Bring the elbow under the instrument until the forearm feels neutral, then drop the fourth finger—it should land with a whole‑step gap unless the pattern demands a touch.
The pattern changes mid‑piece and spacing falls apart.
When an accidental or key change forces a new half‑step location, stop, name the new pattern silently, and reposition the contact fingers. Drill switching between two patterns slowly, two or three notes at a time, until the hand learns the transition.
FAQ
Do I need to learn all four patterns at once?
No. Pattern 1 and Pattern 3 cover the most common beginner keys (D major, G major, A major). Add Pattern 4 and Pattern 2 once those are solid.
Can I still use tapes at first?
Tapes can act as temporary training wheels, but they quickly become a crutch that keeps the ear from connecting to the hand. Remove them as soon as you can feel the half‑step pairs reliably.
How do I know which pattern to use when I change strings?
The pattern is string‑based. On the new string, look at the key signature and the notes just ahead, find the half‑step pair, and set the hand to match.
What if my fingers are too small to keep whole‑step gaps without tension?
Small hands often benefit from a slightly more curved finger shape and a higher elbow. The whole‑step gap is a natural distance, not a forced stretch. If tension builds, lift the hand, shake it out, and return with only the half‑step contact as the priority.
Does this method hold in higher positions?
Yes. The same four patterns recycle in every position; only the absolute pitch changes. Mastering them in first position builds the mental map for all later work.
The four finger patterns replace guesswork with a repeatable system. Once the half‑step touches and whole‑step gaps become automatic, left‑hand placement stops being a visual hunt. The next logical step is to take Pattern 1 on the D string and play a two‑octave D major scale across all four strings, deliberately resetting the shape every time you cross to a new string.