Yes, your left hand position often breaks down because of a tense, gripping thumb. The surprising fix isn’t strength—it’s learning to let the thumb rest lightly against the neck. When that pressure releases, fingers find their spots with far less strain, and playing feels comfortable instead of tiring.
Many beginners, especially adults who started later, naturally clamp down because it seems like the only way to keep the violin safe. But a locked thumb creates a tight pocket that fights good intonation and causes hand fatigue. This article focuses on one core idea: teaching the thumb to support without squeezing, so your fingers can move with precision and ease.
What You Need Before You Start
- A properly fitted shoulder rest that holds the violin steady with your chin.
- A mirror (full-length or at least large enough to see your left hand).
- Optional: a small piece of paper or business card to test grip pressure.
Guiding Your Thumb to a Gentle, Supportive Contact
1. Check Your Thumb’s Current Tension
Set the violin in playing position. Without adjusting your hand, look at your thumb. Is the neck buried deep in the webbing, with the thumb bent and pressing hard? See if the knuckle looks white. Slide a piece of paper between thumb and neck—if it won’t move, you’re squeezing. Notice exactly where the tension lives; that’s the spot you’ll learn to soften.
2. Find the Sweet Spot on the Neck
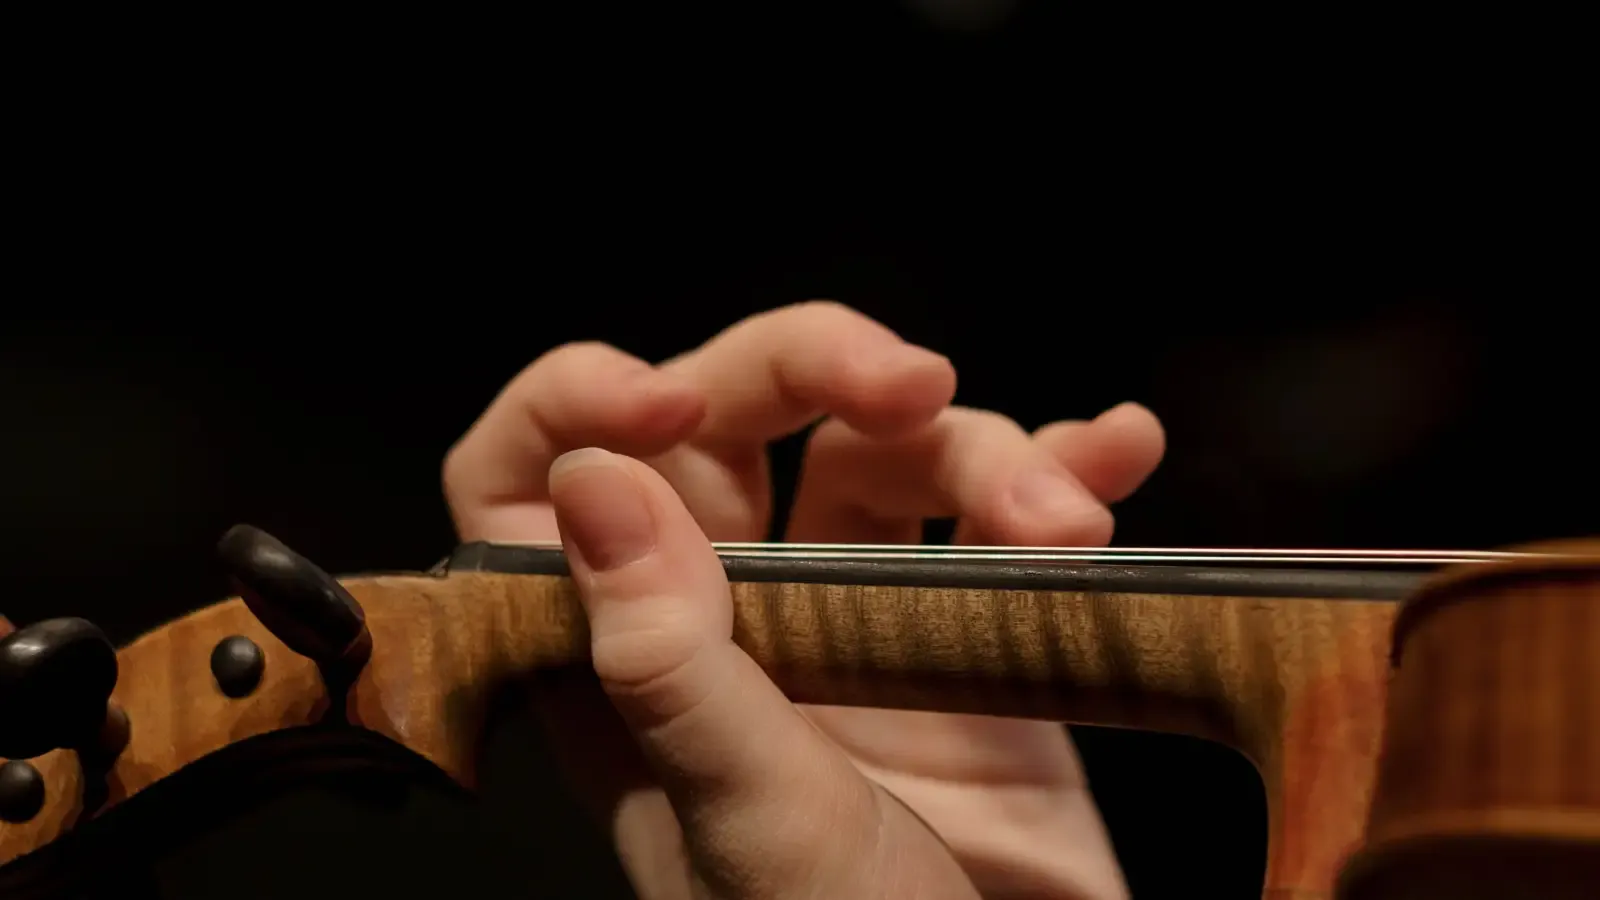
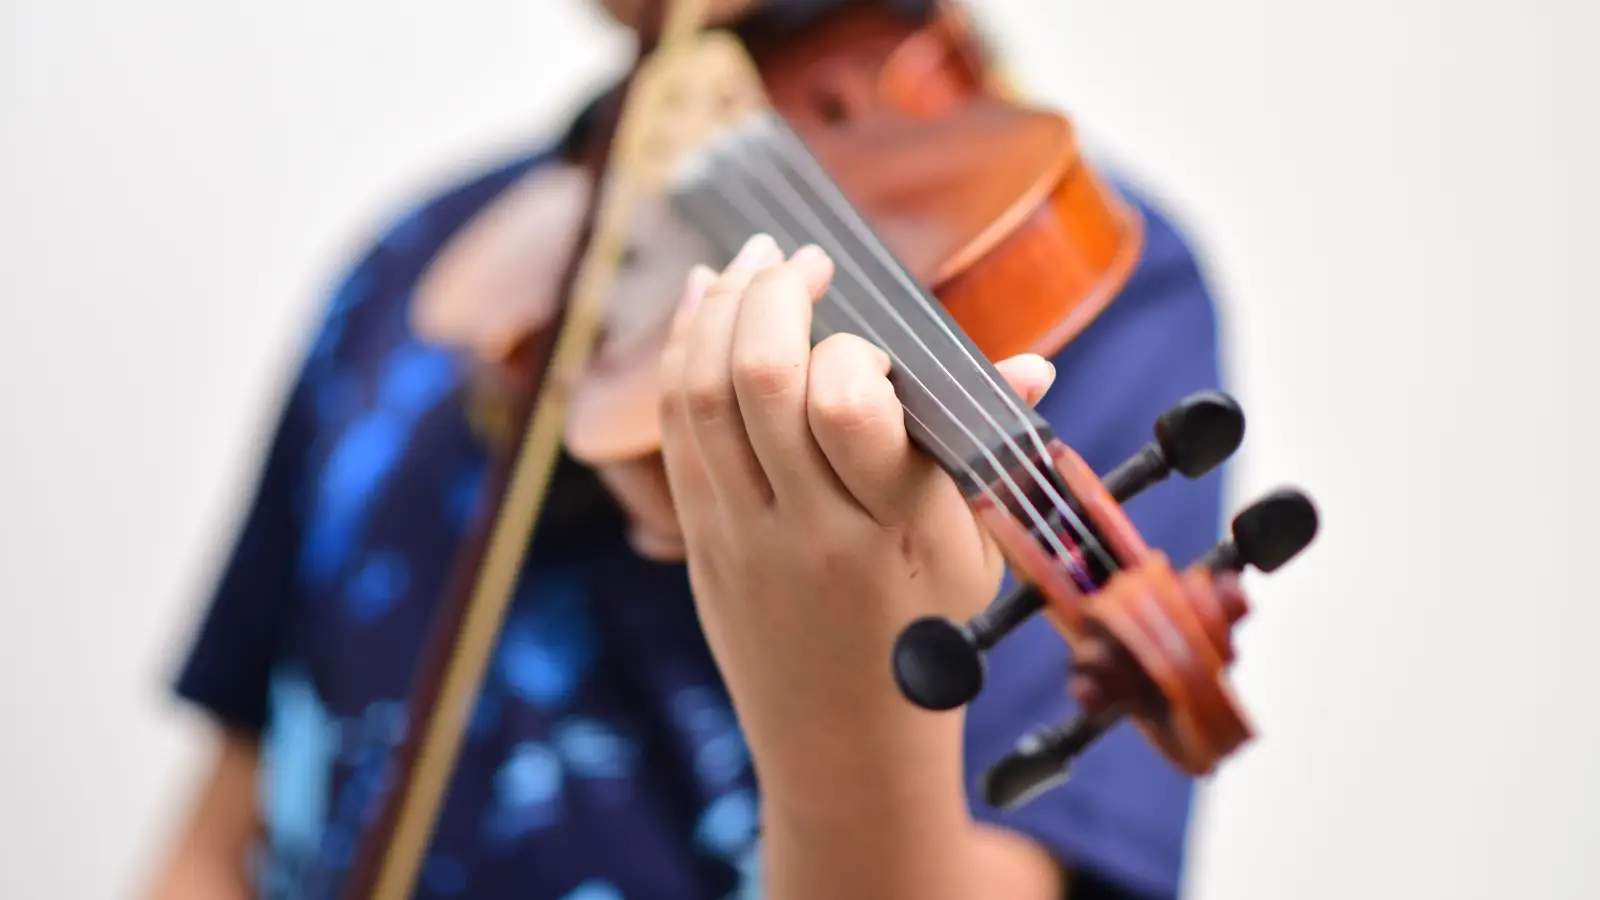
The thumb should touch the side of the neck, near the first finger, using the pad or side of the tip. For most hands, the thumb sits roughly opposite the space between first and second fingers. Let the thumb keep a gentle, natural curve—never locked or hyperextended. Think of it as a steady guide point, not a clamp.
3. Practice Letting Go Without Losing Control
Begin in a worry-free position: rest the scroll on a music stand or a wall so the instrument’s weight is supported. Focus entirely on the thumb. Slowly ease the thumb away from the neck until only a feather-light contact remains—just enough to steer. Touch and release repeatedly until you can keep that light touch without the thumb crumbling or the violin shifting. Then lift the scroll and try the same release while holding normally. Give yourself permission to take this slowly.
4. Build Finger Independence Calmly
Place all four fingers on one string in first position. With the thumb staying light, lift and drop each finger one at a time—index, middle, ring, pinky—without letting the thumb squeeze in sympathy. The moment you sense the thumb tensing, pause and re-establish the light contact. This drill patiently rewires the old gripping habit.
Common Troubles When Lightening the Thumb
Gripping Out of Fear (and the Simple Fix)
It’s completely normal to grip because letting go feels unsafe. But remember: the chin, shoulder rest, and jaw angle secure the violin—the left hand only balances the neck. To prove this, hover your thumb a millimeter off the neck while bowing an open string. The instrument stays put, and the worry fades.
Collapsing the Thumb — Keeping a Soft Curve
Some players, trying to relax, let the thumb buckle backward at the middle joint, which creates a different kind of tension. Keep that soft, natural bend—picture holding a small grape. If your thumb tends to hyperextend, a silicone thumb cushion offers a gentle reminder to maintain shape.
When the Thumb Wanders Too Far Over the Neck
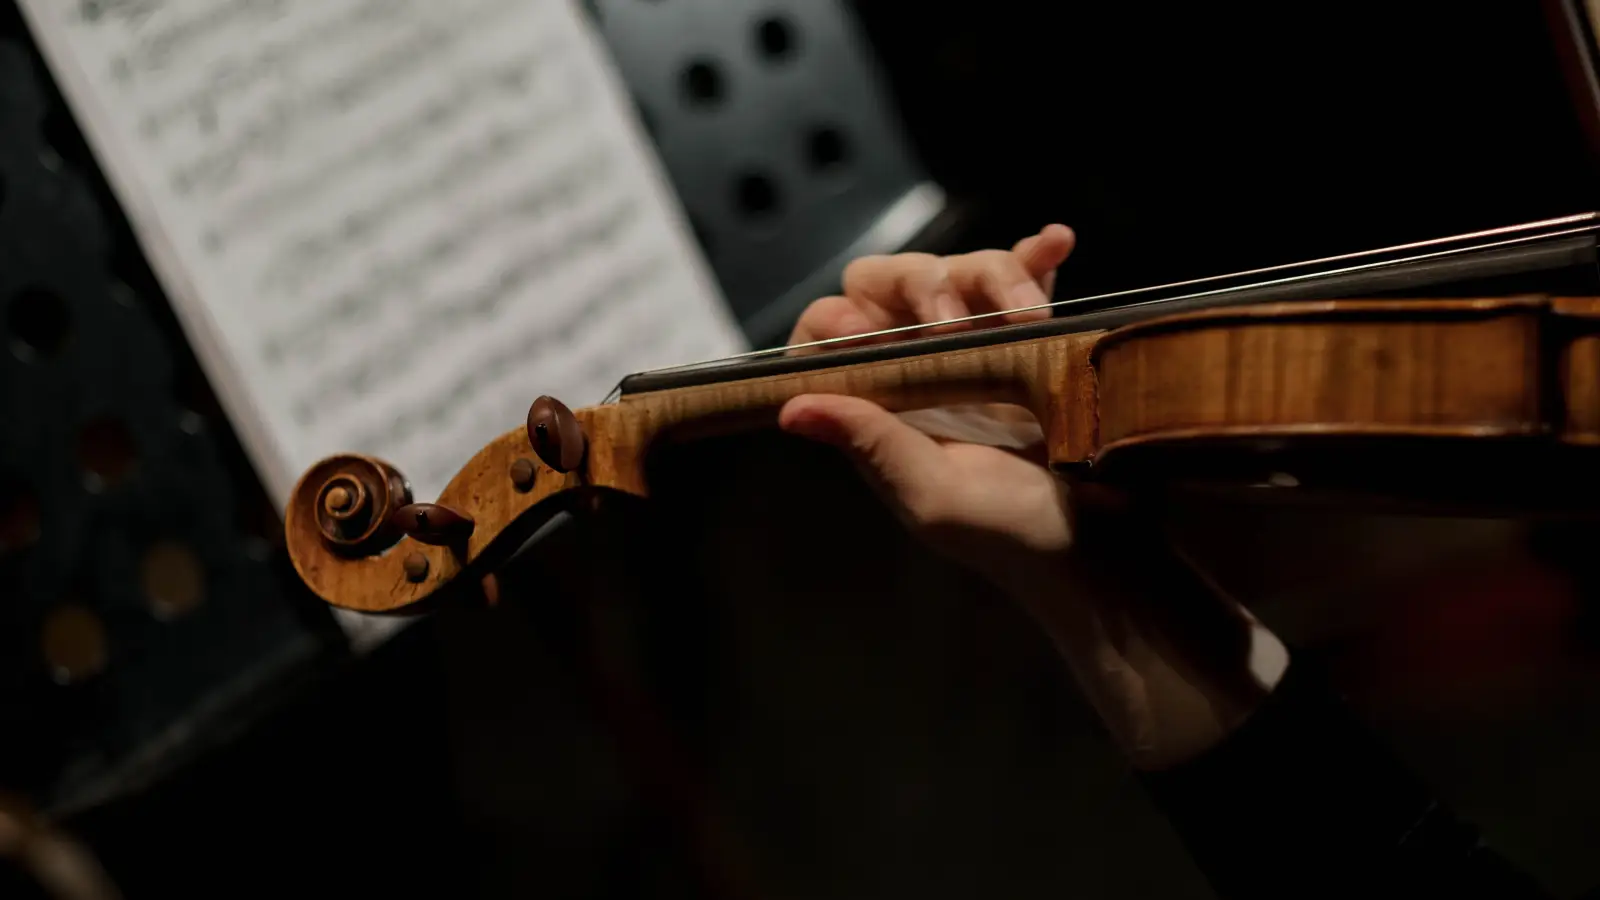
A thumb that reaches around the neck past the first finger forces the palm to press in, shortening finger reach. Check that your thumb stays on the left side of the neck (for violin or viola) and points upward, not forward.
Comfort Modifications for a Friendly Fit
Giving Yourself a Little Extra Security
If an ultra-light thumb makes the violin dip or the wrist collapse, allow slightly more contact—but still no squeezing. A small strip of moleskin or a textured thumb grip adds traction without extra pressure.
A Temporary Training Cushion
A soft silicone sleeve slipped over the thumb tip cushions the feel of the neck, making tension release easier. Use it as a temporary aid, and practice without it once the lighter touch becomes natural.
Quick Answers to Common Thumb Questions
“Can you play the violin without touching the neck with your thumb?”
Not really. You can briefly hover the thumb to check tension, but real playing needs some contact for fine position guidance. Aim for light, responsive contact—not zero contact.
“Why does my thumb hurt after just a few minutes of playing?”
Pain usually comes from squeezing or hyperextending the thumb. Check how hard you’re pressing and the angle of the joint. A thumb pressed flat or bent backward fatigues quickly. The paper-slip test is a kind daily check.
“Is my thumb supposed to be straight or bent?”
It should have a soft, natural curve—like when your hand hangs relaxed at your side. A completely straight thumb locks the muscles; an overly bent tip digging in also tightens things up.
“How do I keep my thumb from slipping when my hand gets sweaty?”
Try a rosin-free grip aid, a thin cotton glove with the thumb tip cut, or an anti-slip thumb sleeve. Avoid putting rosin on your thumb—it gums up the neck and makes cleaning harder.
A Lighter Thumb, a Freer Hand
Retraining your thumb asks only for a few attentive minutes during scales and simple melodies. Once it learns to guide without grabbing, your fingers will move more independently and your hand stays relaxed for longer. Next, carry this light-thumb awareness into shifting exercises and your first vibrato attempts, keeping the same easy, friendly contact as your hand moves.