You came here because you want a left hand that lands in tune without a mirror or a teacher nudging your fingers. That kind of reliability starts inside your own body—your proprioception, the sense that tells you where your hand is in space. This article walks you through a series of silent and listening exercises that build that internal map, so the correct hand shape becomes something you feel rather than something you constantly check.
Many self-taught beginners depend on staring at their fingers or holding on tight, and both habits lead to uneven intonation and a tired hand. The drills below use sound and gentle touch instead of visual fixes. They let your hand absorb the right frame through repetition, even if you have never taken a lesson. By the end, your left hand will find its place on the neck as naturally as it finds a doorknob.
The Fast Track: A 6‑Step Sensory Drill
- Map your natural hand shape away from the instrument.
- Place the left hand on the neck with zero thumb pressure.
- Tap each fingertip silently to feel the arch.
- Lightly place a finger and listen for the ringing open‑string resonance.
- Check the pitch against a drone or adjacent string.
- Walk through a one‑octave scale, focusing on the hand’s quiet shape.
Step 1: Create Your Hand’s Default Mold Off the Violin
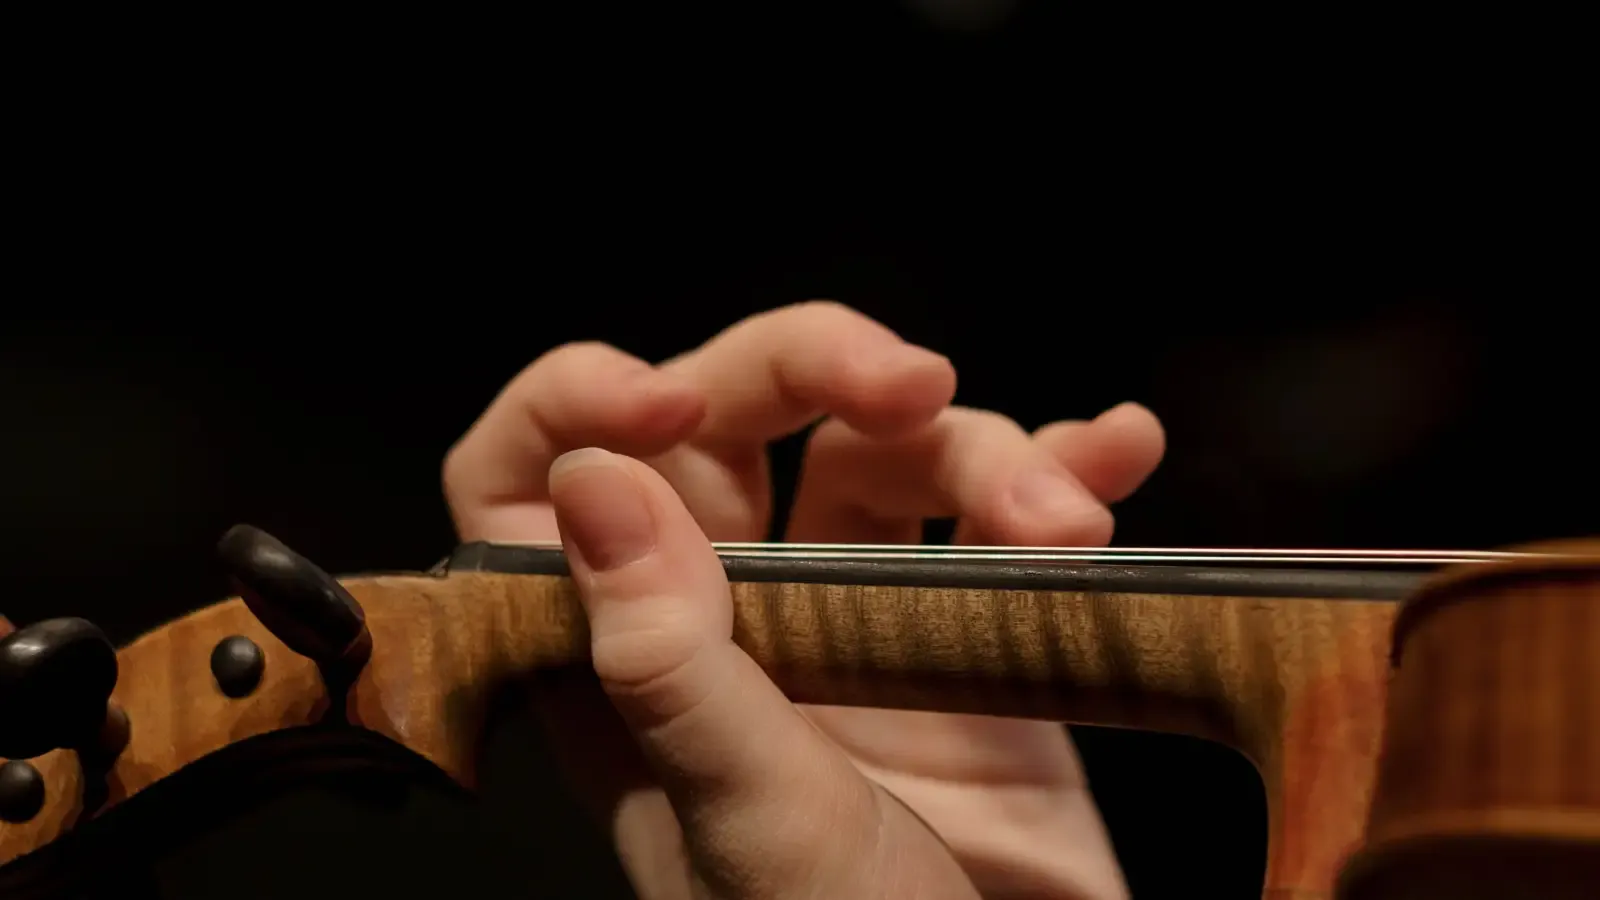
Let your left arm hang at your side, completely relaxed. Without forcing anything, lift the hand as if you were about to cradle a small apple. The fingers curl gently and the thumb naturally moves opposite the middle finger—that simple C‑shape is your tension‑free blueprint.
Rehearse that shape several times away from the violin, noticing how each knuckle arches softly. If the hand stiffens, give it a brief shake and try again. If the fingers straighten or collapse, encourage them to resume the curve until every fingertip pad faces the palm. Taking the violin out of the equation lets your brain store a clear sensory memory of the correct frame, so it will recognize the shape instantly when you return to the instrument.
Step 2: Land on the Neck Without Gripping
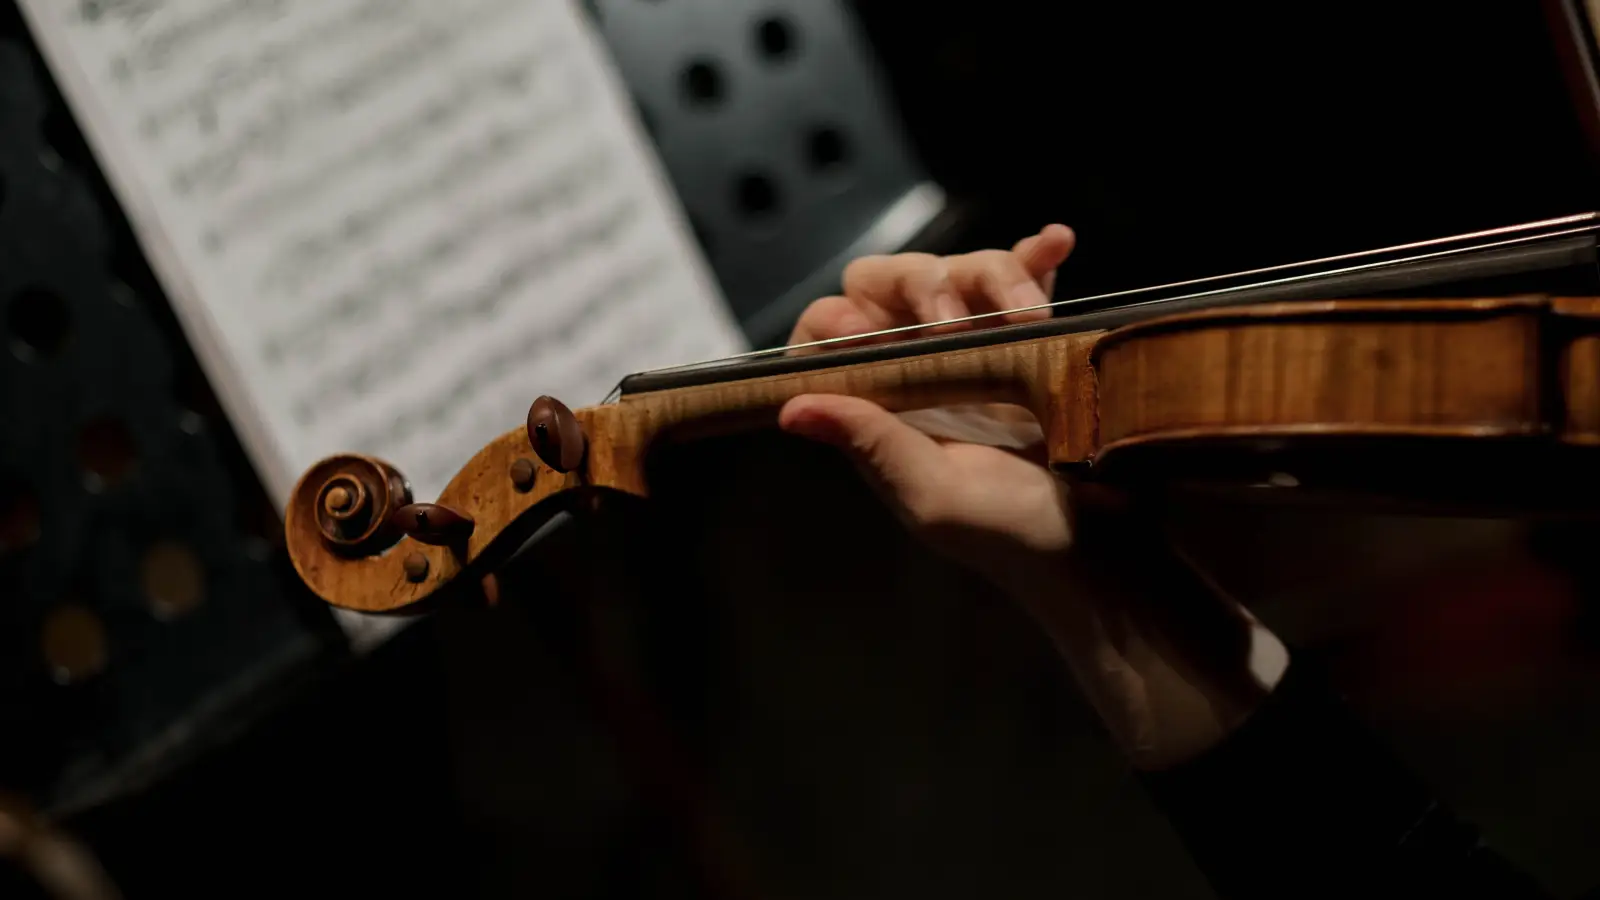
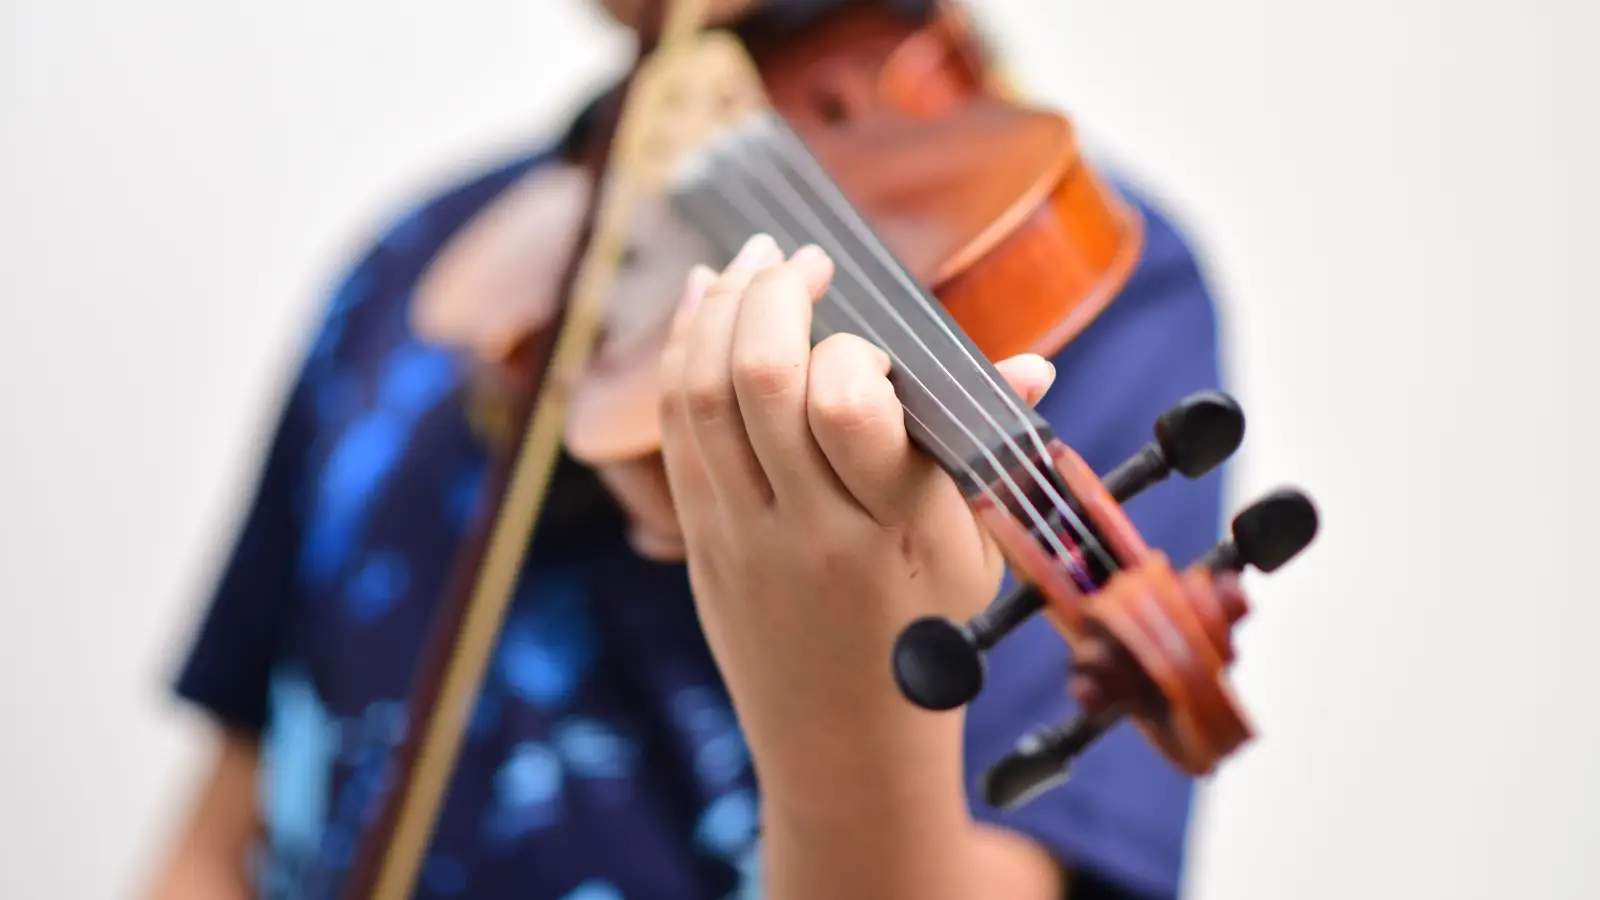
Bring that same soft shape to the violin neck. Rest the thumb lightly on the side, somewhere behind the second finger, and let the fingers hover above the strings. The thumb should touch the neck without squeezing—try sliding a thin slip of paper between thumb and wood; it should glide freely.
If your thumb immediately clamps down, practice bringing the hand to the neck with no thumb contact at all. Let the violin sit securely between chin and shoulder, then add the thumb so gently you barely feel it. If the wrist leans inward and contacts the neck, shift the violin’s angle slightly forward until the hand keeps a straight line from forearm through knuckles.
Step 3: The Silent Tap Test for Finger Arch
Let your fingertips rest on the strings without pressing them to the fingerboard—just a feather‑light touch. Lift each finger a tiny bit and tap it back onto the string, listening for a crisp, quiet thud. That sound should come from the very tip, not the side of the finger.
A dull thud or a flattened finger tells you the knuckle has dropped. Raise the base knuckles so they stay parallel to the fingerboard, and let each finger descend from above. The pinky often resists curving; a small roll of paper tucked under the pinky’s base joint acts as a gentle nudge until the arch becomes automatic. Repeat the tapping until every finger produces the same clean sound.
Step 4: Listen for the Ringing String Resonance
When a left-hand finger touches the string delicately—without pressing it to the board—it can act like a harmonic point, letting an open string ring in sympathy. Try placing your third finger on the A string at the D position, touching so lightly the string can still vibrate underneath, then bow the open D string. If the finger is centered and the touch is light, you will hear a faint, shimmering ring.
No ring usually means the finger is muffling the string by pressing too hard or landing at an angle. Ease off until the string vibrates freely, and check that the fingertip meets the string squarely. This exercise teaches the ear and the hand to work together—a sensitive touch plus resonant sound equals a correct, relaxed position.
Step 5: Verify Intonation with a Drone or Open String
Now play the note with a normal bow stroke. While it sounds, softly bow the adjacent open string. Your ear will detect beating pulses if the two notes are slightly out of tune. Move the finger by tiny increments—toward the bridge if the note is sharp, away from the bridge if flat—until the beats slow and vanish. That moment of silence is your confirmation.
When you consistently land sharp, the finger is probably too close to the scroll; consistently flat suggests it’s too far back. Rely on the sound, not your eyes. Repeat this on every scale note until your ear builds an internal pitch map strong enough to guide the hand automatically.
Step 6: Walk a Scale While the Hand Remembers Its Shape
Pick a one‑octave scale in a comfortable key—G major on the D and A strings is a friendly starting point. Play it very slowly, pausing after each note. During the pause, check that the thumb feels relaxed, the knuckles stay parallel, and the fingers hold their gentle arch. Listen for that same crisp, resonant quality you trained earlier.
If the hand shape begins to collapse when you cross strings, isolate the crossing and practice moving your elbow slightly under the violin to keep the frame intact. Speed is not the goal here; the only target is a hand that recognizes its own secure shape note after note. After a few slow runs, that recognition becomes second nature.
Checkpoints: How to Know the Shape Stuck
- After Step 1, the hand curls comfortably like holding an orange, even when your mind is elsewhere.
- After Step 2, the thumb wiggles freely and the wrist stays straight.
- After Step 3, every finger tap produces the same crisp sound from the fingertip, with knuckles parallel to the fingerboard.
- After Step 4, you hear a clear ringing resonance when a finger is placed lightly and the adjacent open string is bowed.
- After Step 5, you can adjust any note’s intonation within a second or two using only beat‑detection.
- After Step 6, you play a one‑octave scale without looking and every note rings true.
When the Shape Slips: Common Fixes
The thumb creeps up and squeezes the neck. Return to the paper‑slide drill. Balance the violin fully between chin and shoulder, then bring the hand to the neck with no thumb contact. Rest the thumb so lightly that paper slides through easily. Repeat whenever you feel tension return.
The wrist collapses against the neck. Check the violin’s resting angle. A slight forward tilt or a higher chinrest can place the instrument so the hand stays aligned without bending the wrist. Practice holding the violin with the chin alone while bringing the left hand into playing position.
Fingers go flat and lose their arch. Step back to the silent tap exercise, first away from the violin, then on the strings. If the pinky remains stiff, keep the rolled‑paper reminder under the base joint until the curve becomes habitual.
Intonation stays off despite ear training. Your ear might need an external reference. Use a tuner app to confirm the pitch, then switch back to the drone method. Slow down to one note per bow at a glacial tempo, and let the ear guide the finger in real time.
Once your hand automatically takes this secure shape, shifting between positions becomes the logical next skill—something a quiet, consistent left-hand frame makes far easier than you might expect.