Finding the right violin size begins with a simple measurement, but a number on a chart is never the final answer. A violin can match your arm length perfectly and still leave your left hand cramped or your bow arm fighting the instrument. The real benchmark is comfort in both hands at once: your left hand should reach the fingerboard without strain, and your bow hand should move freely from frog to tip without your shoulder hunching or your elbow locking. This guide lays out a three-step fit check that replaces a quick chart lookup with a confident, lasting decision — the kind that keeps someone practicing instead of putting the instrument down in frustration.
The Two Sides of a Violin Fit That Charts Miss
A standard sizing chart works from one measurement: the distance from the player’s neck to the middle of the palm with the arm extended. That gives you the maximum instrument length the left arm can wrap around. But playing a violin involves two separate physical systems, and they don’t always agree on the same number.
The left hand needs to curl around the neck and depress strings at the far end of a fingerboard. If the violin is even slightly too long, the fingers can’t stay curved, the wrist starts to collapse, and the player unconsciously twists the spine or tilts the pelvis to compensate. On the other side, the bow arm has to move across strings at the midpoint between the bridge and fingerboard while staying relaxed at the shoulder. A violin that’s too large forces the bow arm to reach farther forward, tensing the shoulder and shortening the stroke. One that’s too small can crowd the bow arm, collapsing the elbow inward.
A sizing that considers only the left arm often sets up one side for comfort and the other for strain. The foolproof approach tests both sides independently and lets the result that feels worse decide the size.
The 3-Point Comfort Check
The process below moves from the basic measurement everyone starts with to the two playing-position tests that separate a violin that fits on paper from one someone actually wants to practice on.
Point 1: Measure the Arm — Then Treat the Number as a Starting Range
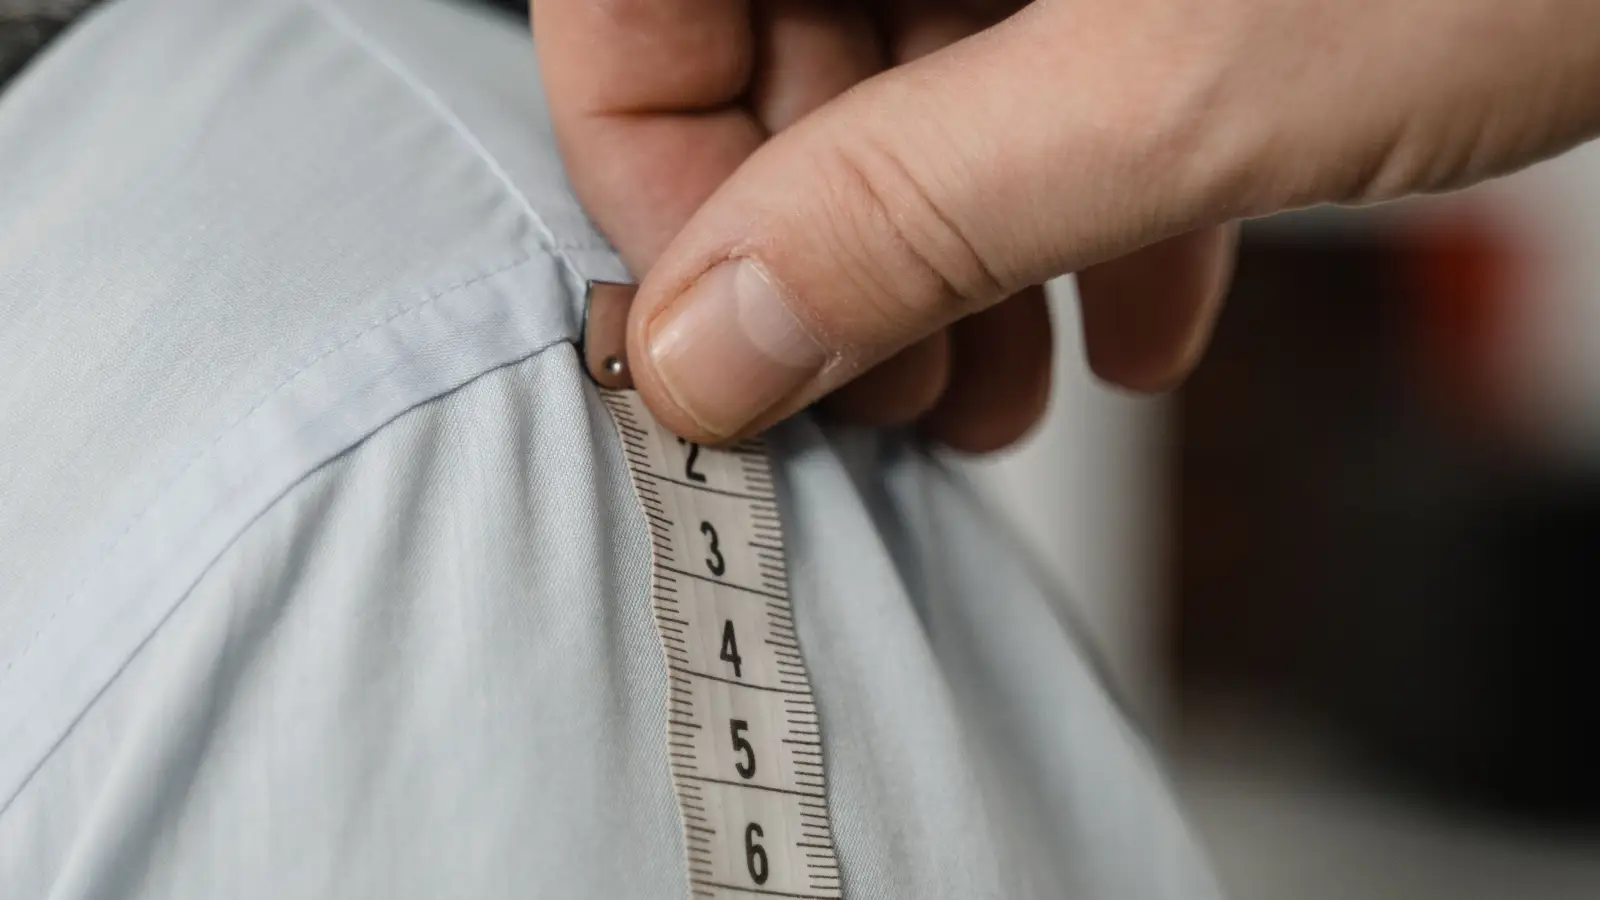
Hold the violin or a ruler in the left hand with the arm extended out to the side, palm up. Measure from the base of the neck (just above the collarbone, where the violin will rest) to the center of the palm. That’s the arm length used in most sizing charts.
For a child, a typical chart maps that measurement to fractional sizes: 14–15½ inches often points to a 1/8 size, 18½–20 inches to a 1/4, 20–22 inches to a 1/2, 22–23½ inches to a 3/4, and above 23½ inches to a full 4/4. For an adult, anything over 23½ inches generally suggests a full size, but shorter adult arms can land squarely in the 3/4 range.
Notice the overlaps. A measurement of 22 inches sits at the boundary of 1/2 and 3/4. That’s where the chart stops being useful. Instead of defaulting to the larger size, treat that number as belonging to a range. If the measurement lands in an overlap, both sizes are candidates, and the next two tests decide. Even when the measurement falls squarely into one range, it’s worth verifying — a 10-year-old whose arm length says 3/4 may still play better on a 1/2 with a lower chin rest if their fingers are short. The chart gives you a place to begin, not a verdict.
Point 2: Check the Left Hand Position — Can the Fingers Stay Curved?
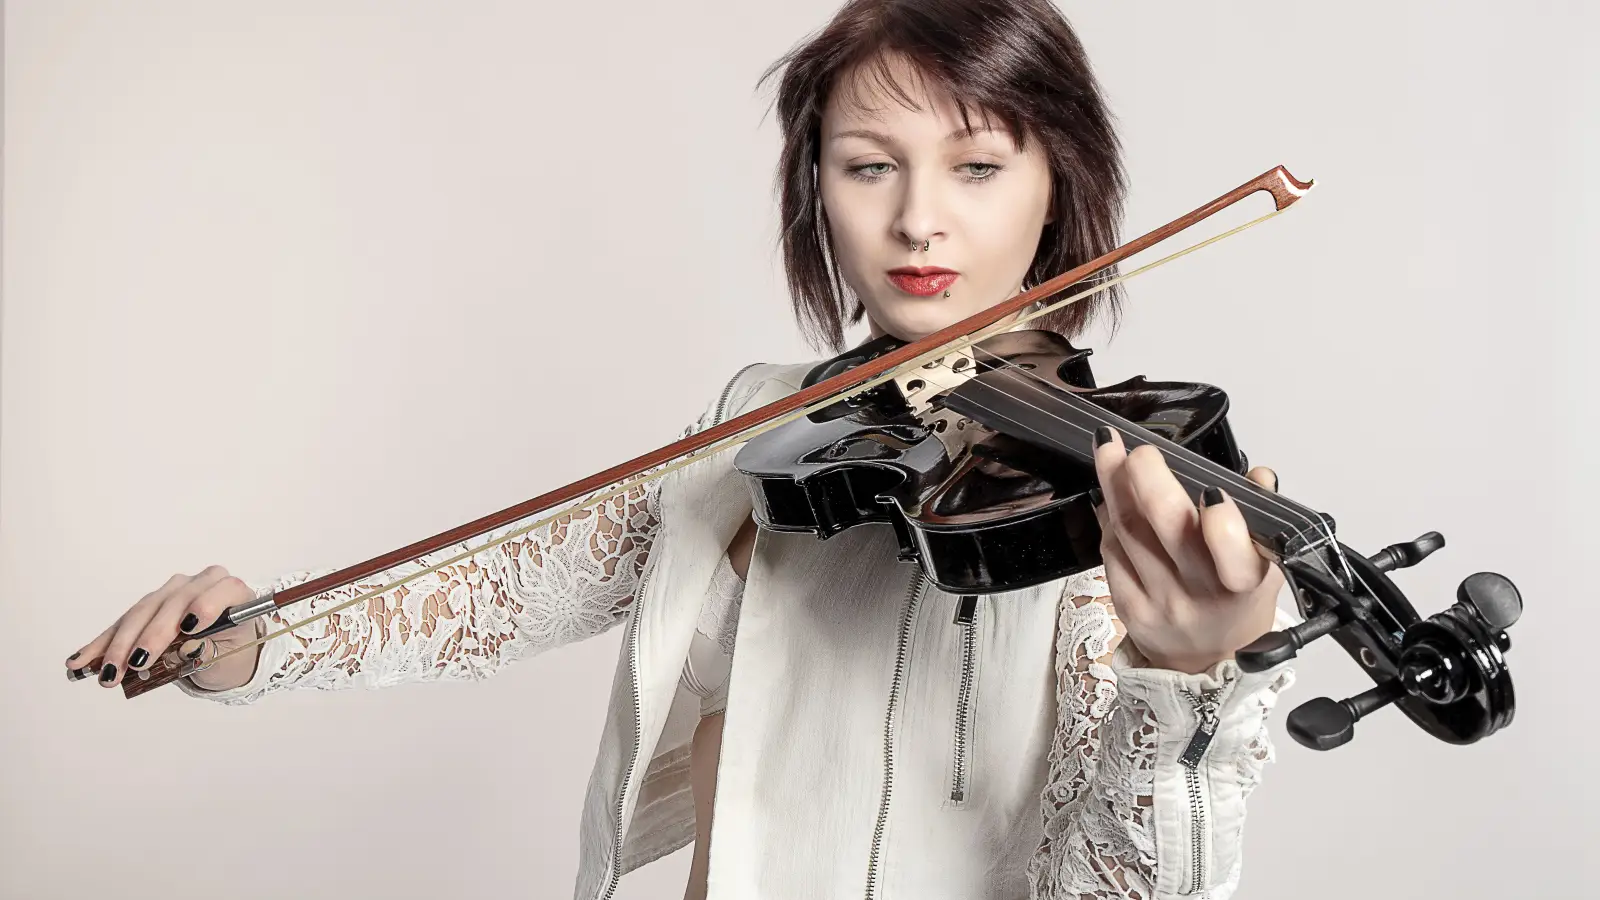
With the violin on the shoulder and the chin resting gently on the chin rest (no clamping down), extend the left hand to first position. The goal is to place the first finger on the fingerboard about an inch from the nut, with the hand forming a natural “C” shape. The wrist stays straight, the palm faces the neck, and the thumb rests on the side, not squeezed underneath.
Now reach for the fourth finger (pinky) on the G string at the note D. If the pinky has to straighten completely to reach, or if the wrist bends sharply forward to compensate, the violin is likely too large. The pinky should land with a slight curve, just like the other fingers, without the hand shifting position.
Move across all four strings and check the stretch on each. A violin that passes on the A and E strings but struggles on the G is still too large — the player will start avoiding the lower strings or develop a habit of collapsing the wrist. During a shop or rental fitting, have the player hold that fourth-finger note for 10–15 seconds and describe what they feel in the forearm and shoulder. Any burning, sharp discomfort, or an urge to drop the elbow is a signal the size isn’t right.
When a violin is on the edge but the arm measurement is long, a lower chin rest or a differently shaped shoulder rest can sometimes bring the instrument slightly closer to the body, effectively shortening the reach. Try that adjustment before deciding on the size, but don’t rely on it to force a fit — a shoulder rest stabilizes the violin, it doesn’t fix a poor match.
Point 3: Test the Bow Arm’s Full Stroke
Place the bow on the string at the frog, halfway between the bridge and fingerboard. Draw a slow downbow all the way to the tip, keeping the bow parallel to the bridge. Watch the shoulder and elbow. The shoulder should stay relaxed and level — not lifting toward the ear. The elbow should open and close smoothly without locking at the end of the stroke.
Now switch to the E string and repeat, then the G string. The outer strings require the most reach, and a violin that’s too long makes the bow hand pull across the body on the G or push sharply forward on the E. The player will feel a stretch across the chest or a pinch in the shoulder blade.
A surprising number of players — especially adult beginners — accept bow arm tension as something they just need to work through. But if the same motion feels easy on a smaller instrument, the size is the problem, not the technique. When testing, compare the bow stroke on two adjacent sizes (like 3/4 and 4/4) and ask which one allows a full, slow stroke with the least shoulder movement. That’s the real fit.
One Real Case: The Adult with the Shorter Arm Span
Consider a 5-foot-2 adult beginner with an arm measurement of 22 inches. A sizing chart would place her at the upper edge of 3/4 or just into 4/4 territory. She tries a full-size rental and notices the left hand can reach the fingerboard, though the pinky straightens on the G string. The bow arm, however, feels stretched on every downbow past the midpoint, and after five minutes her right shoulder aches.
She switches to a high-quality 3/4 violin with a taller chin rest. The left-hand pinky now keeps its curve on all strings, and the bow arm moves through the full stroke without lifting the shoulder. The smaller body loses a bit of resonance, but the difference is barely noticeable at her beginner skill level. The real gain is a practice session that doesn’t end in soreness. She keeps the 3/4.
This scenario plays out often in shops where adults are told “full size is standard.” The chart answer misses the interaction between arm length and shoulder width that the bow arm test reveals. A holistic fit prioritizes whichever side struggles more.
Where the Fit Falls Apart
Some of the most common sizing mistakes come from skipping a test or trusting one piece of information over the player’s actual physical feedback.
Relying on Age Instead of Arm Length
Charts that list sizes by age — “ages 9–12 use 3/4” — are rough guesses at best. Two 10-year-olds can differ in arm length by several inches. A tall-for-their-age child may need a full size, while a smaller-framed 12-year-old might still be comfortable in a 3/4. Always measure the arm; never start with a birthday.
Checking Only the Left Hand
Even thoughtful teachers sometimes stop at the finger test. The bow arm gets treated as an afterthought because beginners focus on left-hand placement in early lessons. Over time, a bow arm that has to stretch too far leads to a sawing motion from the elbow, poor tone in the upper half of the bow, and fatigue that quietly shortens practice. Test the full stroke before the violin leaves the shop.
Ignoring the Accessories That Change Reach
A chin rest that’s too flat, a shoulder rest that props the violin too high, or a missing rest altogether can make a properly sized instrument feel a full size too large. Before moving up or down a size, experiment with chin rest height and shoulder rest angle. These aren’t extras — they’re part of the sizing system.
Quick Reference: The Fit Check at a Glance
| Stage | Goal | Key Action |
|---|---|---|
| Arm measurement | Get a starting size range | Measure neck to palm, note overlaps |
| Left-hand test | Confirm finger reach without tension | Hold fourth-finger D on G string, check curve |
| Bow arm test | Ensure full, relaxed bow strokes | Slow full-bow on G and E, watch shoulder |
Common Questions About Violin Sizing
What if my child measures exactly between two sizes?
The smaller size is almost always the safer choice. A violin that’s slightly small produces less volume but won’t cause physical strain. One that’s too large leads to tension habits that are stubborn to unlearn. Choose the smaller size and plan to reassess in six months.
Can an adult use a 7/8 or 3/4 violin without it sounding thin?
Absolutely. Professional-level fractional violins exist, and many petite adults play 7/8 instruments with warm, focused tone. Sound quality depends far more on the instrument’s construction and setup than on body length. Comfort comes first; the music follows.
How often should I check my child’s violin size?
Every six months for children under 12, or whenever you notice the left hand starting to look bunched or the bow arm hunching. Growth spurts can change arm length faster than a school term, so a quick measurement and the left-hand test take a few minutes and can prevent weeks of unnecessary struggle.
Does the violin size affect intonation?
Not directly, but a too-large violin makes it harder to keep fingers curved, which makes it harder to place them accurately. Poor intonation can be a symptom of a sizing problem, especially in younger players, so check the fit before assuming it’s purely an ear-training issue.
One Measurement, Two Hands, No Guesswork
Getting the right violin size is a three-step loop: measure the arm to find your range, test the left-hand reach for finger comfort, and then test the bow arm for unrestricted movement. The step that surfaces the most discomfort is the one that should decide the size. Start today by measuring your arm — or your child’s — and writing down the range. Then go into a shop with that number and the two-hand tests firmly in mind, and wait until you find a violin that feels right on both sides before you agree to take it home.