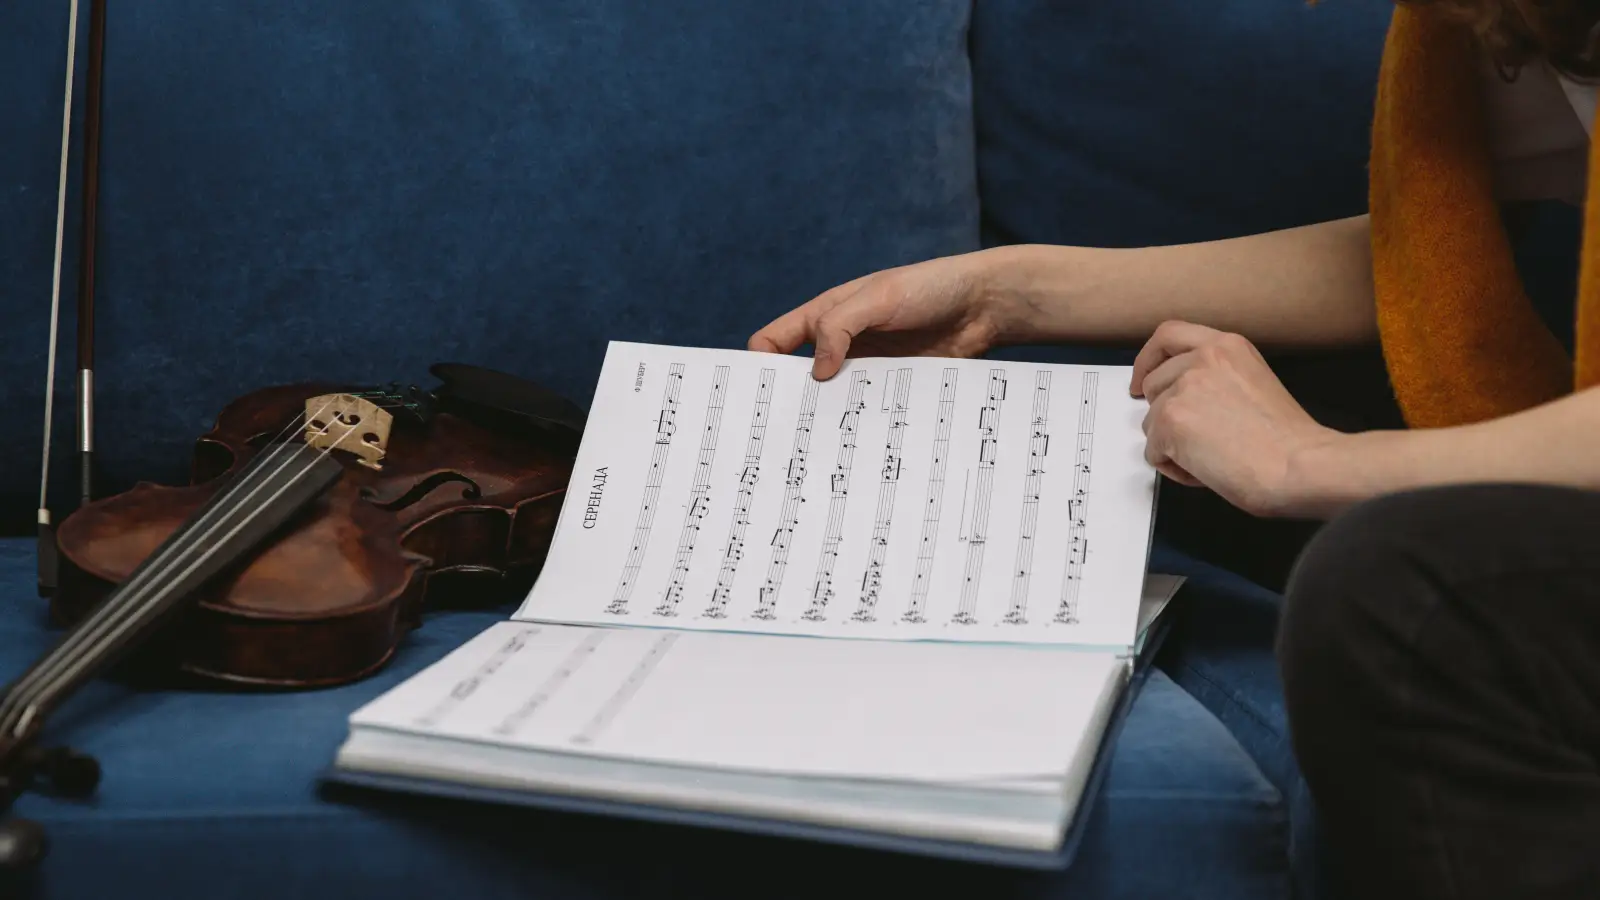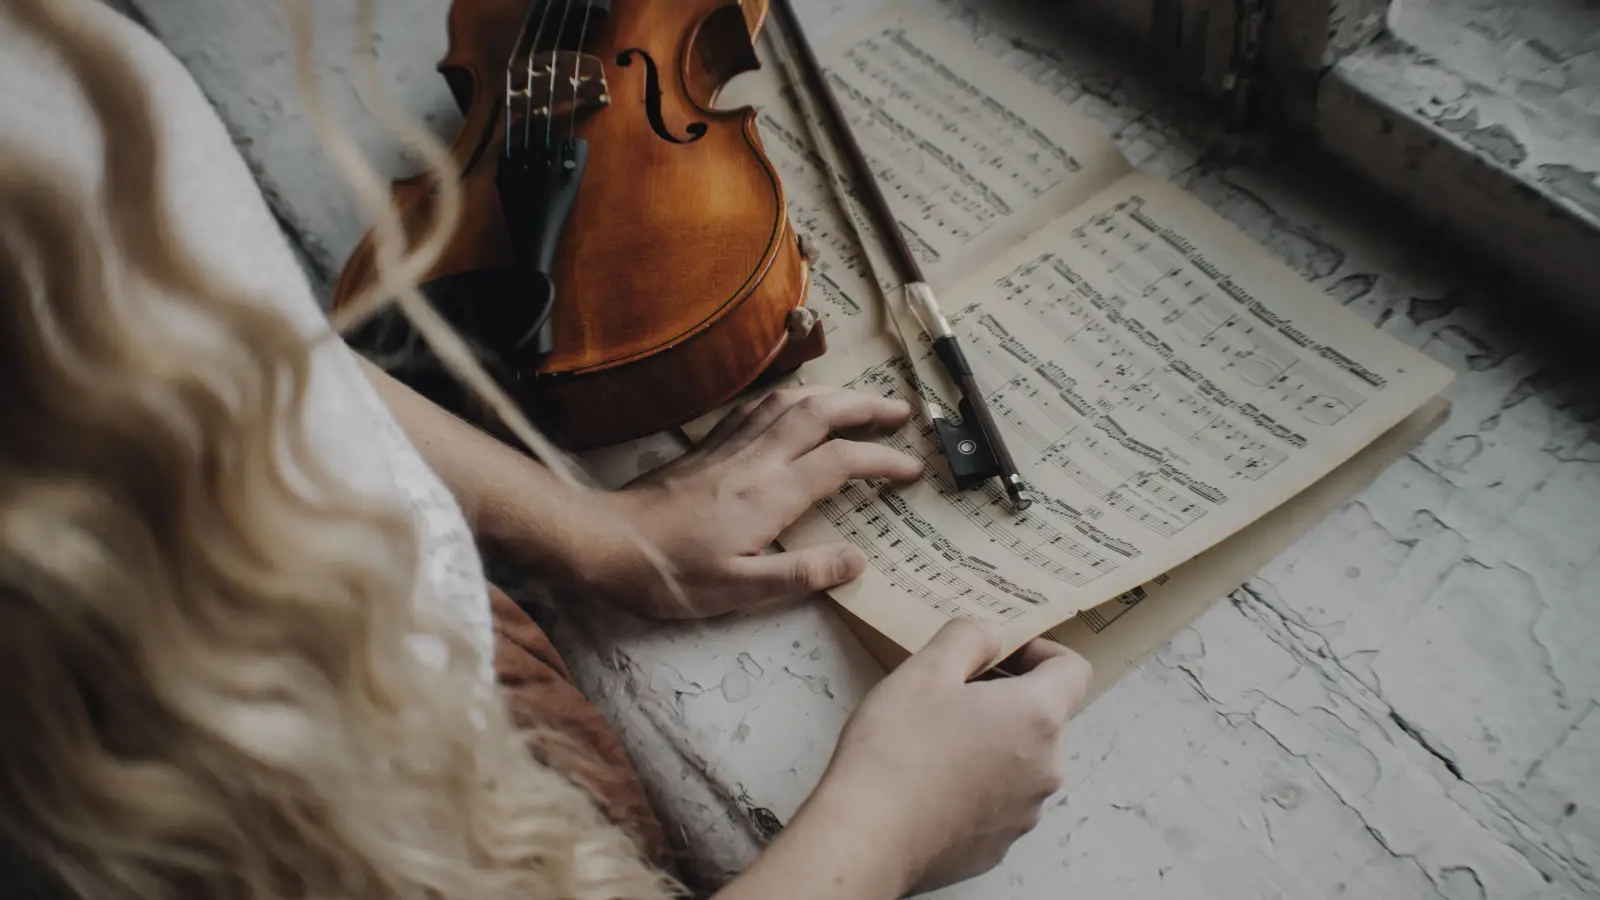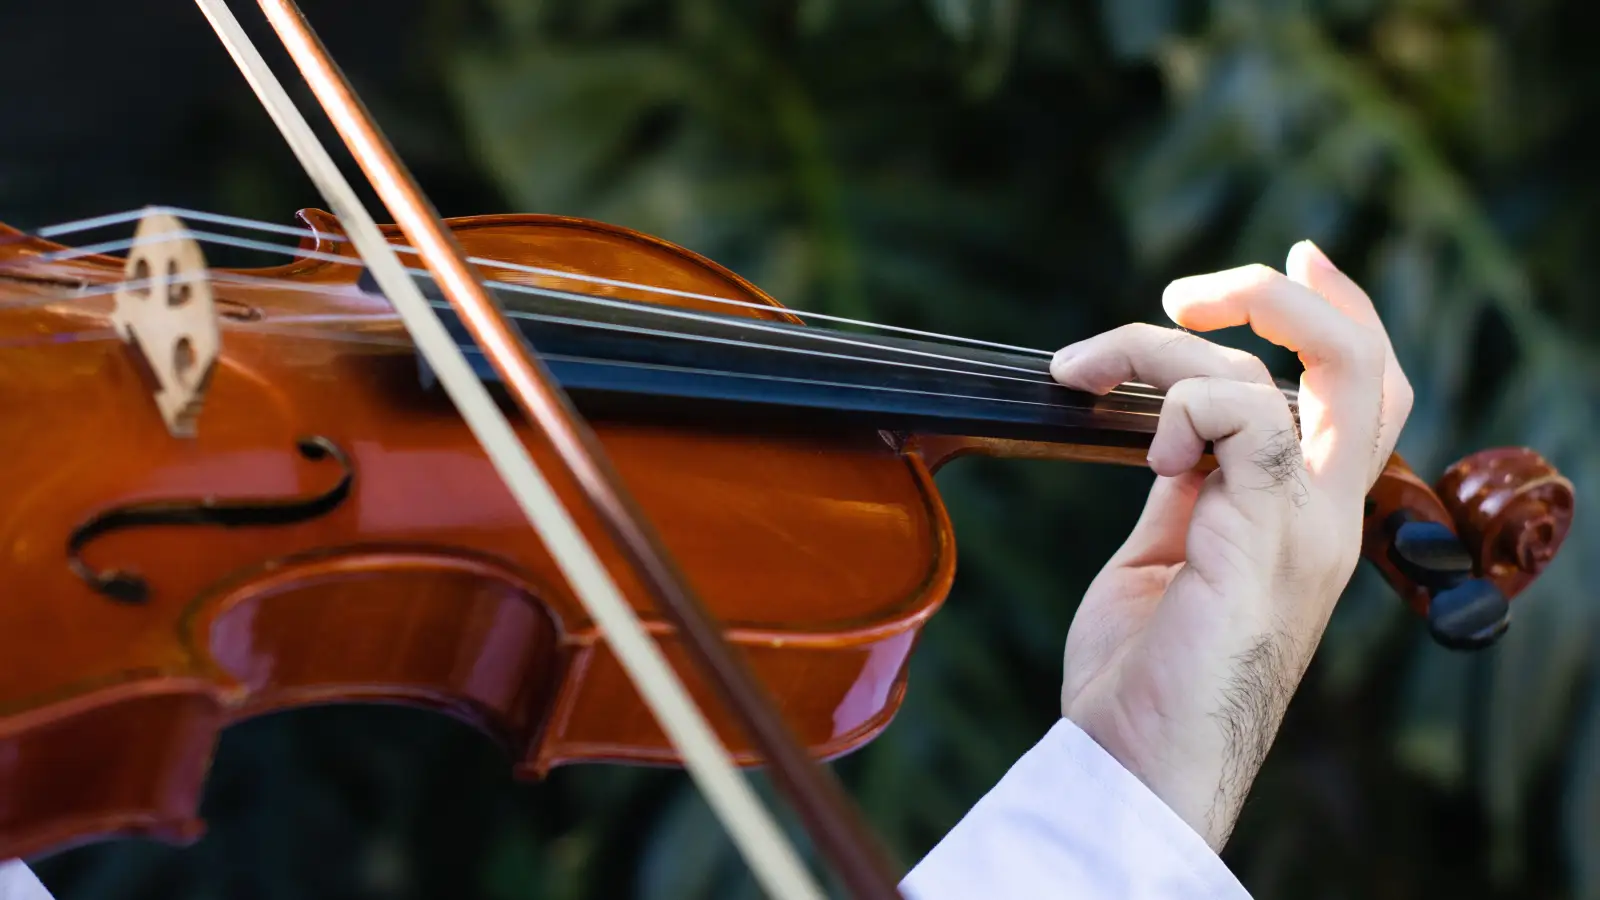
A key signature on the violin is not a list of sharps or flats to memorize. It is a physical instruction for the left hand, telling it which finger pattern to adopt before the bow ever moves. This article explains how violinists turn those symbols on the page into a tactile shortcut — a preset hand shape — and why pianists, who press individual keys, often look right past this sensory layer of reading music.
Why the Violin Fingerboard Needs a Different Strategy
A piano offers a separate key for every pitch. See a sharp, press a black key. The instrument itself upholds intonation. A violin fingerboard has no keys, no frets, no visual divide between an in-tune note and one that is barely off. The difference between a centered F♯ and a flat one can be less than a millimeter.
The violinist’s task is to bring order to that unmarked stretch. The key signature acts as the map. When a pianist encounters four sharps, the thought might be “E major — these are the black keys.” A violinist thinks “E major — first finger on the D string moves half a step higher, second finger slides close to third, and that spacing repeats on the A string.” Key signatures on the violin are not just about which notes are altered; they set the entire geography of the left hand.
This hands-on approach balances three things: the visual symbol (sharps or flats on the staff), the physical frame (the deliberate spacing of the fingers), and the ear (the constant micro-adjustments that turn a rough template into true intonation). If any one of these is slighted, the whole system wobbles.
The Finger-Frame Method for Learning Key Signatures
Instead of treating key signatures as a memory drill, violinists can learn them as a small set of left-hand templates. There are only a handful of basic finger patterns — configurations of whole steps and half steps between neighboring fingers. A given key signature picks one of these templates and tells the hand where to set it on the fingerboard. Once these patterns become automatic, reading a new key signature feels more like preparing a familiar posture than solving a puzzle.
Pinpoint the Tonic and Mode First
This step is simple but non-negotiable: read the key signature, then name the tonic note and decide whether the piece is in major or minor. One sharp could mean G major or E minor, and the difference changes where the half steps fall. The hand frame for a major key is not the same as for its relative minor; the half-step placement shifts.
Done well means the player can state the tonic out loud and hum the first few notes of the scale — even roughly — before touching the instrument. That primes the ear for the correct distances.
Shape the Hand into the Key’s Frame
With the tonic identified, the left hand forms the frame that matches the key. Violinists often describe finger patterns by the spacing between the first and second fingers (low, normal, high) and between the second and third fingers. A major scale starting on an open string usually calls for a high second finger. A minor scale starting the same way places the second finger low. When the tonic is not an open string, the frame simply begins from that starting note.
Here the violinist gains a real edge. Getting ready to play in D major, a pianist might mentally note F♯ and C♯. A violinist feels “first finger normal on D, second finger high, third normal” and trusts that the same spacing will hold when crossing to the A string. The frame becomes a single physical chunk — one decision that readies a whole cluster of notes.
Done well looks like the hand settling onto the fingerboard with all four fingers hovering in their default locations for that key, without fumbling or resetting.
Carry the Frame Across All Four Strings
The pattern does not live on one string alone. It repeats in an ordered way across the violin’s four strings, each tuned a perfect fifth apart. The player must learn how the chosen frame appears on each string and how string crossings feel without disrupting the hand shape.
For G major on the D string, the second finger sits high for the F♯. Crossing to the A string, that same high-second-finger sensation returns for the C♯. The frame transfers directly, and the bow arm adapts to the crossing while the left hand remains steady.
Done well means the player can play a simple melody that stays within the frame on any string without the hand position collapsing.
Let the Ear Hone Intonation
A frame is a starting point, never a finished product. Slight variations in string tension and violin setup mean that generic finger placement always needs a personal, listening-based finish. This stage is about slow playing, checking pitches against open-string drones, and noticing when a note rings sympathetically. The ear monitors and nudges the fingers into their exact spots.
The frame provides a structure; the ear supplies the precision.
Done well means the player can stop on any note inside the frame, sustain it with a clear tone, and have it feel settled — no large corrective slides necessary.
Putting the Finger-Frame Method into Practice: F Major
A beginner often meets F major (one flat, B♭) quite early. Here is how a practice session might go using the method.
First, the player looks at the key signature and names the tonic: F major. They hum the scale, noticing the lowered fourth degree. Then they set the hand frame. On the A string, the B♭ is played with a low first finger (a half step above the open A, rather than the whole step of a higher key like G major). The second finger stays normal for C, and the third stays normal for D.
On the D string, the frame uses a normal first finger for E, a low second finger for F (the half step from E to F requires the finger to sit close to the first), and a normal third for G. The player slowly transfers this frame to the G string (normal first, low second, normal third) and to the E string, where the open E to F again calls for a low first finger.
The player soon discovers that the exact feel shifts from one string to the next because of string thickness and tension. So they check intonation carefully — holding the F on the D string (second finger) against the open A string to hear the perfect fourth, or playing the tonic F on the D string and listening for a calm, centered sound. Through unhurried repetition, the frame stabilizes.
Common Ways the Finger-Frame Approach Falls Apart
Skipping the Tonic and Mode Check
Everything rests on knowing whether the piece is in major or minor. If a player sees one sharp and reflexively applies a G major frame (high second finger) to a piece in E minor that uses F♮ (low second finger), the intonation goes out the window. The key signature alone does not tell the full story; the tonal center does. The method only works when the tonic and mode are settled first.
Expecting the Same Feel on Every String
Because the strings are tuned in fifths, copying a frame from one string to the next is a good start. But the thinner E string and the thicker G string change how much space the fingers need. A frame that sounds right on the D string might sound tight on the E and loose on the G if the hand simply slides the pattern up without listening. The ear has to stay in charge.
Depending on Sight Instead of Touch and Sound
Some students try to plant fingers by staring at the fingerboard or by relying on tape strips. Used sparingly, visual guides have a place. But the heart of the violinist’s key-signature shortcut is tactile memory. A player who needs to see every finger position is still thinking note by note, not using the frame as a ready-made unit. The real goal is to feel the spacing. When the eye lands on the key signature, the hand should already be shaped for that key, finding notes by touch and sound.
At-a-Glance Summary: Key Signature to Finger Pattern
| Stage | Purpose | Key Action |
|---|---|---|
| Identify Tonic & Mode | Set the hand’s home base | State the tonic aloud and hum the scale |
| Choose Hand Frame | Lock in the whole-step/half-step layout | Decide low/normal/high positions for 1st, 2nd, and 3rd fingers on one string |
| Extend Across Strings | Transfer the frame to all four strings | Play the frame on each string without breaking the hand shape |
| Ear-Refine Intonation | Turn the frame into precise pitch | Sustain notes and adjust by listening to beats and sympathetic vibrations |
Questions Real Beginners Ask About Violin Key Signatures
Why shouldn’t I just memorize which notes are sharp, like I do on piano?
You certainly need to know which notes are altered. But violinists lean on a physical, not only a mental, map. The fingerboard offers no visual guides, so remembering “F♯” is less immediate than remembering “second finger sits higher on the D string.” The hand-shape shortcut skips a translation step and often feels more reliable in the middle of a piece.
Do I need to learn all the key signatures before I can use finger patterns?
Not at all. Most method books introduce patterns hand in hand with key signatures. Begin with keys that share similar frame shapes — G, D, and A major all use a comparable high-second-finger layout — and add more as your ear and hand adjust to new spacings.
How can I tell if I’m using the right frame for a minor key?
Focus on the distance from the tonic to the third note of the scale. In a minor key, that spread is a minor third (three half steps). On the violin, the second finger, which often plays that mediant, will land lower than it would in the parallel major. The sound itself gives a clue: a minor key has a darker, pulled-back quality that the ear can learn to recognize.
Is this pattern method fast enough for sight-reading?
Yes, and experienced sight-readers rely on it. A quick glance at the key signature triggers the hand shape, often before the first note sounds. This habit grows from practicing scales and arpeggios within the frame until the fingers expect certain distances without conscious effort. With time, the hand simply falls into the right shape.
Conclusion
The violinist’s key-signature secret is a four-part process: name the tonic, form the hand frame, spread it across the strings, and refine by ear — a physical shortcut pianists simply do not have. Start right where you are: take a key you already know well, such as G major, and deliberately shape the hand with a high second finger before you play a single note. Feel the spacing first, and let the sound confirm it.