A violin teacher listens for four controllable variables first: bow speed, bow pressure, the sounding point (where hair meets string), and bow tilt. The presence of a consistent, ringing tone says those variables are working together; any absence points to a specific input that’s off. This article turns that listening process into a cause-and-effect checklist. You stop chasing vague advice like “play with feeling” and start diagnosing tone like a technician: scratchy means check bow speed and sounding point; thin means examine weight and tilt; unstable means look at bow hold and arm transfer. Each adjustment produces an immediate, audible result.
When every tonal defect traces back to a mechanical input you can adjust, practice becomes a series of clear experiments rather than a mystery. The stages below are arranged in the order a teacher would evaluate them—from the most fundamental fix (grip tension) to the refinement that cleans up the final ring (left-hand articulation).
Start with Your Sound: Which Problem Matches Yours?
Three common starting scenarios. Find the one closest to your current sound, and your route through the checklist becomes obvious.
Your Violin Squeaks or Scratches on Nearly Every Bow Stroke
Your route zeroes in on bow speed, sounding point, and grip release. One of these is usually the root cause.
Your Tone Sounds Thin and Hollow, Lacking Body
Your route targets bow speed, weight, and bow tilt. You’ll add core without forcing.
Your Volume Is Unpredictable—Loud One Moment, Weak the Next
Your route starts with bow hold consistency and arm weight transfer. Stable contact is non-negotiable before dynamics become reliable.
Stage 1: Release the Bow Hold So the String Can Ring
Teachers check bow hold first because a squeezed thumb, locked wrist, or death-grip fingers kill vibration before the bow even moves. The bow must transmit arm weight; it cannot do that if your hand is strangling the stick.
What to adjust
Curve the thumb, round the pinky on top, and soften every knuckle so the bow can rock slightly in the hand. The index finger applies weight only when you intend it, not as a constant clamp. Think weight, not pressure.
Ready to move on when
You draw a full open-string stroke from frog to tip with a steady, ringing tone and no conscious squeezing. The sound remains consistent even if you consciously wiggle your thumb.
Stage 2: Place the Bow at the Sweet Spot (Sounding Point)
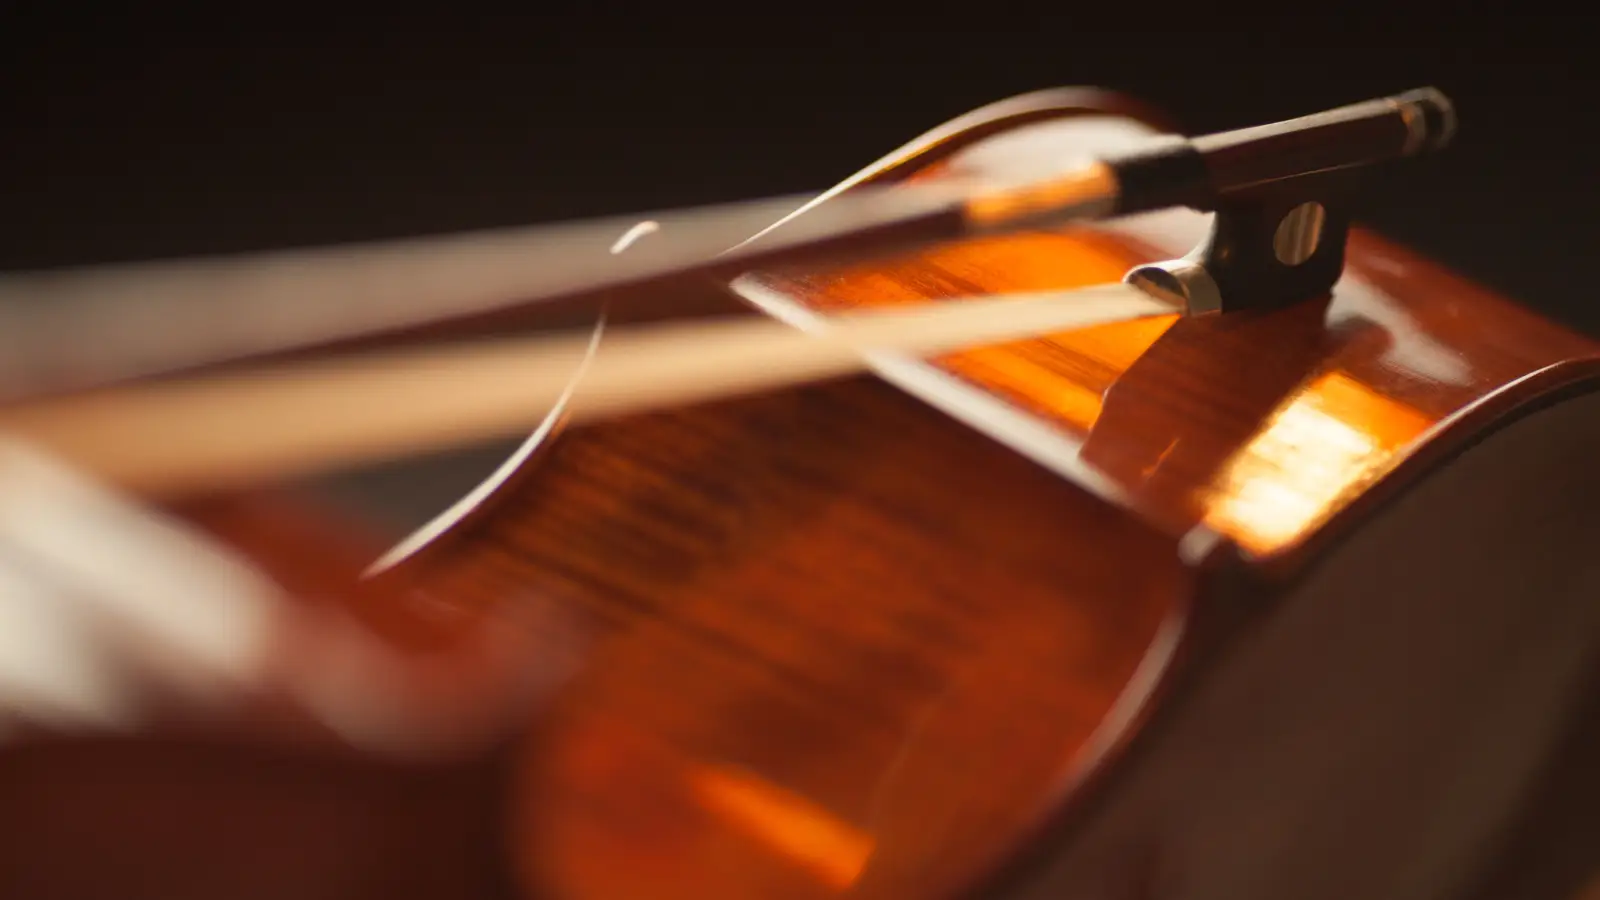
Once the bow can move freely, the teacher’s ear shifts to where the hair contacts the string. Too close to the bridge and the sound turns glassy and choked; over the fingerboard and it becomes breathy and hollow. The sweet spot sits roughly a finger’s width from the bridge, halfway between bridge and fingerboard’s end.
What to adjust
Keep the bow parallel to the bridge and monitor the distance visually with a mirror or by sighting down the bow. Listen for the moment the tone gains focus and richness—that’s your confirmation a stable sounding point is in place.
Ready to move on when
The sounding point stays steady along the entire bow stroke, and open strings ring full and clear without drifting toward the bridge or fingerboard.
Stage 3: Balance Bow Speed and Weight
With the sounding point stable, the teacher listens for how speed and weight interact. Too much pressure and low speed grind the tone; too little pressure and high speed give a superficial, wispy sound. The right balance produces a core that projects without effort.
What to adjust
Start a medium-speed stroke and add just enough index-finger weight to feel the string grip the hair. If scratch appears, reduce weight or increase speed. If the sound thins, add weight or slow down slightly. Practice long tones on each open string, changing only one variable at a time, and gauge the result.
Ready to move on when
You can sustain a resonant, clear tone at piano, mezzo-forte, and forte without scratch or collapse. The tone keeps its body across all three dynamic levels.
Stage 4: Tilt the Bow Hair for the Desired Color
Teachers observe bow tilt—whether the stick leans toward or away from the fingerboard. Flattening the hair (tilting the stick toward you) engages more hair for a richer, broader sound on forte passages. Angling the hair (stick more upright) uses less surface for a transparent piano tone. Beginners frequently lock into a single tilt that doesn’t match the musical demand.
What to adjust
Practice full-hair contact on forte strokes and reduced-hair contact on piano ones. Let the tilt originate from the wrist and forearm, never from a whole-arm twist. Listen for the immediate change in core—thicker or thinner—without loss of quality.
Ready to move on when
You can deliberately alter bow tilt during a sustained stroke and hear a clear, controllable difference in color and volume, with no grit or sag.
Stage 5: Sharpen Left-Hand Articulation for a Clear Ring
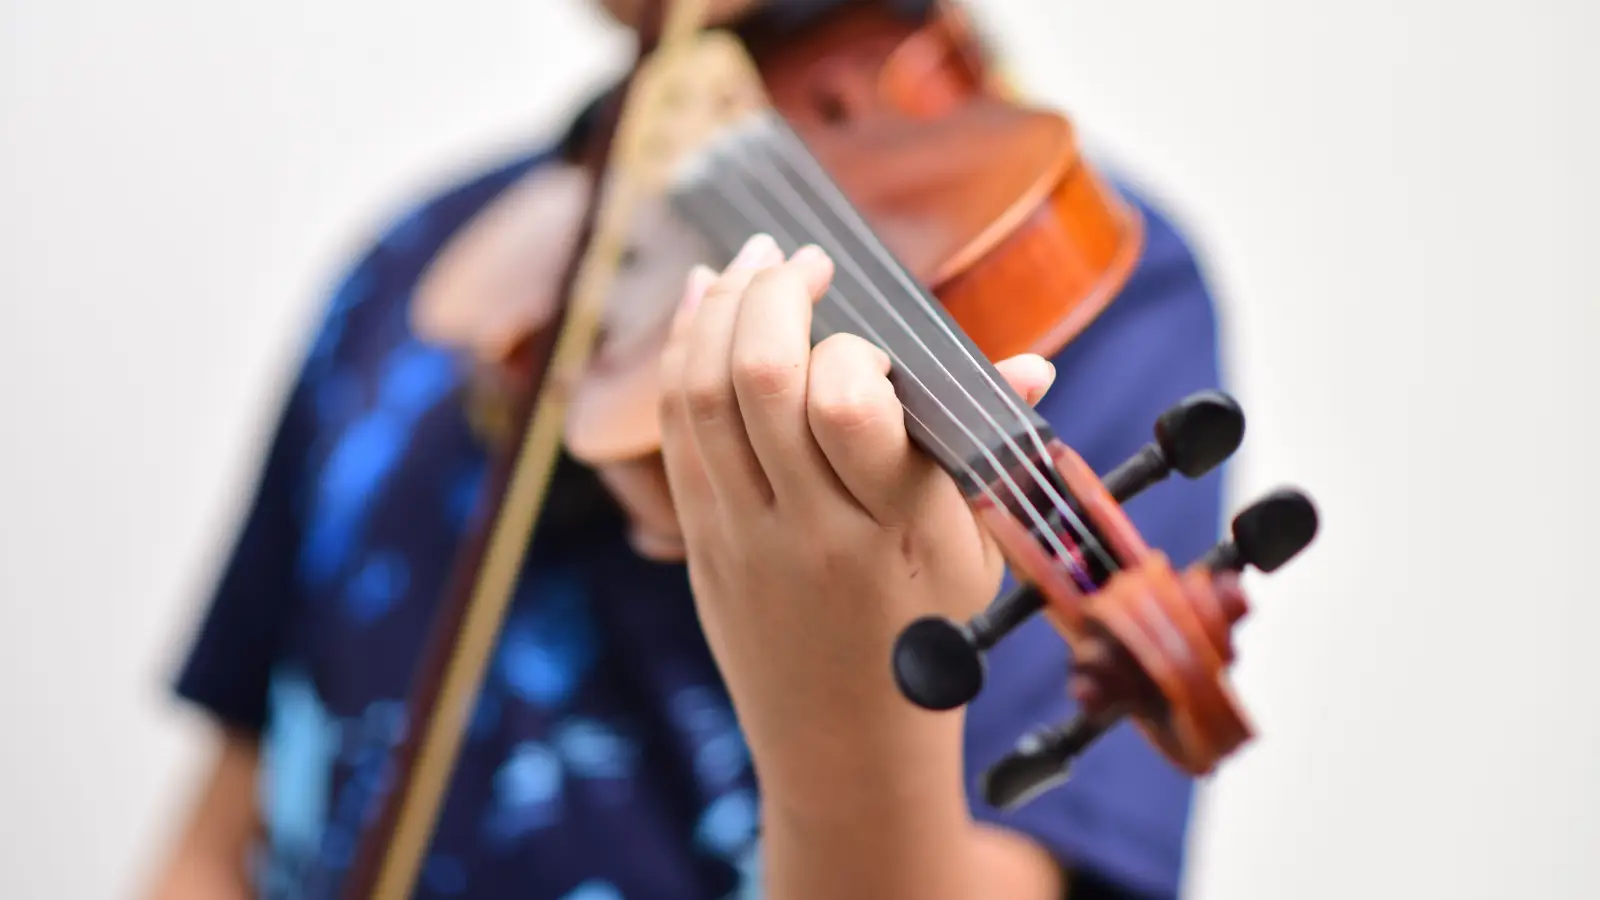
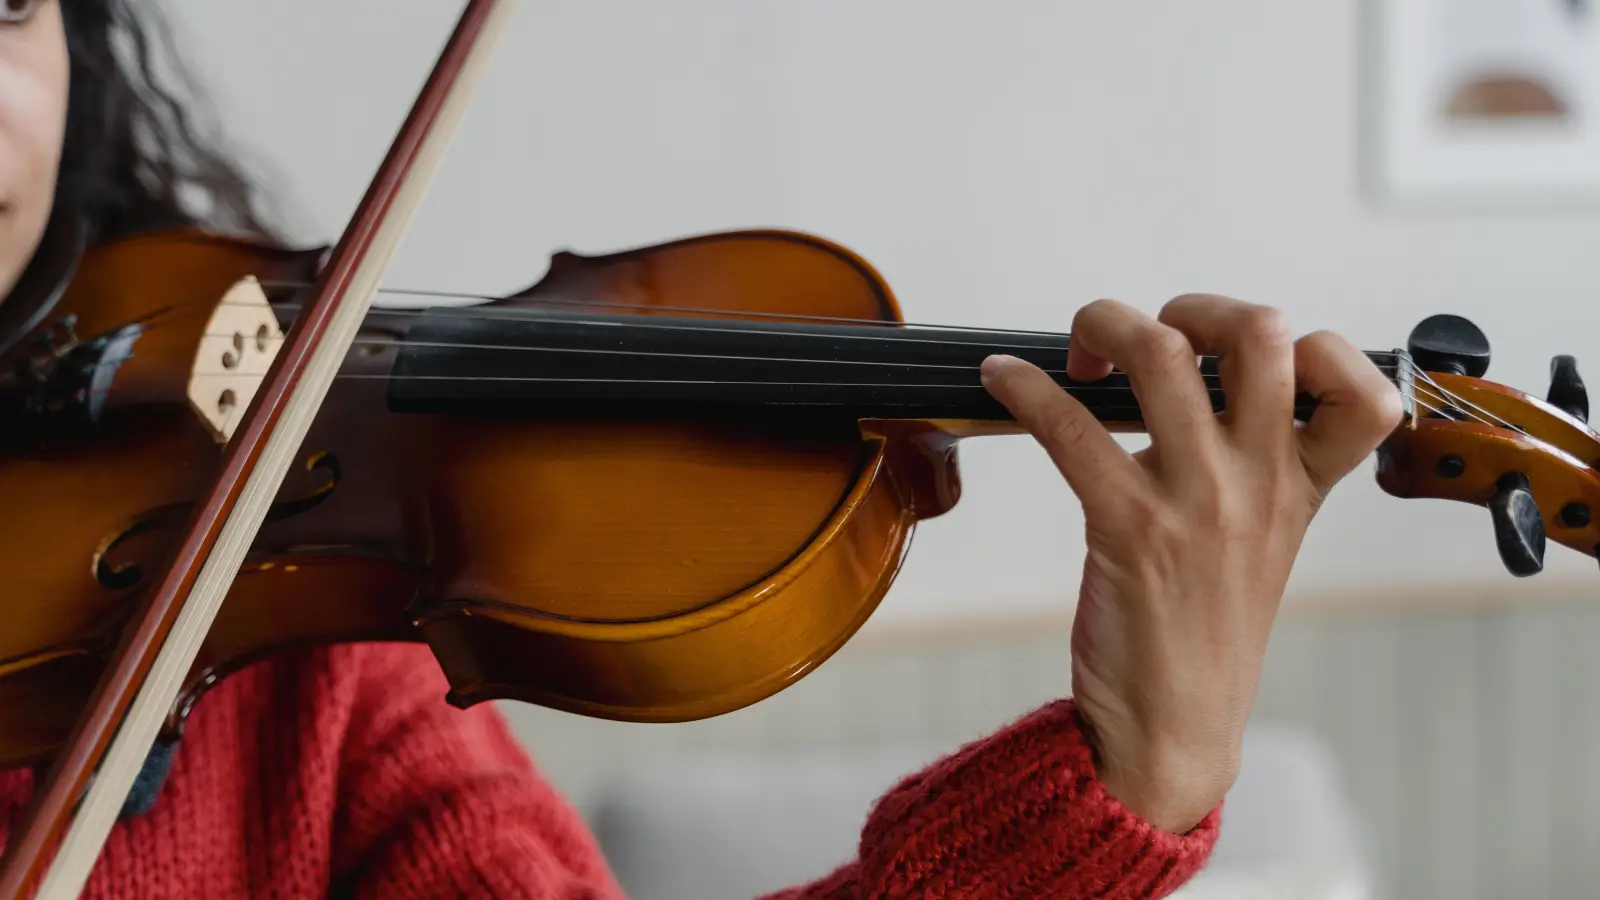
Even a well-produced bow stroke can sound dull if left-hand fingers land weakly or press excessively. The teacher listens for the percussive “ping” of a clean finger drop and for tone that doesn’t sag between notes.
What to adjust
Drop each finger from the base knuckle with a quick, decisive motion—fast enough to create a crisp attack. Use only enough pressure to stop the string cleanly; jamming it into the fingerboard chokes vibration. Accurate intonation matters too: an out-of-tune note often sounds lifeless even with perfect bow contact, because the string isn’t vibrating at its optimal tension.
Ready to move on when
On a slow scale, every note sounds with a distinct ringing attack, decays evenly, and the tone stays consistent through finger changes.
Readiness Signs Recap: Know When to Advance
Check off each sign sequentially before moving ahead.
- Full bow stroke with ringing tone and no squeezing in the hand.
- Stable sounding point that yields a full, clear open-string sound across the entire bow.
- Resonant tones at piano, mezzo-forte, and forte without scratch or fade.
- Willful bow tilt changes that produce audible color variation without tone loss.
- Percussive finger articulation with steady tone through note transitions.
Two Fast Ways to Diagnose Your Tone
Use a mirror
Watch the bow’s contact point and tilt in real time. What you see often corrects what your ear hasn’t yet learned to isolate.
Record and compare
A phone recording removes the physical sensation of playing, letting you judge the tone objectively. Choose one variable, record before and after, and listen for the change.
What to Ignore for Now (Deferred Concerns)
Beginner tone advice frequently leaps to issues that only matter after the fundamentals are solid. These are the concerns teachers genuinely do not check first—and the trigger point for each.
Vibrato
Vibrato covers a weak fundamental tone. Delay it until you can sustain a steady, resonant non-vibrato sound on long notes and scales. Trigger: you can hold a controlled forte open string for 10 seconds without wavering.
Expensive strings or rare rosins
Gear tweaks can’t rescue a locked bow hold or an unreliable sounding point. Trigger: you’ve passed Stage 4 and still lack warmth or projection that you can attribute to equipment, not technique.
Advanced bow strokes (spiccato, ricochet)
These depend on refined contact and bow control. Trigger: you can produce a clean, even détaché at varying speeds.
Exact millimeter finger placements on the bow
Some methods specify precise finger positioning. At the beginner level, release matters far more than micro-placement. Trigger: tension is fully absent, but you hit articulation roadblocks in intermediate repertoire.
FAQ
Why does my violin sound scratchy even when I bow straight?
Scratchiness typically comes from too much pressure, too slow a bow speed, or a sounding point that’s sitting too close to the bridge—or a mix of those. Reduce pressure slightly or increase speed, and check that the bow isn’t creeping toward the bridge-side edge of the acceptable zone.
How much rosin should I use?
Apply rosin only until the hair grips the string without slipping—two or three slow, even passes across the cake suffice. Too much rosin creates grit, scratch, and dust.
Should I press harder with the bow to get more volume?
No. Volume comes from bow speed and weight with a sounding point moved slightly toward the bridge—not from pressing down. Pressing kills vibration. Increase speed and adjust the contact point while maintaining weight, never force.
What’s the most common mistake teachers see in beginner tone production?
A tense bow hand that chokes the sound. Everything else becomes impossible to diagnose correctly because the bow can’t transmit weight or respond to speed changes.
Conclusion
When you control bow hold, sounding point, speed, weight, tilt, and left-hand clarity as independent variables, tone stops being a mystery. It becomes a deliberate outcome you engineer. For the most common starting point—scratchy, inconsistent sound—the first action is to release your bow hold and draw slow, full-length open-string bows while watching the contact point in a mirror. That one move often resolves two or three problems at once.