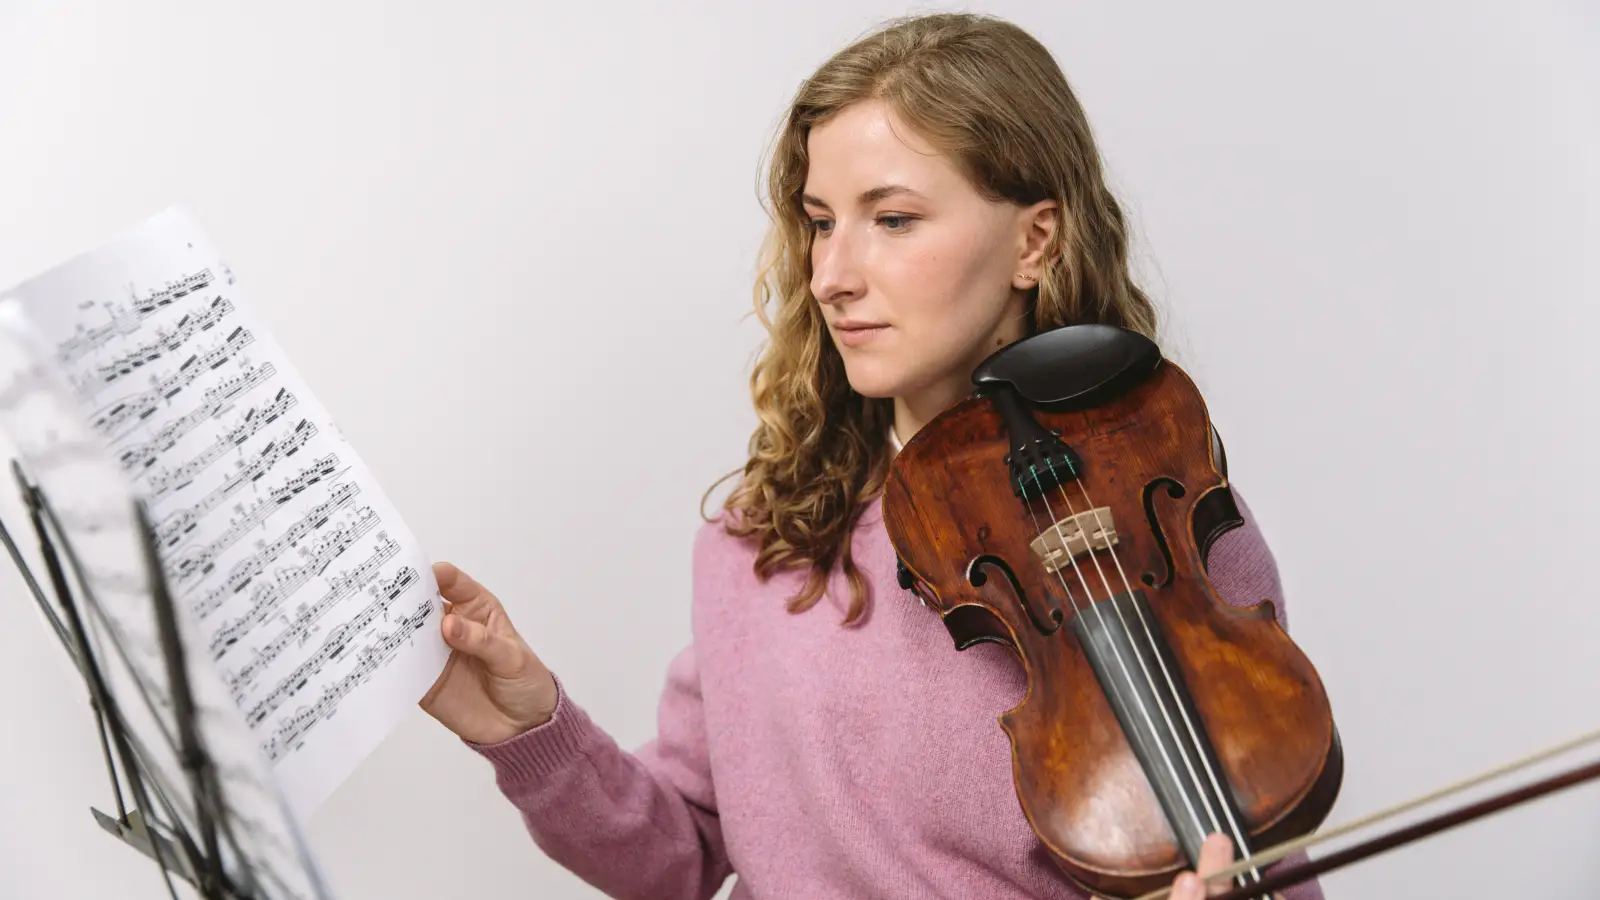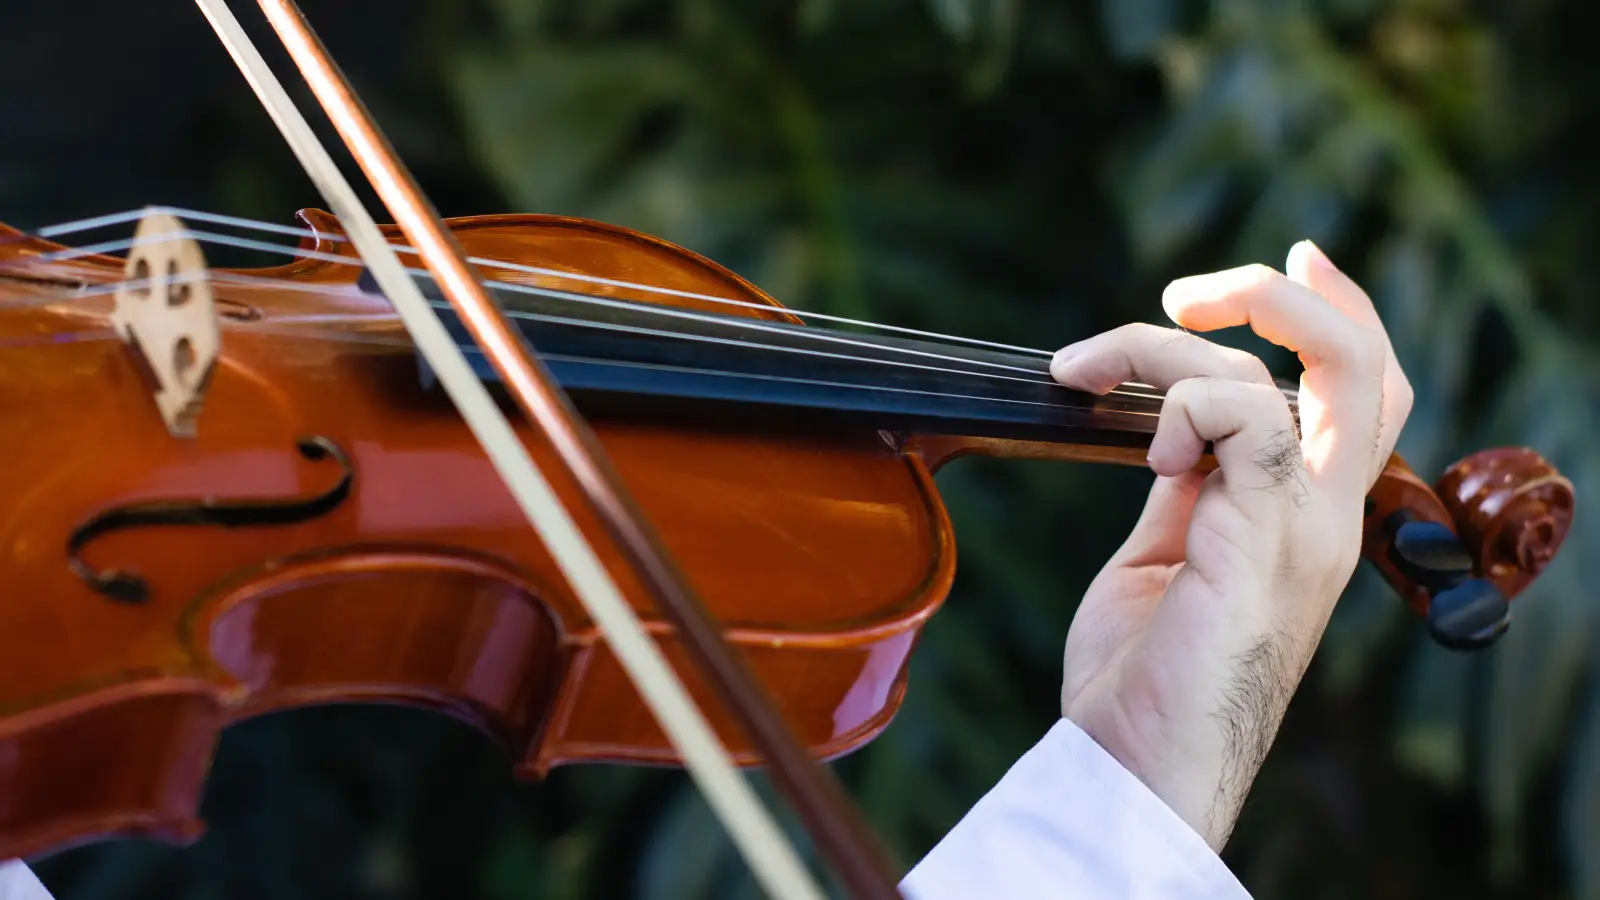
When a violinist reads sheet music, the note on the staff is not a fixed pitch button like on a piano. Because the violin fingerboard offers several locations for the identical written pitch, making sense of the notation demands more than simply knowing where to place a finger—it asks you to choose a string, a position, and a tone color. That is why a note that looks straightforward on paper can ring differently, or fall flat, if you approach it as you would a keyboard.
Unlike the piano with its one key per pitch, the violin’s fretless fingerboard transforms every note into a series of possibilities. Take a written middle C: it lives on the G string as a third finger in first position, on the D string as a second finger in second position, or on the A string as a first finger in third position. Each option delivers the same pitch but a distinct voice, and each asks something slightly different of your left hand. Learning to read violin music therefore means learning to recognize the quiet instruction tucked inside every dot on the staff.
Your Current Reading Situation
Wherever you are, the gap between what you expect and what you hear often comes from one of a few familiar places. Finding yours helps you see the road ahead.
Coming From Piano or Another Keyboard Instrument
If you are accustomed to pressing a key and receiving a predictable result, the first thing you notice on the violin is that finger placement, bow speed, and even the contact point on the string all sculpt the sound. Your path through this article will help you map the fingerboard as a flexible grid, not a fixed keyboard, and teach you to select fingerings based on the music’s needs.
Learning Violin by Ear or Tab First
Many self‑taught players start with finger numbers or guitar‑style tablature. When they move to standard notation, the symbols can feel disconnected from the actual fingerboard. Your route will center on linking each staff note to a specific string and finger in first position, and then expanding outward from that home base.
Brand New to Music and the Violin
If reading music itself is unfamiliar, adding the challenge of a fretless instrument can feel like too much at once. Your journey will begin with the comforting idea that every line and space corresponds to a finger on a string—and that growing your ear and your reading hand‑in‑hand is not only okay, it’s essential.
1. Making Friends with the Fretless Grid
The first truth every violinist comes to accept is that the fingerboard has no frets, no buttons—only a smooth, dark expanse. Pitch is not a key you press; it’s a delicate location you learn to find and refine.
What this stage aims to achieve: The awareness that producing a steady note means placing the finger at an exact point, and that even a tiny shift changes the pitch. Until you can land a pitch reliably, notation cannot guide you.
Concrete actions:
- Place temporary guides like finger tapes or small dots at the first‑position markers so your fingers learn the neighborhood.
- Play simple one‑string tunes (try “Twinkle, Twinkle” on the A string) and listen with full attention to how steady each note feels.
- Use a clip‑on tuner or a smartphone app while holding long tones; watch the needle’s dance as the finger drifts and learn to correct it.
- Gently roll a finger slightly sharp and then flat from a true pitch to feel—really feel—the difference.
Observable sign you’re ready for the next step: You can produce steady, ringing pitches on all four strings without sliding, and your ear immediately raises a flag when a note is sharp or flat. The fear of the intonation unknown has softened into confident curiosity.
2. First Position: Your Home Base on the Fingerboard
First position is where almost everyone begins—the hand stays near the scroll, fingers covering the first few inches of string. Most early repertoire lives here, and it serves as the reliable anchor from which all other positions are measured.
What this stage aims to achieve: A deeply rooted map of first position, so that when a note appears on the staff, your mind automatically offers the default string and finger.
Concrete actions:
- Master the finger patterns for the friendliest major scales (G, D, A) in first position. Say each finger number out loud as you play—it sounds simple, but it locks the map into your brain.
- Use a first‑position chart as a practice tool: cover a random note on the staff, name it, then say “A string, second finger” or “D string, third finger” before touching the violin.
- Work through short, slow études (Wohlfahrt or Laoureux are wonderful companions) that stay entirely in first position.
- Play scales while looking at the fingerboard and naming the string for each note.
Observable sign you’re ready for the next step: A simple first‑position melody with no accidentals and no shifts feels like a familiar landscape, not a puzzle. You can play it in tune without pausing, and you know why each finger goes where it does.
3. When the Same Note Has Multiple Homes
Here is where the violin’s personality truly shines. The note E4, for instance, can be the open E string, a stopped fourth finger on the A string, or a third finger on the D string in second position—and each option has its own emotional shade and technical demand.
What this stage aims to achieve: Recognizing that many pitches can be played in more than one spot, and that the choice influences both sound and the ease of moving through a phrase. You begin to read sheet music with a violinist’s eye, asking “why this fingering?”
Concrete actions:
- Play a one‑octave D major scale starting on the open D, then starting with your third finger on the A string. Notice how the latter sounds warmer, more intimate.
- Explore the natural harmonics at the octave and fifth—marvel for a moment that you can produce the same pitch without even pressing the string down.
- Whenever you see a printed fingering, pause and wonder why it’s there. Usually it’s to avoid an awkward string crossing or to set up a graceful shift.
- Take a simple tune (“Ode to Joy” works beautifully) and play it first in first position, then starting with third finger on the A string in third position. Feel the shift in both sound and hand choreography.
Observable sign you’re ready for the next step: You can play a one‑octave scale starting on two different strings and hear a clear difference in tone. When you face a choice between an open string and a stopped fourth‑finger, you can decide based on the music, not just habit or ease.
4. Thinking Like a Violinist, Not Just a Note Reader
At its highest level, reading violin music is about seeing a map of gestures. Fingering numbers, string indications (often Roman numerals or circled numbers), and slurs are not visual clutter; they are a choreographed path for your left hand.
What this stage aims to achieve: Integrating string choices and shifts so seamlessly into your reading that the music flows as naturally as speaking. You stop seeing isolated notes and start seeing phrases shaped by the instrument’s physical logic.
Concrete actions:
- Study études or pieces with careful fingerings (Kreutzer and Mazas are classic guides). Play them slowly, watching how each fingering leads to the next.
- Practice sight‑reading unfamiliar material while planning string crossings and shifts a beat or two ahead. Even making a mistake here teaches you how the hand prefers to move.
- When the music is bare of fingerings, pencil in your own. Mark string choices with “sul G” or other notes, and circle a finger number that makes the phrase sing.
- Record yourself playing a passage, then listen back critically for smooth transitions between positions and even tone.
Observable sign you’re ready for the next step: You can open a piece with no fingerings and make intelligent, musical decisions that keep the sound consistent and the hand relaxed. You no longer depend on an editor to tell you where to shift; your own instincts guide you.
Signs You’re Ready to Move Ahead
Here are the readiness checkpoints gathered together. Use them to take a quiet measure of your progress.
- You can play long tones on all strings with steady pitch and notice immediately when you drift sharp or flat.
- You can name the string and finger for any note in first position without looking at a chart.
- You can play a simple melody in two different positions and clearly hear the tonal difference.
- You can choose an open string or a fourth‑finger stop based on the musical effect, not just out of habit.
- You can sight‑read an easy piece in first position and add sensible fingerings where they are missing.
- When you see a passage with shifts, you can plan the hand movement ahead of time and carry it through smoothly.
What You Don’t Need to Master Yet
It is easy to overload yourself with skills that are not the priority right now. The following will matter later, but trying to perfect them too soon can slow your reading growth.
- Vibrato: It adds warmth, but it depends on a relaxed hand and solid intonation. Start exploring vibrato only after you can play first‑position scales with a clean, even tone.
- Memorizing all seven positions: Third position is the most practical extension. Once you are comfortable shifting between first and third, the higher positions become less daunting.
- Reading alto or treble clef for viola or other transpositions: Stay with violin’s treble clef until reading in first and third positions feels as natural as breathing.
- Advanced bowing patterns (spiccato, ricochet): These require refined right‑hand control. Focus on smooth legato and fluid string crossings first.
- Playing fast runs from sight: Speed is a by‑product of pattern recognition built over many slow, thoughtful repetitions. Give yourself permission to read slowly.
When these become relevant:
- Once first‑position scales ring in tune and your tone is steady, introduce gentle vibrato and shifting exercises.
- When you can sight‑read material in first and third positions with few mistakes, begin exploring fifth position and beyond.
Practice Tools That Speed Up Real Progress
These tools support your development in honest ways, without shortcuts that skip the important ear‑hand connection.
- Drone and tuner together: Set a drone on the tonic of a scale, play against it, and use a tuner to check your accuracy. This buddy system trains ear and fingers simultaneously.
- Fingerboard chart with positions: Keep a clear, laminated chart on your stand showing all notes through third position. Glancing at it during practice feels like having a gentle guide beside you.
- Slow metronome practice: Set the metronome to a calm 40 bpm and read one new measure per tick. The slow pace creates space to plan fingerings and string crossings thoughtfully.
- Record and review: Record yourself reading a short excerpt, then listen back with the sheet music. Notice any unexpected shifts in tone caused by string choice.
- Scale and arpeggio routines in sequences: Instead of playing scales straight up and down, try patterns like 1‑2‑3‑1, 2‑3‑4‑2 to build finger independence and mental agility.
Questions Violin Beginners Ask About Reading Music
Why are there numbers above some notes on violin sheet music?
Those numbers are suggested fingerings. They tell you which finger to use—1 for index, 2 for middle, 3 for ring, 4 for pinky. They are there to help you navigate shifts and avoid awkward string crossings.
How do I know which string to play a note on if it’s not marked?
In first position, every note has a default home string that keeps the hand comfortable. If a composer wants a specific string, they may write “sul G” or “sul D” or add a circled number (I for E string, II for A, etc.). Without markings, start with the string that requires the least hand movement.
What does it mean when the music says “sul G”?
“Sul G” (or “sul D,” “sul A,” “sul E”) means play that passage entirely on that particular string, no matter which position it demands. The goal is a consistent, rich tone color.
Do I have to use the printed fingerings?
No. Editor fingerings are suggestions. As you develop, you may discover fingerings that fit your hand better or that serve the phrasing more musically. But they are an excellent starting point for learning efficient shifting.
Can I just use open strings instead of fourth‑finger stops?
You can, but open strings tend to sound brighter and more resonant. In lyric passages that call for a warmer, connected sound, a stopped fourth finger is often the better choice. Advanced violinists usually reserve open strings for more articulated or open‑sounding passages.
Why do some notes sound out of tune even though my finger is in the right place?
Violin intonation is flexible. Even with a perfectly placed finger, bow pressure, the contact point, and the resonance of open strings can influence pitch. Additionally, notes that are enharmonic (like F♯ and G♭) need slightly different tuning depending on the key. Playing with a drone and training your ear will refine this over time.
From Sheet to Sound: What Success Looks Like
When you can gaze at a page of violin music and see not just dots but a series of physical choices—string colors, finger placements, and bow flows—you have truly become a violinist who reads. The very first action, for the most common starting point of a player arriving from piano, is to take a simple first‑position piece and say aloud the string and finger for every note before playing. Then play it and listen with fresh ears to the sound each choice creates.