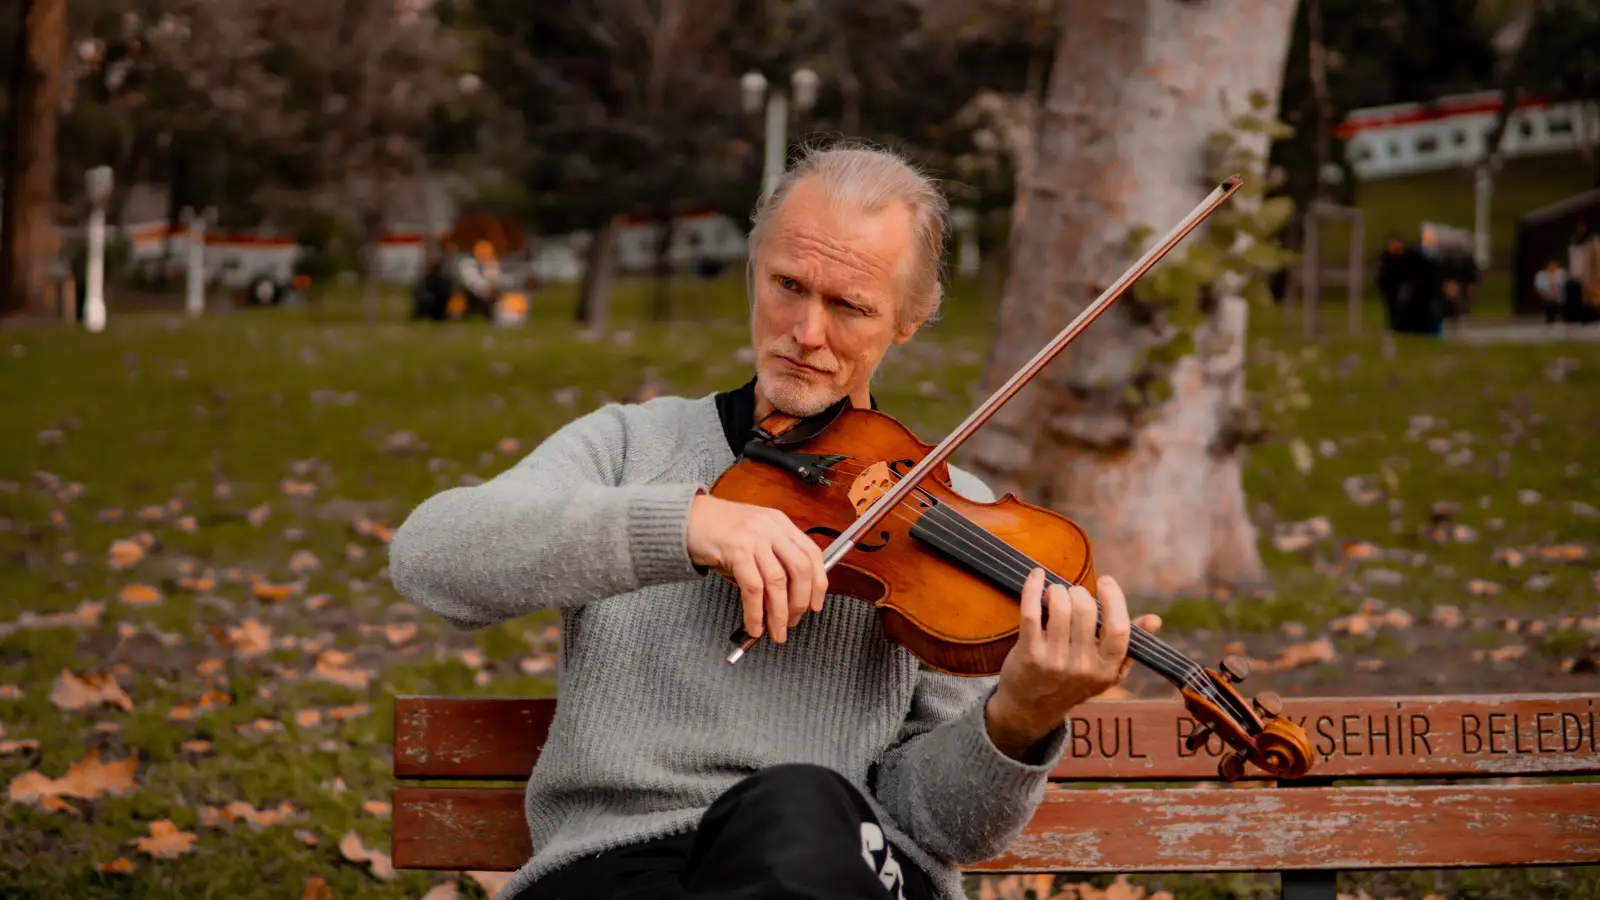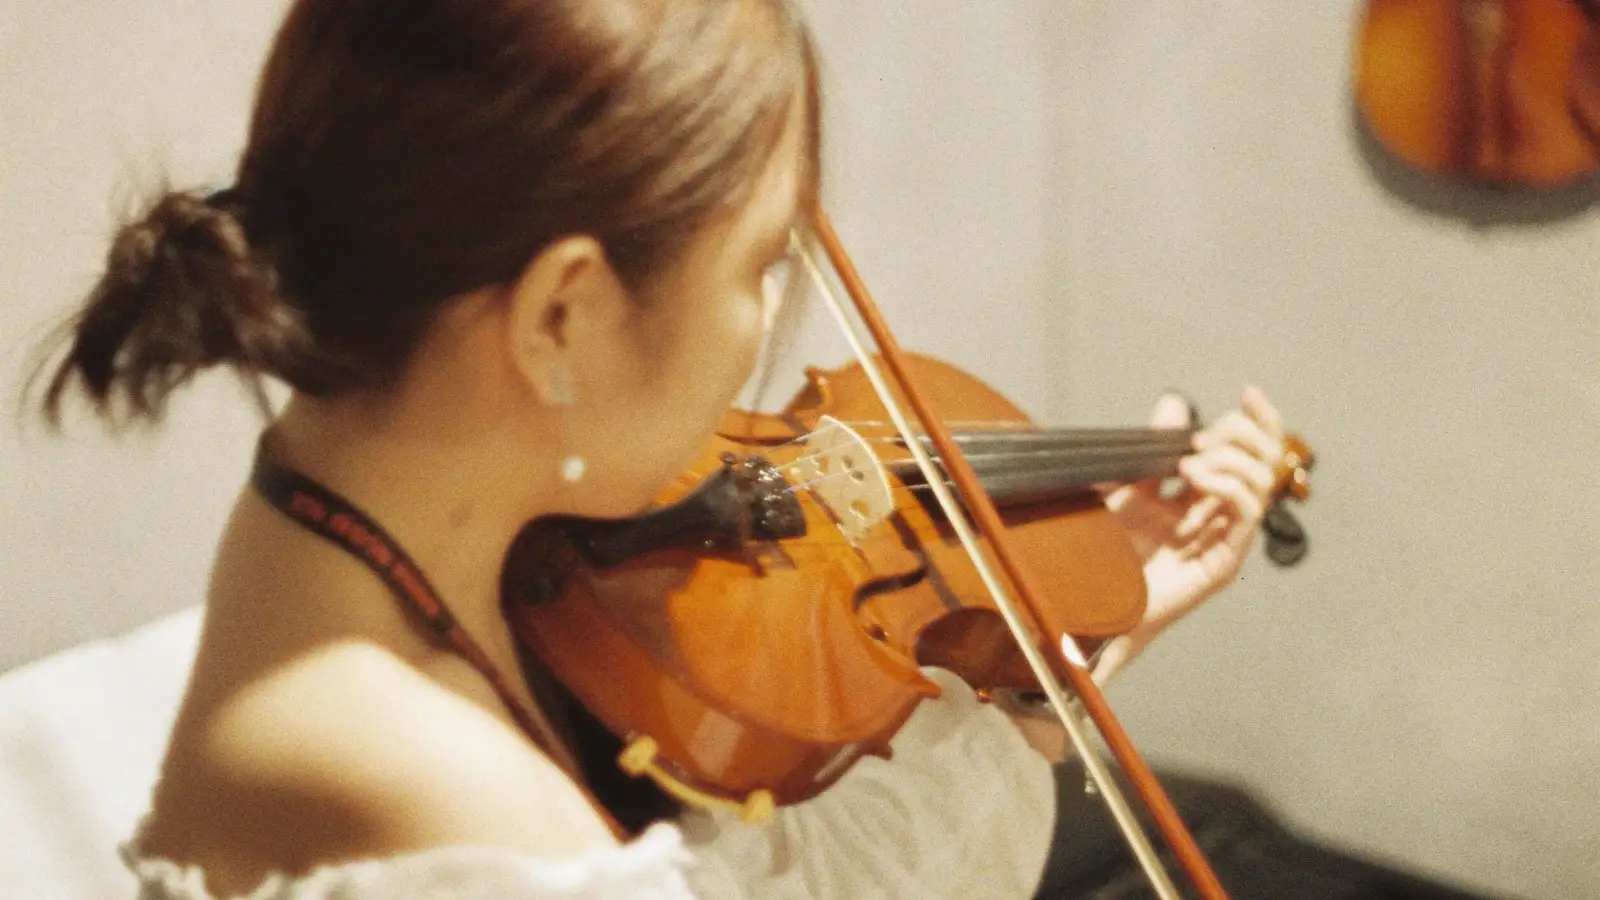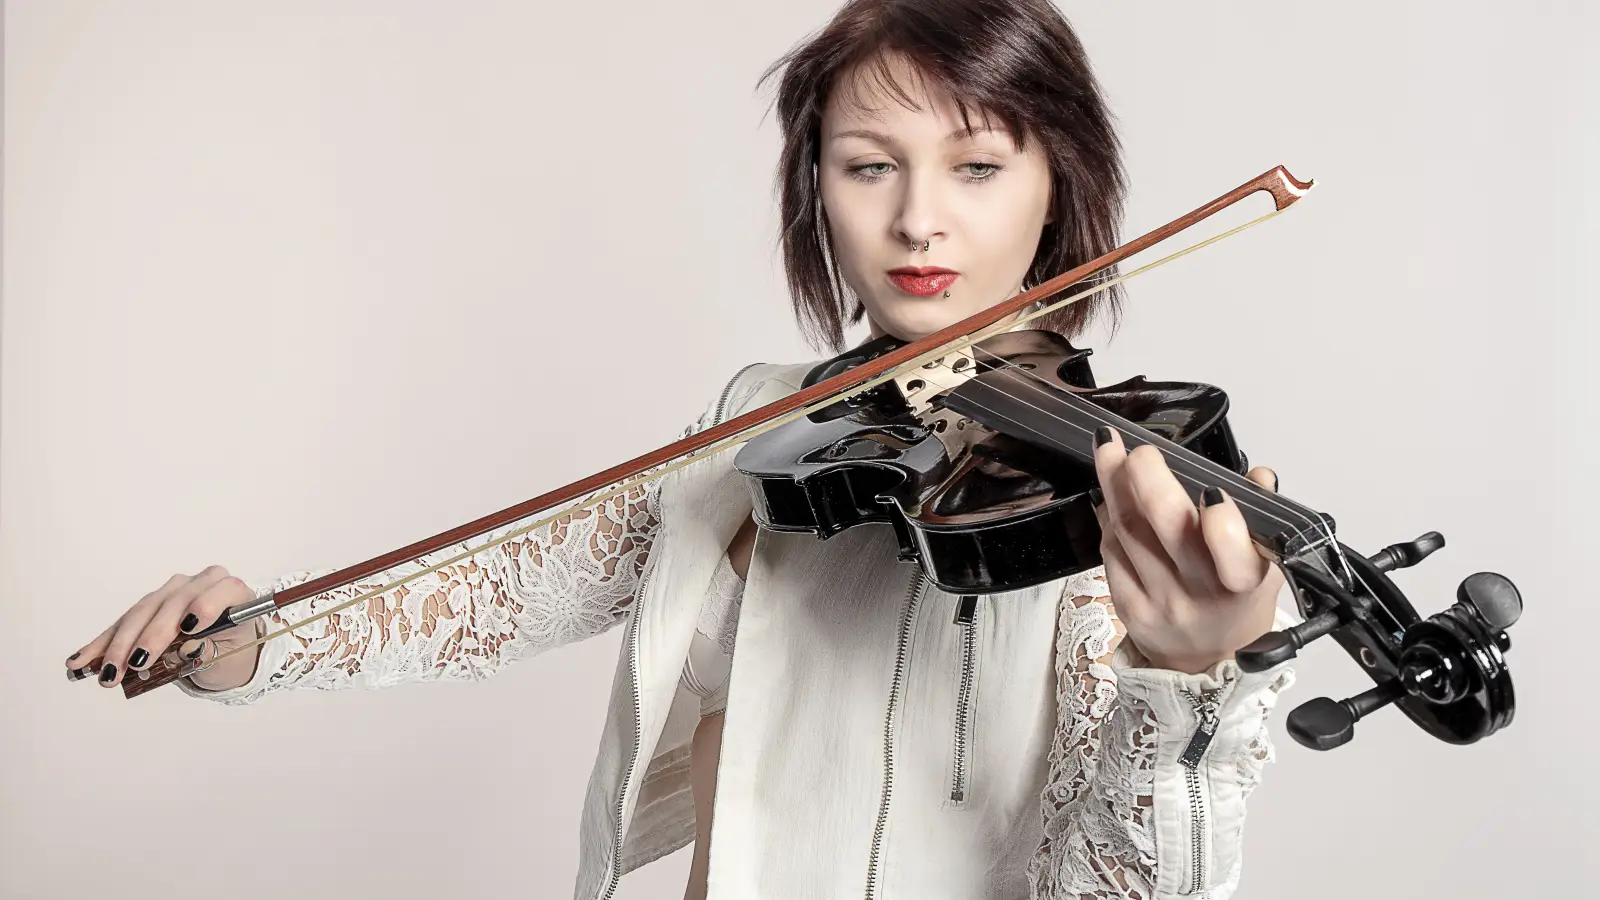
Good violin posture isn’t a static list of body parts you set and forget. It’s a mechanical chain. The way your feet connect to the floor changes what happens in your hips. Your hip position dictates how your spine stacks. The spine determines whether your shoulders can release. And if your shoulders are tight, your neck and jaw will eventually pay the price. This guide works through that chain one link at a time, from the floor to the top of your head. You will not skip a step, because skipping a step is why most adult beginners develop pain. By the end, the violin will rest on a stable framework instead of being held by isolated muscles that were never designed to do the job alone.
Three Common Starting Points for Adult Violinists
Your path through the article depends on where you are right now. Find the situation that matches yours.
- Absolute beginner — no prior habits. You’re handling a violin for the first time and want to build alignment from scratch. Your route: Work through every stage in order, spending a full practice session on each before picking up the instrument.
- A few months in and something hurts. Your neck, shoulder, or lower back aches after 15–20 minutes of playing. Your route: Go directly to the shoulder and neck stages to identify where the chain is breaking, then backtrack to feet and hips to rebuild the foundation under that break.
- Returning after years away. Old tension patterns feel familiar but wrong. Your route: Scan the readiness signs listed at the end of each stage below. Find the link where your body has forgotten the alignment and rebuild only that link.
Stage 1: Build a Stable Base with Feet and Legs
If your feet are unstable, every alignment above them is compromised before you even lift the violin. This stage makes your lower body a steady, predictable platform.
What to do
Stand with your feet roughly hip-width apart. Distribute your weight evenly between both feet and between the heel and ball of each foot. Soften your knees — not locked, not deeply bent, just an easy release that allows the joint to absorb small shifts. Rock forward and back a few times until you feel your weight centered over your arches. Let your arms hang.
Readiness sign
You can stand like this for two full minutes without shifting your weight from foot to foot or feeling tension gather in your calves or thighs. Your pelvis stays level the entire time.
Stage 2: Align the Hips to Unlock the Spine
The pelvis is the steering wheel for the spine. Tip it too far forward and the lower back overarches. Tuck it under and the spine flattens, forcing the shoulders forward. Both positions send compensation up into the neck.
What to do
Place your hands on your hip bones. Tilt your pelvis forward and back (anterior and posterior tilt) through a small range of motion. Find the midpoint where your sit bones point straight down and your lower back keeps its natural, mild inward curve. This is not a dramatic curve — it’s the shape your back makes when you’re standing with no effort. Breathe normally while holding it; do not brace the abdominal wall.
Readiness sign
You can find neutral pelvis within three seconds of standing and maintain it for a minute while breathing deeply. No burning or gripping sensation appears in the lower back muscles.
Stage 3: Stack the Spine from the Sit Bones Upward
With a stable pelvis, the spine can lengthen rather than collapse. This isn’t a “stand up straight” command — it’s an elongation that allows the vertebrae to sit on top of each other so the weight of the head and, later, the violin, passes down into the pelvis without resistance.
What to do
From neutral pelvis, imagine a gentle upward pull at the crown of your head while your sit bones anchor downward. This is an elongation, not a lift of the chin or a shoulder pull. Place one hand on your sternum. Breathe without letting the chest pump upward — let the ribs expand sideways and backward. Keep your shoulders released.
Readiness sign
When you stand sideways in a mirror, your ear, shoulder, hip, and ankle align roughly along a vertical line. You can take a full breath without your shoulders rising even a fraction.
Stage 4: Free the Shoulder Girdle to Receive the Violin
Now the collarbone and shoulder blades become the platform for the violin. If this stage is skipped, the body recruits the upper traps and neck muscles to do work they aren’t built for, and pain follows quickly.
What to do
Before touching the violin, roll your shoulders up, back, and down a few times. Let them settle where gravity leaves them — do not force them down. Let your arms hang heavily. Bring the violin onto the collarbone without the left hand. Use only the weight of your head to keep it in place (you’ll adjust the chin rest or add a shoulder rest later if needed). The left hand stays at your side.
Readiness sign
You can balance the violin on your collarbone, jaw on the chin rest, no left hand, for at least 10 seconds. Both shoulders stay level and soft. If the violin slides off, alter the setup — add or remove a shoulder rest, change chin-rest height — rather than clamping with the jaw or lifting the shoulder.
Stage 5: Align the Head and Neck to Free the Jaw
A head that tilts or twists forces the jaw to grip and the upper back to stiffen. When the head sits atop a long spine, the instrument’s weight transfers through the collarbone and down, away from the small muscles of the neck.
What to do
With the violin on the collarbone, nod your head slightly — a gentle “yes” movement — to bring your jaw onto the chin rest. Avoid tilting the head sideways. Keep the back of your neck long. Check that you can open your mouth a little without the violin shifting. Turn your nose slightly toward the scroll but don’t twist.
Readiness sign
You can hold the violin with the head, then turn your left ear toward the scroll without the jaw gripping. The instrument’s weight feels like it travels through your collarbone into your feet; your jaw and upper back remain soft.
Stage 6: Integrate the Whole Chain with the Violin in Place
The real test is whether the chain holds when movement enters — when the left arm comes to the neck and the bow arm begins to move.
What to do
Keep the violin stable on the collarbone without the left hand. Slowly bring your left arm up as if to play, but hover the hand over the fingerboard. Check that the violin doesn’t drop and your shoulder doesn’t lift. When that’s steady, place your left thumb lightly against the neck. Then pick up the bow and draw a long open string. Watch a mirror or record a short video. Notice any small shift — does your head press down? Does your right shoulder hike?
Readiness sign
You can play an open string for 30 seconds without those compensations. Your head stays evenly weighted on the chin rest, your left thumb remains light, and your right shoulder moves freely from the back. You feel the vibrations in your collarbone, not muscle strain in your neck.
When You’re Ready to Move On: The Signs in Order
- Feet and legs: Two minutes of standing with weight evenly balanced, soft knees, no shifting or leg tension.
- Hips and pelvis: Neutral pelvis found in seconds and held for a minute of deep breathing, with no low-back gripping.
- Spine: Side-view mirror shows ear, shoulder, hip, and ankle in line; a full breath doesn’t lift your shoulders.
- Shoulder girdle: Violin balances on the collarbone, jaw on chin rest, no left hand, for 10 seconds with level, relaxed shoulders.
- Head and neck: Jaw stays soft while holding the violin; you can turn your head slightly without tension, and the weight settles into your feet.
- Full integration: Open-string playing for 30 seconds with no added compensation — head and shoulders stay aligned and relaxed.
Tools That Give You Honest Feedback
A few simple tools cut through the guesswork because they show you what your body is actually doing, not what it feels like it’s doing.
- Full-length mirror. Position it so you can see your whole body from the side. Check the ear-shoulder-hip-ankle line regularly. Sensation is unreliable when you’re learning new alignment.
- Phone video. Record 30 seconds of playing, then watch without sound. Look for movement you didn’t intend — a shoulder hike, a shifting foot, a tilting head.
- Periodic teacher check. One lesson focused entirely on posture can identify chain breaks you’ve become blind to. It’s a time investment that prevents months of frustration.
What Not to Worry About Yet
Some concerns sound urgent but are actually downstream problems. Solve the chain first; then these will either resolve or become much easier to diagnose.
- “Which shoulder rest should I buy?” Don’t choose one until you can balance the violin on your collarbone in Stage 4. A rest fills the gap between your shoulder and the instrument, but you need to know what that gap actually looks like first. The wrong rest can hide a postural problem.
- “Why does my left thumb hurt?” Left-hand tension is almost always a symptom of a collapsing posture chain. If your shoulder lifts or your head clamps, the left hand tightens to compensate. Revisit this only after Stage 6 is solid.
- “How far should I tilt the violin?” Tilt angle settles naturally when the shoulder girdle and head are aligned. Worry about it after Stage 5.
- “Is my head supposed to press down?” No. The head simply rests. If you feel jaw pressure, the setup or the chain isn’t right. Go back to Stages 4 and 5 instead of trying to adjust the pressure in isolation.
Frequently Asked Questions
Why does my shoulder hurt after playing even after following these steps?
Pain usually points to one link still out of alignment. Check whether your weight has drifted into one leg, your pelvis has tucked under, or your shoulder is subtly lifting to meet the violin. Return to the earliest stage where the alignment breaks and rebuild from there.
How long does it take before good posture feels natural?
For adults, expect a few weeks of daily, deliberate practice before the chain begins to feel automatic. The time varies depending on how much old tension your body needs to unlearn. Consistency matters more than session length.
Can I practice posture without holding the violin?
Yes. The first three stages — feet, hips, and spine — can be practiced while standing in line, cooking, or waiting. The more your body recognizes neutral alignment without the instrument, the easier it is to maintain when you add it.
I’m short and the violin keeps sliding — what should I do?
Sliding often comes from an over-tucked pelvis or a collapsed spine that shortens the distance between shoulder and jaw. Before changing equipment, work through Stages 2 and 3 to see if lengthening the spine creates enough support. If it still slides after that, experiment with chin-rest height or a padded cloth to fill the gap.
Is it normal to feel stiff when I first correct my posture?
Yes. Muscles that have been slumping or gripping for years are now being asked to work in a longer, unfamiliar range. Stiffness that fades with movement is normal. Pain that sharpens or persists signals you’re forcing the alignment — back off and revisit the readiness signs.
The First Step Is Right Under Your Feet
When the violin sits on your collarbone without effort, your jaw is soft, and your spine lengthens with each breath, you’ve built a posture chain that serves the music. The very first action, no matter your starting point, is the simplest one: stand with your weight evenly balanced, your knees unlocked, and your feet grounded before you even open the case.