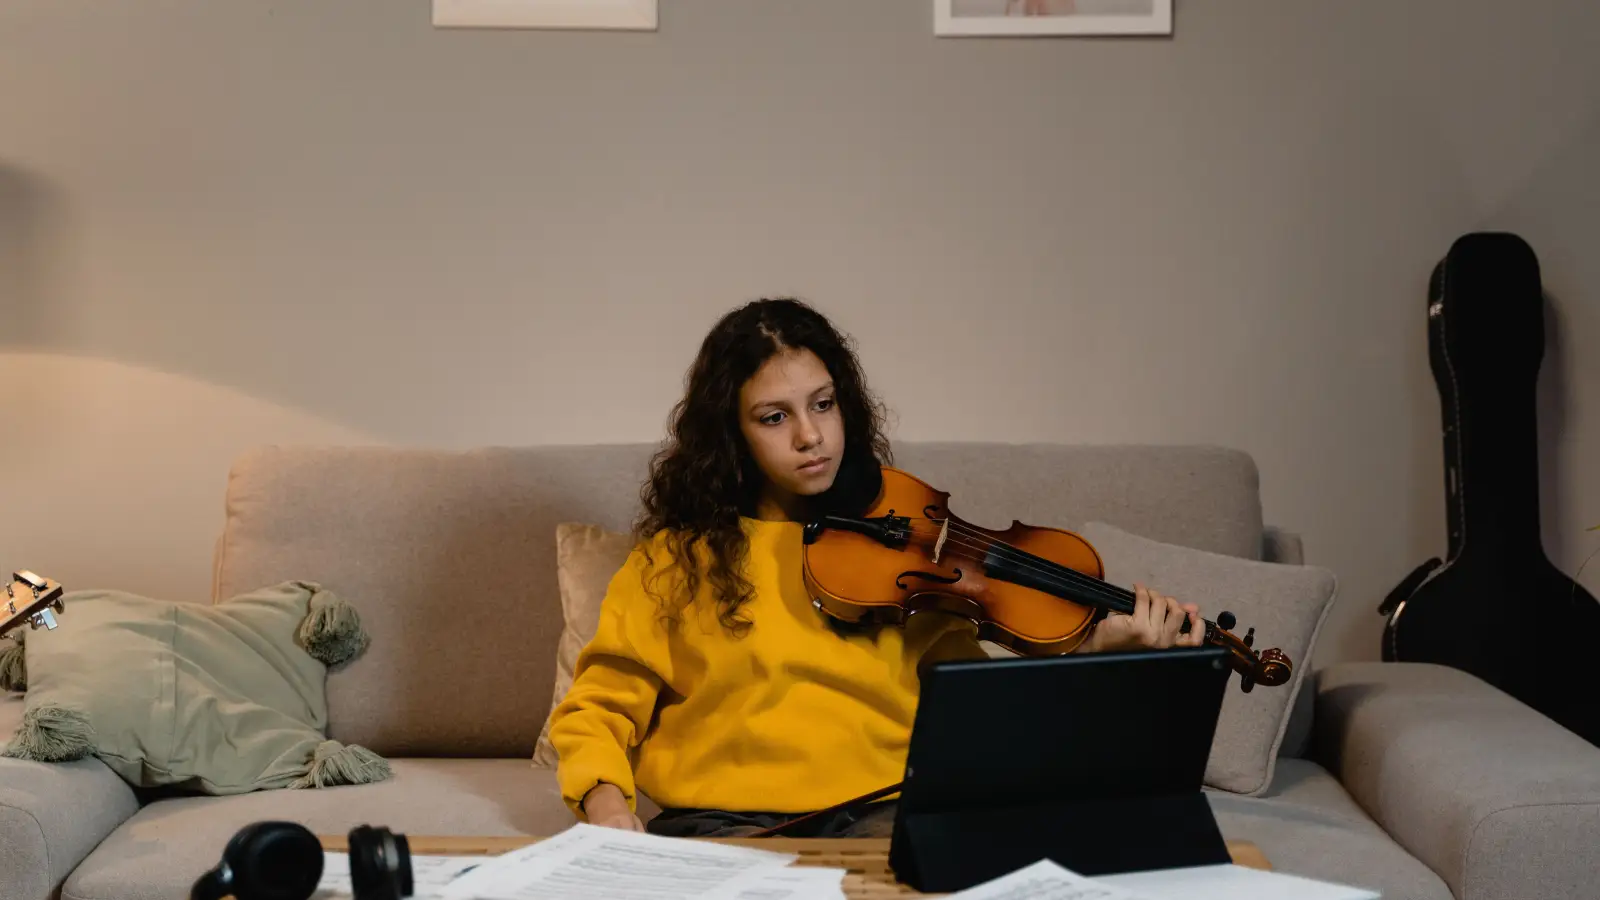
Arm length, not age, determines violin size. Age charts estimate average body proportions, but a tape measure and a centimeter-based size chart tell you exactly which instrument fits. The process is simple: measure from the base of the neck to the center of the left palm in centimeters, look up the number in the table below, and you have a sizing decision rooted in physical reality.
The Arm-Length Sizing Method in Five Steps
- Stand straight with the left arm extended horizontally, palm facing up.
- Hold the end of a soft measuring tape at the center of the base of the neck (where the violin would sit).
- Measure to the center of the palm (not the fingers).
- Record the length in centimeters.
- Match the measurement to a violin size chart in centimeters.
Tools You Need to Measure Arm Length
- A soft, flexible measuring tape (seamstress type). A rigid tape or ruler will not follow the arm's curve.
- If a fabric tape isn’t available, a piece of string and a ruler work as a substitute.
- A helper makes the process easier, especially for children who may not hold still.
- A printed or on-screen centimeter size chart for reference.
How to Measure Arm Length for Violin Sizing
Step 1: Get a Flexible Measuring Tape
A standard sewing tape measure that reads in centimeters on one side is ideal. Make sure the starting end is clearly marked at zero, not a few millimeters in. If using string, mark the start and end points on the string, then lay it flat against a metric ruler.
Step 2: Position the Player Correctly
Ask the player to stand with good posture—shoulders relaxed, back straight, and head facing forward. The left arm (the one that will hold the violin neck) should be extended straight out to the side at shoulder height, palm facing upward. The arm must be fully extended but not hyperextended, with the wrist straight.
Step 3: Place the Tape’s End at the Base of the Neck
Locate the exact point at the center of the base of the neck, right where the collarbones meet and where the violin’s chin rest would sit. Press the zero end of the tape firmly against this spot. If someone is helping, they should hold the tape there while the player keeps the arm extended.
Step 4: Extend the Tape to the Center of the Palm
Run the tape along the arm’s top surface, following its natural line, all the way to the center of the palm. Do not stop at the wrist or extend to the fingertips. The endpoint is the middle of the palm—roughly where a line drawn from the middle finger would meet the wrist crease. Keep the tape straight but not pulled so tight that it compresses the skin.
Step 5: Read the Measurement in Centimeters
Look at the number where the tape meets the palm center, and record it to the nearest half centimeter. If the measurement falls exactly between two half-centimeter marks, round down to the nearest half centimeter to stay on the safe side.
Step 6: Compare to a Centimeter-Based Size Chart
Use the table below to find the violin size that matches the recorded arm length. These ranges are standard across most manufacturers and music shops.
| Arm Length (cm) | Violin Size |
|---|---|
| 35–42 | 1/16 |
| 42–46 | 1/10 |
| 46–50 | 1/8 |
| 50–55 | 1/4 |
| 55–60 | 1/2 |
| 60–65 | 3/4 |
| 65+ | 4/4 |
If the measurement lands on a boundary between two sizes (for example, 55 cm exactly):
- For a beginner: choose the smaller size. It is easier to maneuver and less tiring to hold.
- For a player with some experience and average or larger hands: the larger size may offer a fuller sound and more room on the fingerboard. When in doubt, let the player try both sizes with a teacher’s guidance.
- For a child still growing rapidly: the larger size might extend the usable life of the instrument, but only if they can comfortably handle it now.
How to Confirm the Violin Size Is Correct
Once you have an instrument of the recommended size, verify the fit with these checks:
- Scroll-to-wrist test: Have the player hold the violin under the chin in playing position, left hand gripping the scroll (the curved end). With the arm fully extended, the scroll should reach comfortably into the player’s palm, near the wrist crease. If the arm must bend significantly to reach the scroll, the violin is too large.
- Left elbow comfort: When the left hand is placed on the fingerboard in first position, the elbow should bend naturally and point toward the floor. A strained, overly straight arm suggests the violin is too big.
- Finger reach: The fingers should be able to curl around the fingerboard and press down the strings without excessive stretching. If the pinky consistently can’t reach the correct notes, try a smaller size.
- Bow arm clearance: The right arm drawing the bow should move freely without colliding with the body. Cramped bowing often means the violin is too small, forcing the player to hunch.
When the Measurement Doesn’t Seem Right: Troubleshooting
The chart suggests a size that looks obviously too small or too large
Re-measure the arm length. If the number is correct, trust the chart—players and parents often overestimate the size they need. If a child is unusually tall or short for their age, arm length may not match what age charts predict, but for violin fit it remains the better guide. However, a minority of people have disproportionately long or short arms relative to their torso. If a measured size causes discomfort during the checkpoints above, try one size up or down.
The measurement was taken in inches instead of centimeters
If the tape was read in inches, convert it: multiply the inch measurement by 2.54 to get centimeters. Then compare to the table. Even so, re-measuring directly with a centimeter tape is more accurate and avoids rounding errors.
The arm was measured with the elbow bent or fingers stretched
Bending the elbow shortens the path and yields an incorrectly small measurement. Stretching the fingers adds length. Start over with the arm fully extended and the palm relaxed. The helper should watch that the arm remains straight and wrist neutral throughout.
Common Questions About Arm-Length Violin Sizing
Can I use arm span instead of arm length?
No. Arm span, the distance from fingertip to fingertip with arms outstretched, involves both arms and the chest width. The left arm's reach alone determines the violin size, so a span measurement will almost always point to a size that is too large.
What if I’m an adult with very short arms?
Measure your arm length and use the chart. Many adults require a 7/8 violin or even a 3/4 size. Do not assume you need a full-size (4/4) instrument just because you are an adult. The right size reduces strain and improves technique.
My child’s arm length is between two sizes—which do I choose?
For beginners, pick the smaller size for easier handling and less weight. If the child has already played for a year or more and has good posture, the larger size might be manageable. Regular measurements every six months help catch growth spurts.
Does this method work for electric violins?
Yes. Electric violins follow the same body and scale length standards as acoustic violins. The same arm length chart applies, though some electric models may have slightly different weight or balance, which can affect comfort, so it’s still wise to test the fit.
With a correctly sized violin, the player can focus on technique instead of fighting an ill-fitting instrument. The next practical step is to rent or purchase a violin that matches the measured size, and ideally try a few in person to confirm comfort.