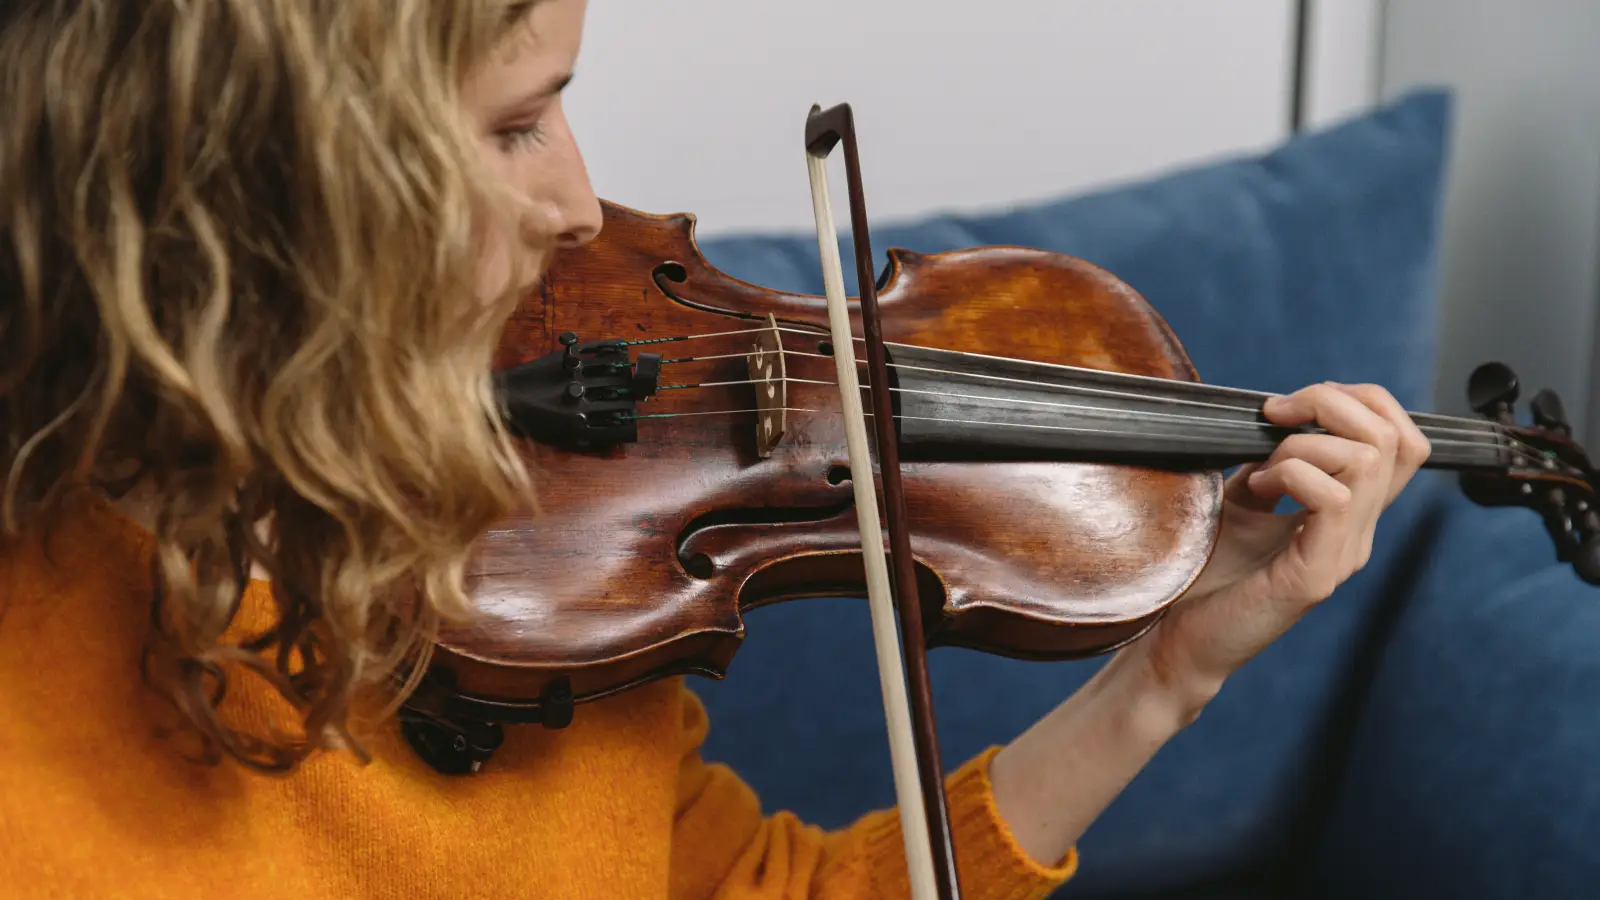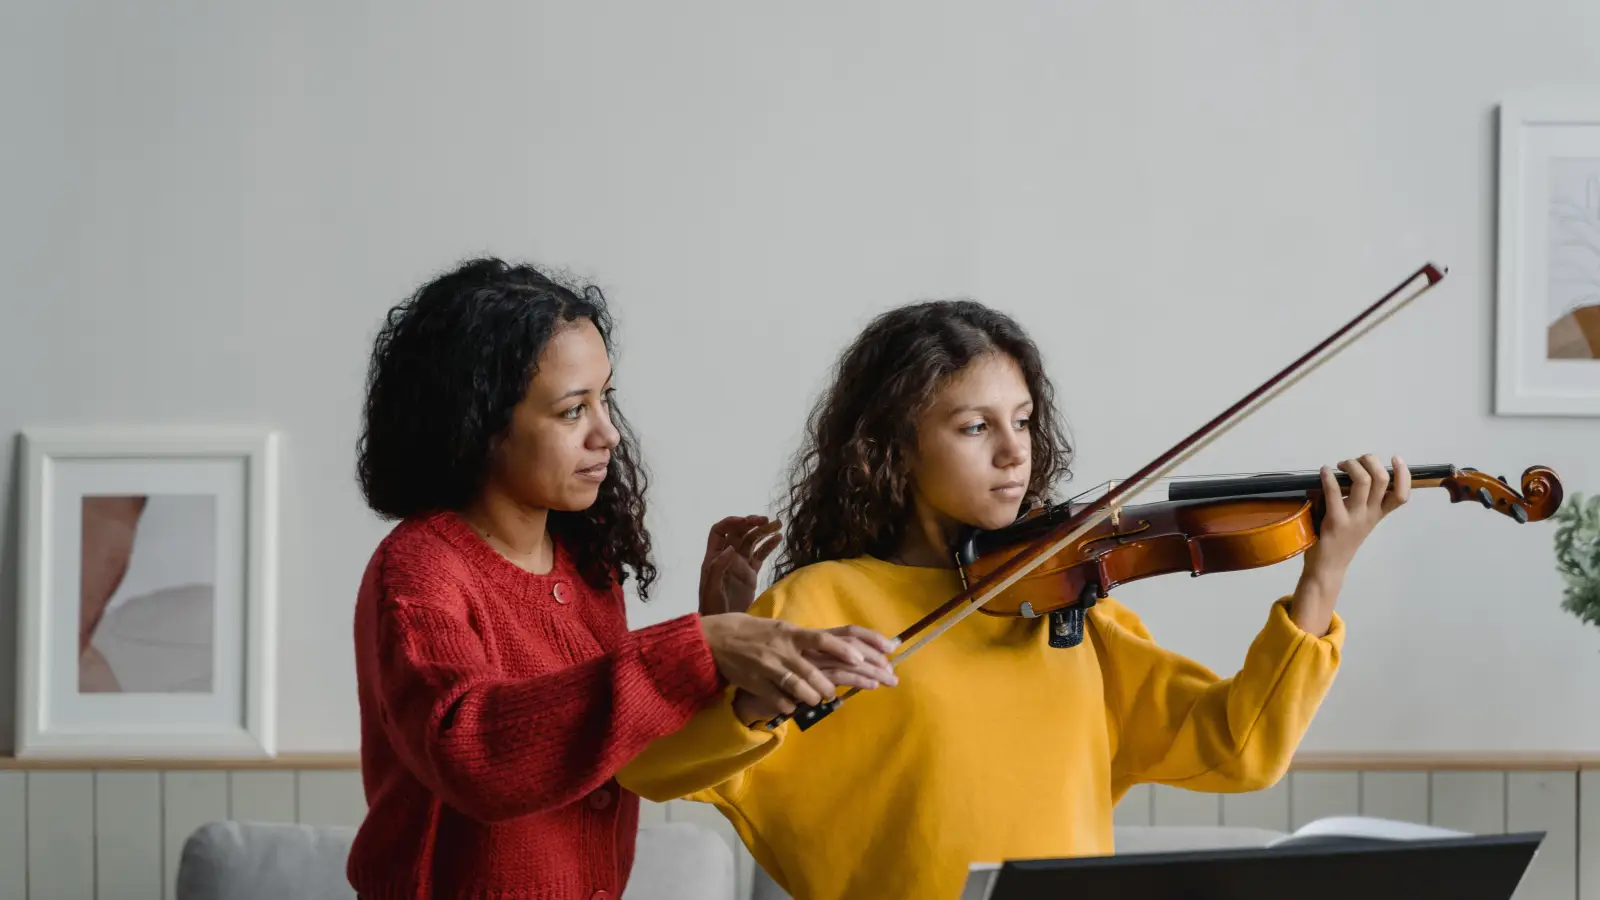
A tense shoulder stops your violin from vibrating. Put the instrument on your collarbone, not the shoulder muscle. Drop the shoulder and rest the jaw lightly. The wood opens up. The thin scratch disappears. This one contact-point adjustment transfers the violin's resonance into the room, giving you a fuller, louder tone without extra bow arm effort.
The Sound You Get After Fixing Contact Points
The tone becomes rounder, with natural projection. No more nasal, pinched quality. Play a long open string after releasing the shoulder and settling the violin on bone—you'll hear a warm, singing note. That is the immediate payoff of aligning the three key contact areas.
The Single-Posture Fix: A Practical Checklist
- Touch your left collarbone to find the bony shelf.
- Set the violin on that shelf so it contacts the collarbone, not the shoulder muscle.
- Let the left shoulder drop straight down, pulling away from the instrument.
- Rest the jaw on the chinrest with minimal pressure—no clamping.
- Exhale while bowing a slow open string, listening for an unforced tone.
- Repeat, confirming the shoulder stays low and the jaw stays relaxed.
Locating the Collarbone Shelf: 15 Seconds
Press your fingers against your left collarbone. The hard ridge you feel is the contact point. The violin sits there. Not on the shoulder muscle. Before picking up the instrument, bring your left arm into playing position and mentally place the violin on that bone. How long: 15–30 seconds. Mistake: putting the violin high on the shoulder—this lifts the shoulder and chokes vibration.
Setting the Violin on Bone, Not Muscle
With the violin in hand, rest its back edge directly on the collarbone ridge. Keep your head upright. The scroll angles slightly outward and upward. How long: another 30 seconds to settle. Mistake: sliding the violin onto the top of the shoulder for a false sense of height and security. That kills resonance.
Releasing the Shoulder Completely
Once the violin is on the collarbone, let the left shoulder drop toward the floor. Check a mirror—you need visible space between shoulder and instrument. How long: 10 seconds to establish, then recheck mid-practice. Mistake: believing you've dropped the shoulder when a slight upward hold remains. Film yourself or have someone watch.
Light Jaw Contact on the Chinrest
The jaw rests on the chinrest with the weight of a sheet of paper. Do not use it to hold the violin. Jaw soreness after playing means you're pressing. How long: Immediate, but it takes several sessions to build the habit. Mistake: clamping the jaw to "secure" the violin, which stiffens the neck and back and smothers the sound.
Breathing and Listening: The Tone Test
Take a breath, then bow a full open string. Focus on the tone—does it ring free or stay pinched? A relaxed hold produces a sound that seems to project on its own. How long: 5–10 minutes of attentive listening. Mistake: concentrating so hard on posture that you stop hearing the result. Let your ears guide the next adjustment.
The 3-Point Sound Check: Final Verification
- Shoulder down? Slip a finger between shoulder and violin—you should feel space.
- Collarbone contact? The vibration should transfer through the bone, a sensation you can feel.
- Jaw relaxed? Open your mouth slightly while bowing. The tone must not waver.
If all three checks pass, your hold transfers resonance efficiently. If not, return to the first checklist step.
Frequently Asked Questions
Why is my violin still thin-sounding even after relaxing my shoulder?
Jaw tension often remains. Even a slight shoulder lift can return if the chinrest forces your jaw into a bad position. Try a different chinrest shape or height. Also verify your bow speed and contact point—if those are off, they can mask a posture fix.
Does a shoulder rest help or hurt resonance?
It varies. Soft, padded rests absorb vibration. Harder models allow more transfer. But no shoulder rest replaces correct collarbone contact and a released shoulder. If you need one for comfort, pick a minimalist design and position it so the violin still contacts the bone.
How can I tell if my jaw is too tight on the chinrest?
Jaw soreness after playing is the first clue. A direct test: while bowing a steady note, open and close your mouth slightly. If the tone wavers or thins, you are clamping. A free jaw moves without changing the sound.
What other factors cause a thin violin sound besides posture?
Bow placement near the fingerboard or bridge, low bow speed, and insufficient pressure can all thin the tone. But if your contact points are off, those bow fixes won't last. Correct posture first, then refine bow technique.
The Fix, Applied
The one tweak—collarbone anchor, dropped shoulder, light jaw—gives a fuller, resonant tone. Next time you practice, invest 30 seconds before playing: find the collarbone shelf, release the shoulder. That routine builds speed and makes the adjustment stick.