Pressing harder to get more volume is a reflex most new violinists pick up within the first month. It gives you a scratchy, choked sound that’s loud up close but disappears at any distance. The reason is simple: good tone isn’t controlled by a single force — it’s a three-way balance between how hard you press, how fast you move the bow, and where the hair touches the string. Shift one of those, and the sound changes. Get all three right, and the instrument resonates cleanly, at any volume, without the struggle.
When pressure, speed, and contact point click together, you hear a focused, singing tone right away. The difference is obvious the moment you line them up. This article shows you each variable in isolation, then gives you a practice sequence to balance them so your sound improves immediately — even if your left hand is still catching up.
The Setup That Lets You Balance Pressure, Speed, and Contact Point
Some physical conditions can sabotage your work with the three variables before you even start. Fix these first.
- A violin and bow that are in working shape. Strings should be clean and not worn flat. Bow hair needs enough rosin to grip the string without slipping — if the hair looks glossy and feels slick, add rosin.
- A room where you can hear what’s actually happening. A small, dry room is ideal; reverb masks the changes in tone you’re trying to notice.
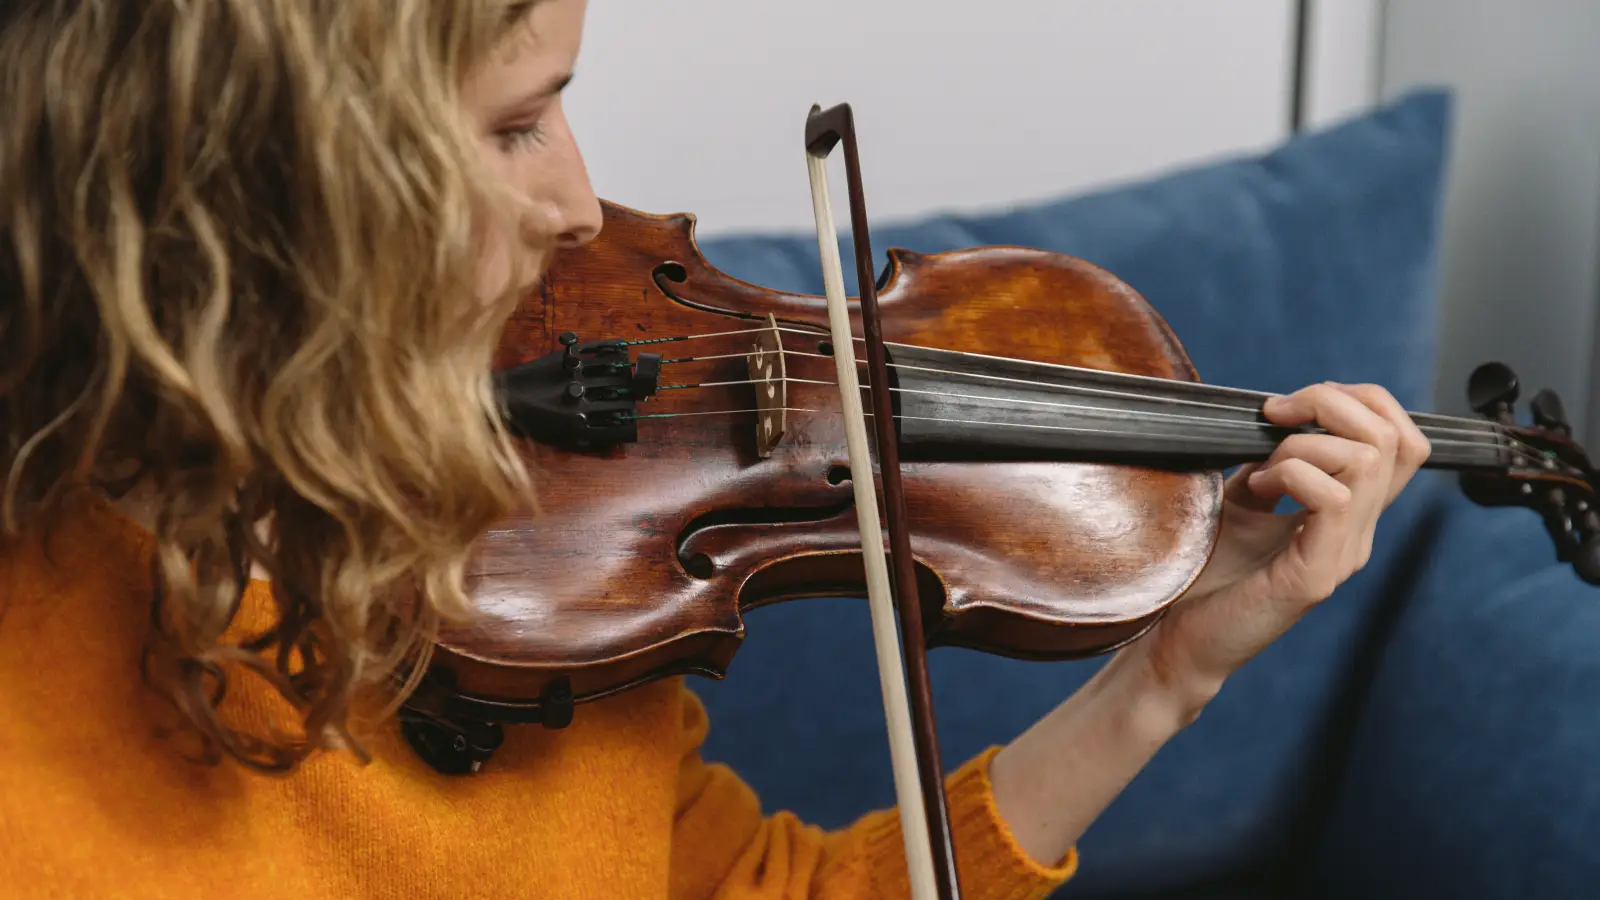
- A relaxed bow hold and arm-frame. Your grip doesn’t have to be picture-perfect, but your fingers must stay flexible so that pressure and speed changes come from the arm, not from a locked wrist. If your thumb tightens the instant you start a downbow, that tension will override anything you try to control with the variables.
- Comfort on open strings. You should be able to draw a straight bow and produce a steady note on G, D, A, and E, even if the tone is still rough. A tuner or a drone that matches the open-string pitch helps your ear lock onto the fundamental, making it easier to catch when the tone thins or crackles.
Step-by-Step: Balancing the Three Variables
Step 1: Isolate Bow Pressure — The Force You Apply
Pressure is the bow’s weight into the string, transferred through your index finger and drawn from the arm’s natural mass. The mistake is equating “louder” with “pressing harder.” Too much weight strangles the string’s vibration and creates scratch. Too little leaves you with a weak, airy hiss. The objective here is the minimum weight that gives a clean, full tone.
Start on an open A string. Place the bow at the middle, where control is easiest. Without drawing a stroke, gradually add weight through your index finger until the string starts to speak even at rest. Then back off just enough that the sound disappears, and find the point right above that threshold. That’s your baseline working pressure for a quiet dynamic. When you start the stroke, use exactly that weight; adding more speed later will increase volume without crushing the string.
Check: if the pitch warbles or the sound turns scratchy within two inches of bow travel, you’re pressing. Ease off until the scratch vanishes even when you change direction. Also watch that your shoulder isn’t creeping up — pressure should come from the arm’s weight, not from lifting the shoulder.
Step 2: Control Bow Speed — How Fast You Draw
Speed is the most underused lever for volume and projection. Many players pick one moderate speed and then try to do everything else with pressure — the exact opposite of what works. A fast bow with light pressure gives a bright, open sound; a slow bow with appropriate pressure fills out and deepens the tone. Both are useful, but they have to be chosen deliberately.
On the same open A, hold your pressure constant at the baseline weight from Step 1 and change only the speed. Start with a full bow stroke lasting about four seconds from frog to tip. Listen for a solid core. Then double the speed (two seconds per stroke) and hear the volume jump with no extra weight. Finally, try a very slow bow (six to eight seconds) and see how far you can push the tone before it cracks. That breaking point tells you the pressure is winning; you need more speed or less weight.
Check: uneven speed between downbow and upbow makes a lurching, uneven tone. Use a metronome at 60 bpm and count aloud, or practice against an open-string drone so your ear catches the instant the pitch wavers. Keep the bow path straight by watching the contact point — if the bow drifts toward the fingerboard or bridge, your effective speed changes even if your arm thinks it’s steady.
Step 3: Find the Right Contact Point — Where the Hair Meets the String
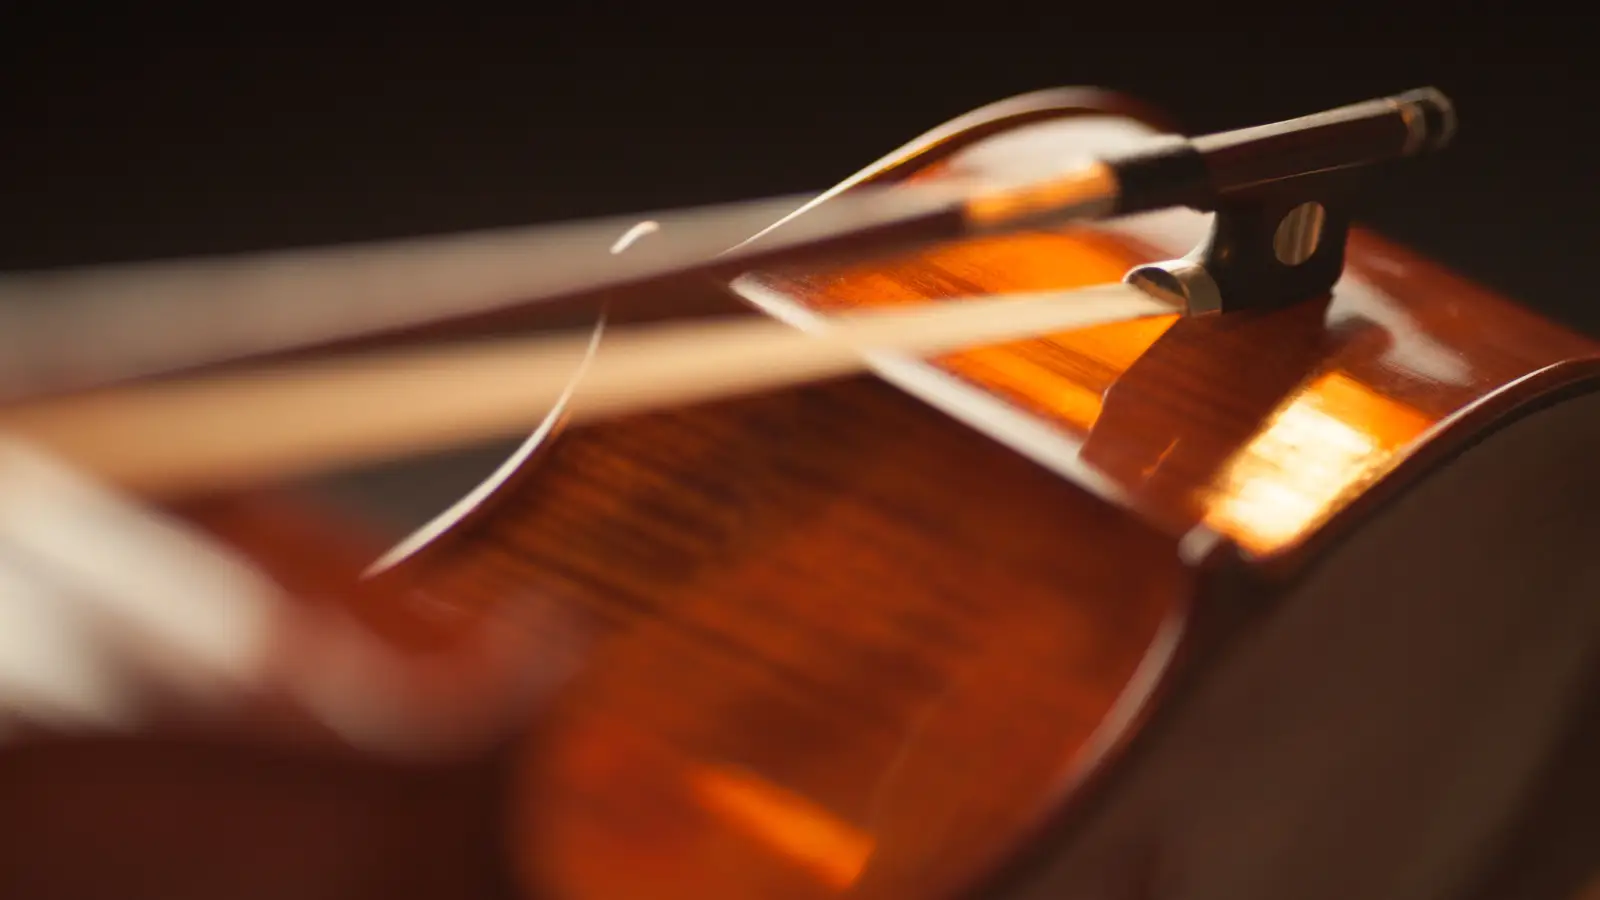
The contact point is the distance between the bow hair and the bridge. Get it wrong, and a beginner sounds like a beginner. Too close to the bridge, and the tone goes glassy and thin unless you have the weight and speed to pull a rich overtone series. Too far toward the fingerboard, and the tone turns fluffy and unfocused. The sweet spot for a confident, round sound on an open string lies roughly halfway between the bridge and fingerboard, but it shifts with the other variables.
To map it, keep pressure and speed constant (use the medium-speed, light-pressure pair from the earlier steps). Place the bow about an inch from the bridge and draw a long, even stroke. Listen. Then move the bow a finger’s width farther from the bridge — toward the fingerboard — and repeat. You’ll hear the overtones move from edgy to mellow. Find the spot where the tone opens up and feels fullest, with no distortion at the attack. That’s your default contact point for that string, at that dynamic.
Check: lower strings (G, D) do better with the contact point shifted slightly away from the bridge because they vibrate with a wider amplitude; the E string shifts it slightly closer. At the tip and frog, keeping a straight bow path is harder and the contact point will try to wander. Keep your eyes on where the hair meets the string and correct it as you move.
Step 4: Combine All Three for a Resonant Tone
Once you can feel each variable separately, the practical task is balancing them in motion. A useful drill is the “siren” exercise: on one open string, start at your default contact point with medium pressure and a slow bow. Very gradually increase the bow speed while easing the pressure slightly and keeping the contact point locked in place. The sound should bloom into a louder, ringing tone without cracking. Then reverse: slow the bow, add a whisker more weight, and hold the contact point steady as the sound darkens. This teaches you to change volume without trashing the tone — exactly what the three-variable model is for.
Check: the instant the contact point drifts (usually toward the fingerboard when you speed up, or toward the bridge when you slow down) the tone loses focus. Correct it by adjusting your arm path, not by twisting your wrist. Doing this siren exercise for five minutes at the start of every session builds a habit that kicks in automatically when you’re playing actual music.
Mistakes That Throw the Balance Off
Digging In for Volume Instead of Speeding Up
A player hears a weak, thin tone and reacts by pressing. The bow digs in, the sound crackles, and the strokes skip. When you need more volume, increase the bow speed first. Add a little more pressure afterward only if the tone still needs body. Speed acts like a volume knob; pressure is a tone-shaping tool, not a power button.
Letting the Contact Point Wander When Changing Strings
Crossing from A to E often pulls the bow toward the fingerboard because the arm’s angle changes. The tone goes reedy and thin. In practice, when you change strings, pause for a split second on the new string and visually confirm the contact point is where you set it. A hollow, unfocused sound says you’re too far from the bridge; a nasal, piercing hiss says you’re too close.
Ignoring the Middle and Tip of the Bow
Beginners tend to camp out in the lower half because it feels secure. But the tone behaves differently at the tip, where the bow’s natural weight drops and the leverage changes. If you only practice near the frog, you’ll never learn to compensate with speed and pressure adjustments at the extremes. Spend time on long tones that use the entire bow; at the tip, you’ll likely need a bit more pressure to keep the tone from fading.
Practicing with Way Too Much or Not Enough Rosin
Excess rosin makes the bow grabby and gives a gritty, dusty tone; too little makes it skate. After applying rosin, wipe the hair once with a clean cloth to remove the surplus. Test on an open string with light pressure — you should not see clouds of rosin dust on the first stroke. If you do, you’ve overdone it.
FAQ
Does bow pressure alone create volume?
No. Pressure alone, without enough speed and the correct contact point, just strangles the string. Volume comes from the combination: a fast bow with moderate pressure and a contact point that lets the string vibrate freely. Leaning on pressure alone gives you a scratchy, thin tone fast.
How do I know if I’m using the right contact point?
Listen for a tone that’s full and ringing, not fuzzy or piercing. Play a long, even note, and while sounding it, move the bow a tiny amount toward the bridge, then toward the fingerboard. The point where the sound “opens up” and resonates most clearly is your sweet spot for that note and dynamic. Watch the string vibration as well — closer to the bridge, the string’s bounce looks tighter; closer to the fingerboard, it flops more. Aim for a controlled, even vibration.
Can I use these variables for all violin playing, including fast passages?
Yes, but the balance shifts. In fast detaché or sautillé, you lean more on a fixed contact point and a light, springy pressure, with speed modulated by the quick strokes. The principles still hold: if a passage sounds muddy, check whether you’re pressing too heavily for your bow speed, and whether the contact point has drifted.
Why does my tone still sound scratchy even when I press lightly?
The contact point is either too close to the bridge for the speed and pressure you’re using, or your right hand and arm are holding too much tension. A tight grip transmits high-frequency noise even under light pressure. Relax your thumb and let the bow sink into the string from your arm’s weight, not from a pinched hold. Also, re-check your rosin — too much creates a grainy, scratchy texture.
Is it okay to change all three variables at once, or should I stick to one at a time?
In practice, isolate first so your body learns the right sensations. Eventually, when you play music, you’ll adjust all three together without thought, but that only works after each variable has been trained separately. Spend a few minutes every day on exercises that isolate pressure, speed, and contact point before you combine them in scales or repertoire.
Keeping the Sound: What to Do Next
You now have a working model: tone isn’t a single thing you press into shape — it’s three physical levers you can adjust and correct in real time. The next concrete action is to sit down, pick one open string, and run the siren exercise from Step 4. Give it five minutes, then play a simple one-octave scale with slow bows and mentally track where you are on each variable. When the tone thins on the E string, shift the contact point slightly closer to the bridge and increase bow speed a notch. When the G string sounds dull, add a bit more weight and slow the bow just enough to let it speak.
After that, record a short phrase you know well — a folk tune, a few bars of an étude. Listen back purely for tone, ignoring left-hand errors. Mark the spots where the sound loses its center, and fix the variable that’s out of balance. Over a week, this focused listening and adjustment will hardwire the habit, and the scratchy, uncertain sound that dogs most beginners will disappear.