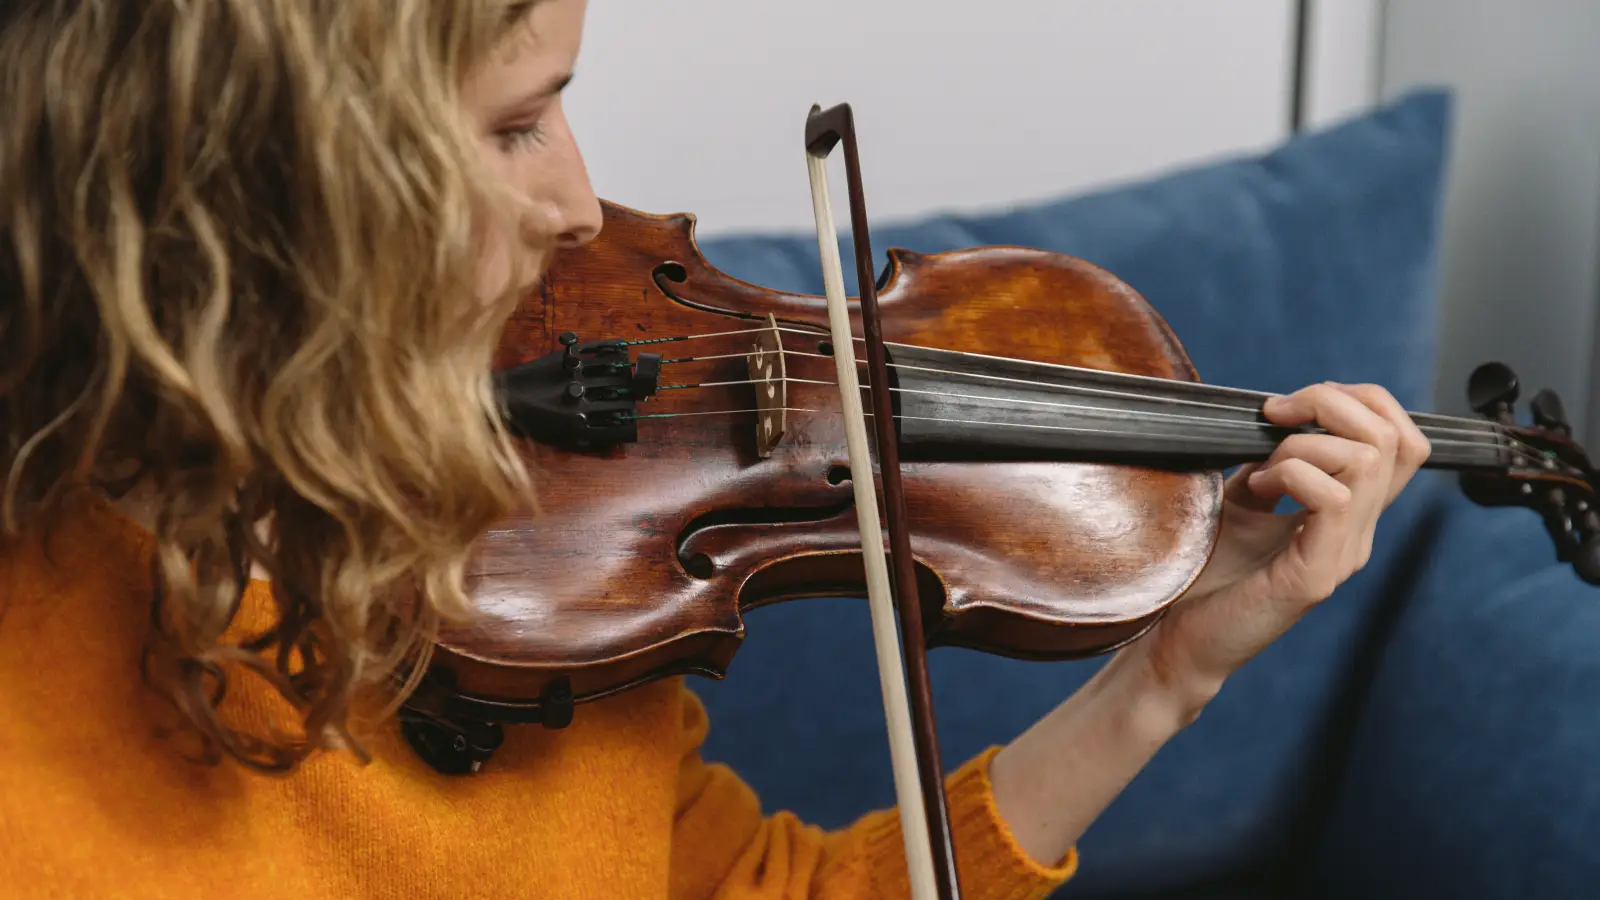
A violin’s sound can collapse into a buzz or a thin, choked whisper from a finger placement that’s off by a hair. It isn’t just intonation at stake; it’s the flesh, the angle, the pressure that decide whether a note rings clear. Most players chase better bow arms for years before they realize the left hand has been quietly undermining their tone.
Left-hand training usually targets pitch accuracy, but the physical way a fingertip meets the string drives tonal clarity, sustain, and those maddening buzzes. A correctly intonated note can still sound anaemic or raspy if the pad lands too flat, too steep, or with too much grip. The goal is a living contact—a ‘goldilocks’ touch that balances contact area, angle, and pressure so the string vibrates freely. The exercises that follow train that sensitivity, and the results arrive sooner than you might think.
What a Well-Placed Finger Sounds Like
When everything aligns, the tone emerges round and unforced. The string’s vibration transfers without a grating edge, and notes sustain with an even, singing quality whether you play quietly or lean into a forte. The buzz or sizzle that once haunted certain positions simply disappears. That clean, open voice is the benchmark.
Your 6-Step Routine for a Buzz-Free, Resonant Tone
- Test your fingertip’s contact point on the string
- Set the finger angle so the pad meets the string squarely
- Find the lightest pressure that cleans up the tone
- Listen for buzz and adjust how much flesh pad contacts the string
- Check sustain with long, slurred notes on a single string
- Carry the same light, square touch through every shift
How to Train Each Step
Test Your Fingertip’s Contact Point
Place a finger on a note and pause. Notice exactly where the string crosses the fingertip. The sweet spot is the fleshy pad, slightly below centre and well away from the nail and the bony tip. A string resting on the callus near the nail produces a thin, brittle sound; a string squashed by the side of the pad can sound muffled and buzzy.
Spend two or three minutes each practice session simply observing this contact for every finger. The most common misstep is trusting that hard, leathery patch right under the nail—it can’t damp the string evenly and almost always introduces a high-frequency hiss.
Set the Finger Angle for a Square, Full Contact
Once you’ve found the right spot, adjust the approach angle so the pad lands flat against the string rather than tilted. For most hands, this means the finger comes down nearly perpendicular to the fingerboard when viewed from above, keeping a natural curve in the knuckle. A sideways lean pinches the string between the pad’s edge and the nail, which invites a buzzy, unstable pitch.
A few minutes of slow chromatic placement each day is usually enough to make this feel natural. The classic error is letting the hand collapse inward toward the scroll, rolling the fingers onto their inner edges and introducing a sizzle on the lower strings.
Find the Lightest Pressure That Cleans the Tone
With the finger hovering just above the string, start bowing the open string and gradually press down. Listen for the sound to move from a ghostly harmonic whistle, through a fuzzy pitch, and finally into a clean, focused note. Stop pressing the instant the note becomes clear—that’s your minimum viable pressure. Any more force than that squeezes the string against the fingerboard and starves the overtones, leaving the sound pinched and short-lived.
Work through this for three to five minutes per string, moving chromatically. The near-universal trap is believing that a “firm” placement equals security; in practice, oversqueezing deadens the tone and builds a hand tension that will later sabotage shifting and vibrato.
Listen for Buzz and Adjust the Flesh Pad
A buzz often signals that too much or too little flesh is in contact with the string. When you hear a fluttering, raspy sound, try rolling the fingertip forward so a smaller, more defined patch touches the string. If the buzz is sharp and metallic, check whether your nail is grazing the string—roll the finger back just enough to clear it.
Run a one-octave scale, devoting a full second to each note so your ear catches every hint of noise. This listening drill asks for only two or three minutes per scale. The most common miscalculation is assuming buzz always calls for more pressure; usually it calls for a small contact adjustment.
Check Sustain with Long, Slurred Notes on a Single String
Play a slow four-beat note on the A string, then slur into the next half step without lifting the bow. Listen to the transition: does the tone stay steady, or does it thin out or buzz on the new note? A clean sustain across finger changes proves your contact and pressure are consistent. If the sound crumbles, you’ve likely altered the angle or tightened your grip during the move.
Devote five minutes per session to this exercise on one string. The mistake most players make is judging tone only on isolated notes; the truest test is what happens between notes, when the left hand must keep its contact quality through motion.
Carry the Same Light, Square Touch Through Every Shift
Shift into a new position with the finger already shaped and aiming for the landing pad contact, not the bony tip. Think of the fingertip rolling along the string rather than hopping or clamping down. As you arrive, immediately check that the angle and pressure mirror what you trained in the lower positions. A shift that ends with a flattened finger or a sudden squeeze will produce a momentary buzz or a dull thud that breaks the singing line.
Practice shifting on a single string, from first to third position and back, for about five minutes. The common pitfall is holding the thumb too rigidly against the neck, which forces the fingers to clench and lose that light, square placement the moment they move.
Before You Pick Up the Bow: A Quick Sound Check
Use this micro-routine every time you start playing:
- Place your first finger on the D string and check that the pad—not the side—contacts the string.
- Tap the finger lightly against the string: is your thumb relaxed enough to allow that?
- Bow an open A, then drop the first finger onto B; listen for a clean, buzz-free transition.
- Repeat for a few notes in first position; if any buzz appears, adjust flesh contact first, then pressure.
What Violinists Ask About Finger Pressure and Buzzing
Why does my string buzz even when my finger is on the right note?
An in-tune buzz usually means the fingertip isn’t stopping the string with a defined, clean contact patch. Too much soft flesh diffuses the vibration, the nail may be touching, or there may not be enough pressure to terminate the string’s length fully. Adjust contact location and experiment with a slightly rolled posture before adding more force.
Do I need more pressure on thicker strings like the G string?
Not necessarily. The G string asks for a slightly broader flesh pad engagement because the string itself is wider, but extra pressure will still choke the tone. Begin with the same minimum-viable-pressure approach and increase only if the note fails to speak cleanly under normal bow weight.
My fingertips are small or bony — can I still get a clean sound?
Yes. Bony fingertips can deliver a bright, focused sound when the contact point is precise and the angle avoids nail interference. Smaller fingertips may need to drop slightly flatter to gain enough surface area, but the core principle holds: find the spot that stops the string cleanly without crushing it.
How long does it take to develop this touch?
Most players notice a clear improvement in tone quality after two to three weeks of daily, mindful attention during warm-ups. The touch tends to become automatic within a few months if you consistently check the benchmarks listed here in every practice session.
Keep This Handy: The ‘Goldilocks’ Touch at a Glance
- Test your fingertip’s contact point: fleshy pad, not nail or callus.
- Angle the finger to land squarely, not on its side.
- Find and use the lightest pressure that gives a clean tone.
- Roll the fingertip to fine-tune flesh engagement and kill buzz.
- Check sustain with long, slurred notes; listen for consistent sound between fingers.
- Maintain the exact same contact through every shift—no clamping.
The Result You’ll Hear — And How to Get There Faster Next Time
What you end up with is a tone that feels effortless: resonant, stable, and free of the nagging buzz that used to creep in. Next session, skip the scattered warm-up and head straight for a slow, one-string scale. As each finger lands, listen for the exact moment the tone cleans up. That moment is your calibration point. Lock it in, and you’ll rewire your touch far faster than by playing through pieces while the left hand’s bad habits fly under the radar.