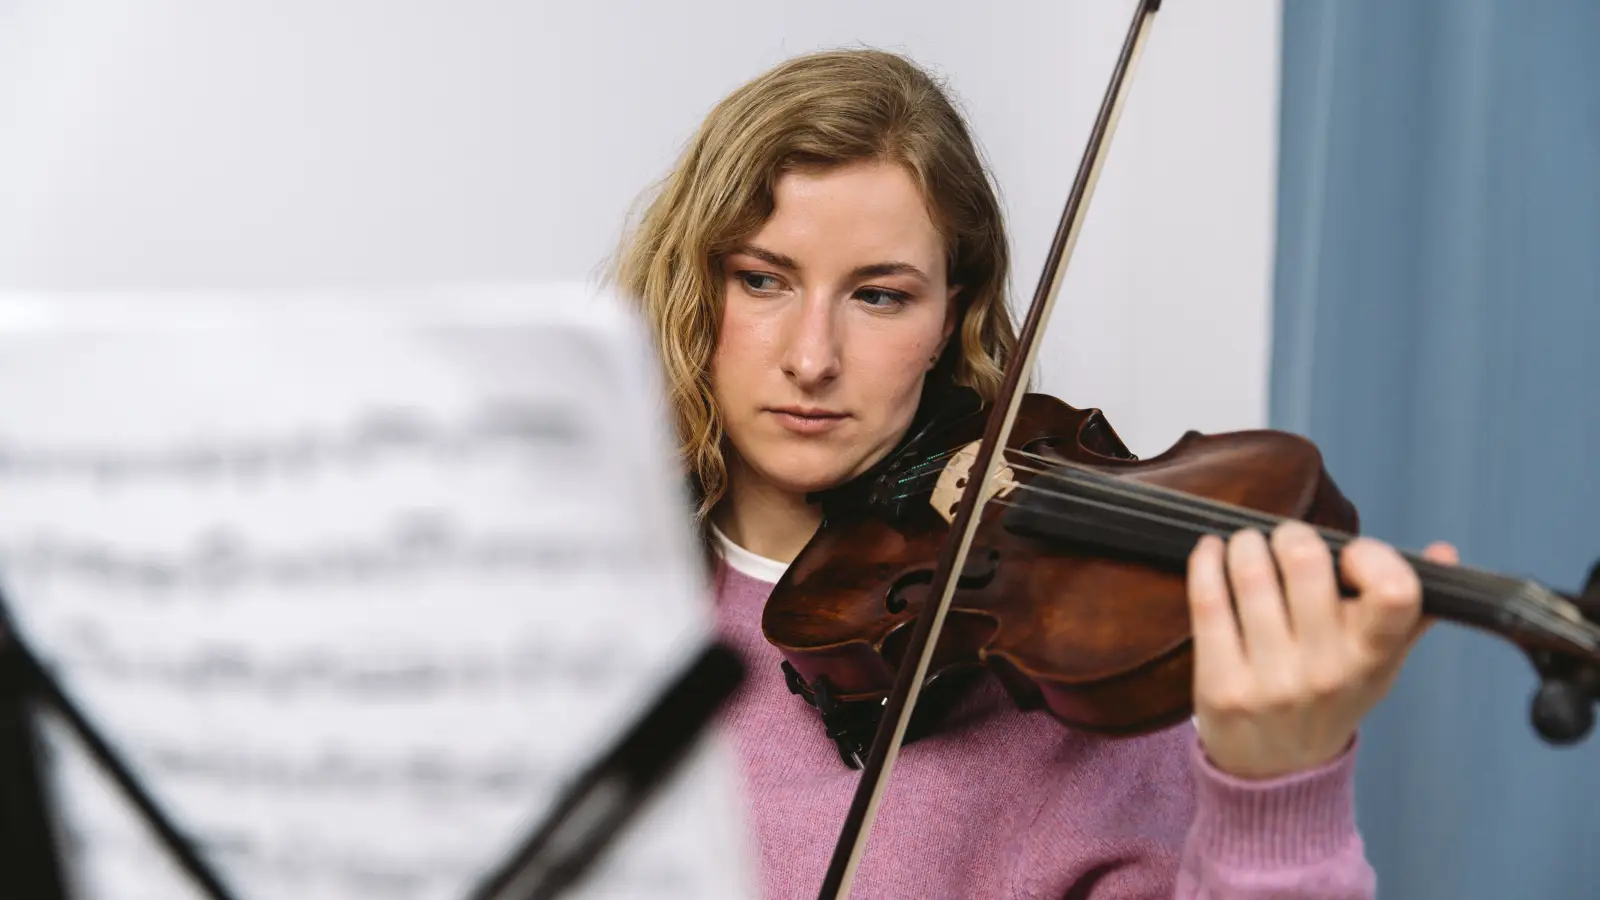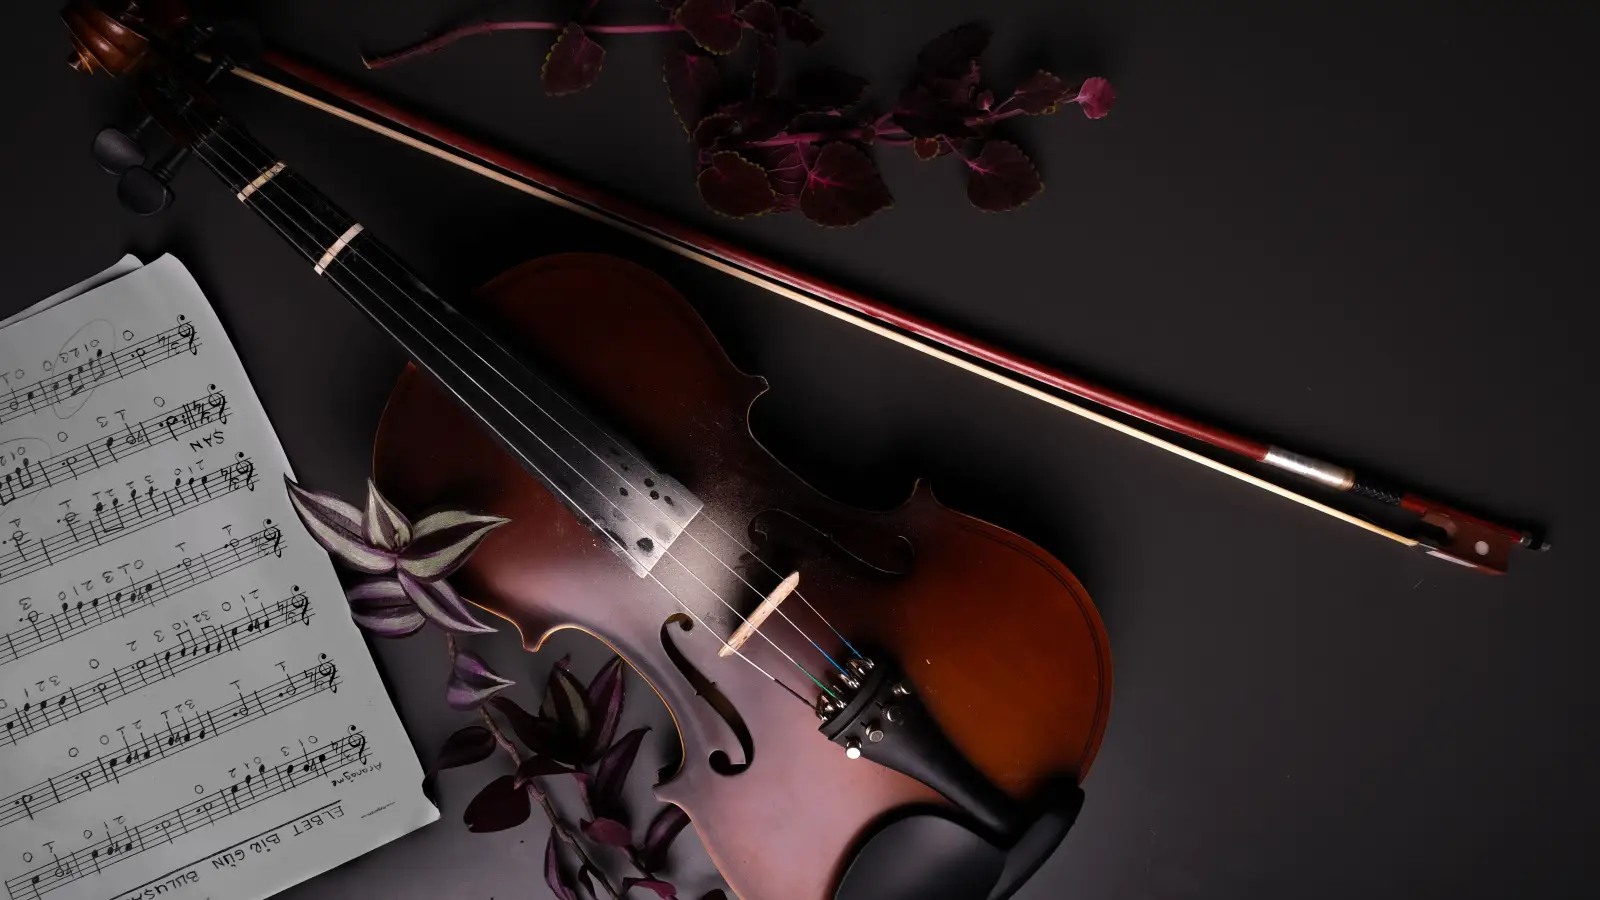
Many adult beginners want to read music from the very first lesson. The note-by-note method answers that wish by matching each written note to a specific string and finger, one at a time, before a tune ever appears. It builds reading skill in small, manageable steps so the violin and the staff start making sense together.
What You Need to Begin This Method
A note-by-note reading routine asks for very little upfront. Gather these items and you can start immediately:
- Violin and bow — set up with a straight bridge, tuned strings, and fresh rosin on the bow hair.
- Shoulder rest — optional but helps keep the instrument stable so your eyes can stay on the page.
- Tuner app (e.g., a chromatic tuner on a smartphone) — used to check pitch, not to tune from scratch each time.
- Staff paper or a beginner book — any source that shows the staff, a clef, and note names. Many method books include note-placement charts.
- Pencil — for marking finger numbers or string names above notes.
- A quiet practice space — free of distractions for at least 10–15 minutes.
No prior music-reading experience is required. This method starts from zero.
The Core Process: Reading One Note at a Time
Step 1: Identify Each Open String on the Staff
Start with the four open strings: G (lowest), D, A, E. On the treble clef, these are: G on the second line from the bottom, D on the space below the bottom line, A on the space above the middle line, and E on the top space. Practice naming them out loud while pointing to each note on a printed chart. Then pluck the corresponding string so your ear and finger connect the symbol to the sound. Watch out for looking at the bow or left hand too soon; keep your eyes on the staff and only glance at the string after you’ve said the name.
Step 2: Learn First-Finger Notes Across All Strings
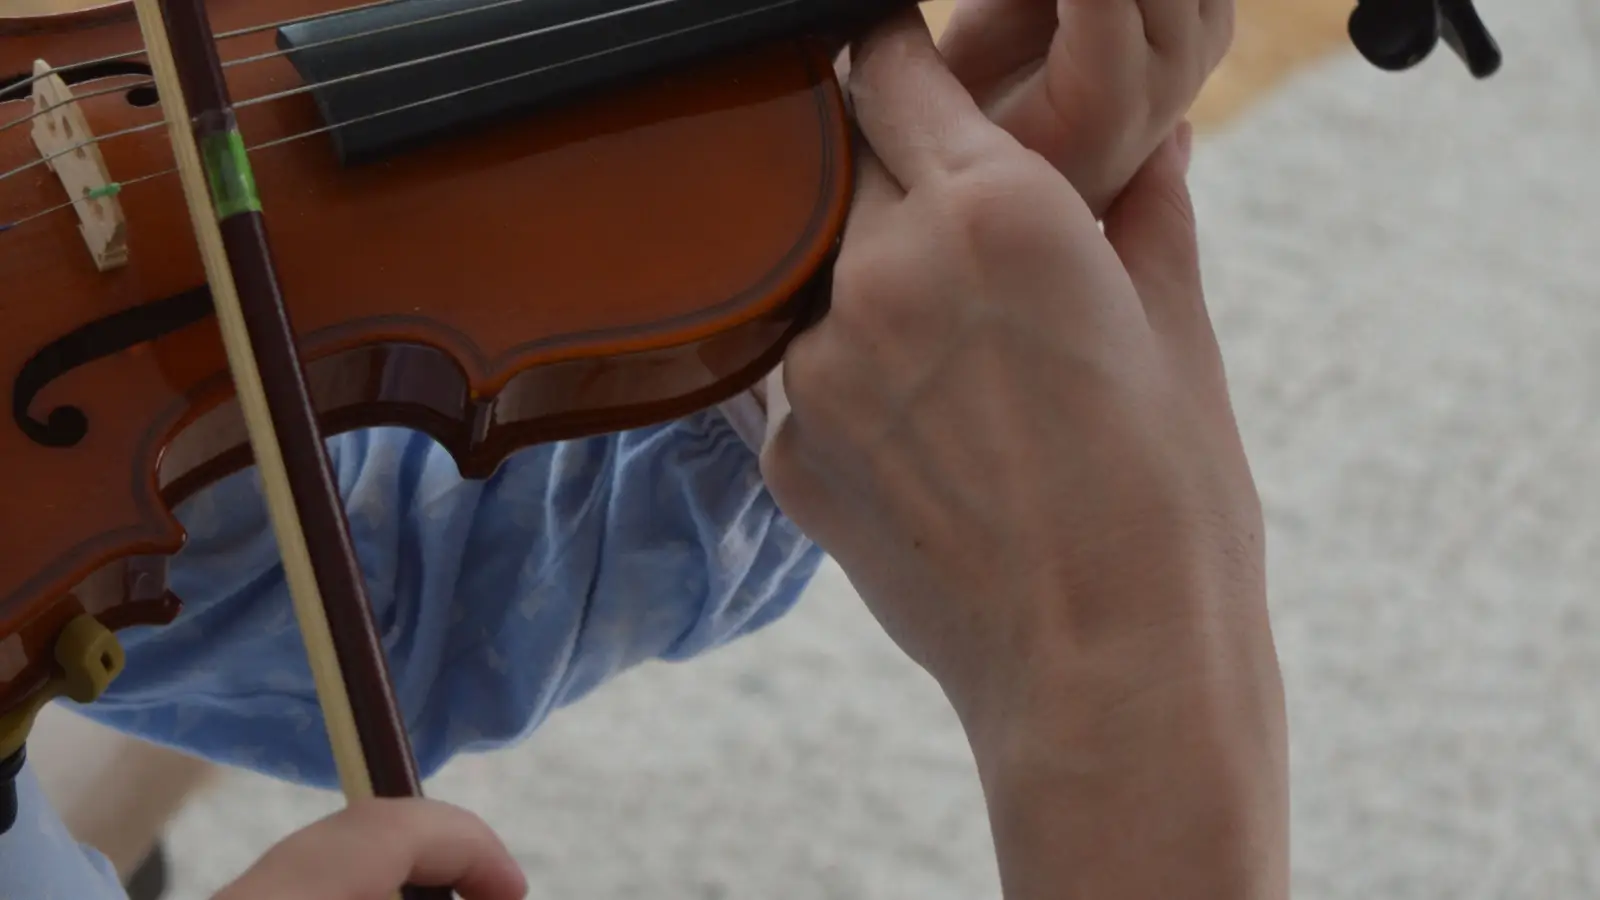
Once open strings feel automatic, add the first finger. That gives you these pitches: A (on G string), E (on D string), B (on A string), and F♯ (on E string). On the staff, these appear one step higher than the open string. For instance, the A on the G string sits on the top space of the staff, while the E on the D string sits on the bottom line. Use a finger chart that shows the note on the staff connected by a line to the violin neck diagram. Practice reading the note, naming the string and finger, then placing the finger and plucking. What to watch for: keep the finger curled and close to the fingerboard; a flattened finger will muddy the pitch and obscure the visual reference for where the note lives.
Step 3: Read Isolated Notes and Play with Correct Finger
Now pick up the bow. Choose one note per practice session — say, the F♯ on the E string — and work only on that. Read it from a single measure of music that contains just that note repeated. Draw a down bow while holding the first finger in place. Isolation matters because connecting a visual symbol to a motor pattern takes repetition without interference. When the bow adds a new variable, the brain can easily mix up the staff position. So isolate until the note feels physically familiar. Watch out for uneven bow speed or pressure; a scratchy sound pulls attention away from reading, so keep the bow stroke smooth and short.
Step 4: Combine Two Notes into Simple Patterns
Move to pairs. A natural next step is to link an open string to its first-finger note on the same string — for example, D (open D) to E (first finger on D). Write or find a short exercise that repeats that two-note pattern. Say each note name aloud before you play it, then play the pair with a continuous bow. Two notes first builds the skill of glancing quickly between staff and fingerboard while keeping timing steady. Watch out for rushing; if the second note wobbles in pitch or timing, stay on the single-note step longer.
Step 5: Expand to Full First-Position Notes and Play a Simple Tune
After mastering open strings, first fingers, and several two-note patterns, add the second and third fingers on the D and A strings. At this point you’ll have a usable range of about an octave. Use a known melody — “Twinkle, Twinkle, Little Star” is a classic — and write the note names above each pitch the first time through. Then remove the written names and try reading the tune note by note. What to watch for: the temptation to memorize the tune and stop reading. Count each beat out loud to force your eyes back to the staff. If you start playing from memory, stop and return to the simpler drills.
Mistakes That Slow Down Note Reading and How to Sidestep Them
Jumping to a Melody Before Each Note Is Solid
It’s common to grow impatient after a few single-note drills. The problem is that a tune demands quick switching between strings and fingers, and a single misread note creates a cascade of confusion. If you can’t name and play any open string and its first-finger note from memory, a melody will feel like a puzzle instead of music. Return to the isolation step until naming happens in under a second.
Mixing Up Strings Because the Staff Position Wasn’t Linked to a String Name
A note that sits on the middle line (B) could be played on the A string with first finger, but beginners sometimes jump to the E string by mistake. That happens when the note is read as just “B” without also thinking “A string.” Always link the note to its string name first — even say it out loud. Over time the connection becomes automatic.
Not Using a Finger Chart or Tape Markers for Immediate Visual Feedback
Many adult learners assume they should memorize positions without external help. But in the note-by-note phase, a simple strip of thin colored tape on the fingerboard for the first and third fingers gives immediate confirmation when the finger lands in the right spot. This lets the eye stay on the music longer. Without that visual cue, the learner glances at the left hand too often and loses the staff note.
Practicing with Unstable Intonation and Hoping Reading Will Improve Anyway
Reading and intonation reinforce each other. If a note sounds slightly off, the brain can start associating the printed symbol with the wrong pitch. Use a tuner during the isolation steps to check that each note is ringing true. A few seconds of pitch-checking per note prevents weeks of unlearning later.
Frequently Asked Questions About the Note-by-Note Method
Do I need to learn all the notes in first position before playing anything?
No. The method works best when you learn a small set of notes and immediately read simple patterns with them. Once those are secure, add new notes gradually. This prevents overload and builds confidence.
How long does it take to read a simple melody using this approach?
With daily practice of 10–15 minutes, many adult beginners read a short, familiar tune like “Mary Had a Little Lamb” within three to four weeks. The timeline depends on how consistently the isolation steps are practiced. Skipping ahead actually lengthens the process.
What if I cannot hear whether I’m in tune?
Use a tuner app set to chromatic mode. Pluck or bow each note while watching the display. Over time your ear will learn the correct pitch, but in the beginning the tuner gives a reliable check so that reading isn’t undermined by fuzzy intonation.
Can I use this method with a digital violin-learning app instead of a teacher?
Yes. Many apps display notes on a staff and listen to your playing. The note-by-note principle still applies: work on one note or small pattern at a time, and use the app’s visual feedback to confirm pitch and timing. A teacher can later help refine posture and tone, but the reading skill itself can be built independently.
Where to Go from Here
The note-by-note method has given you a reliable path to reading music while you learn the violin. You now can identify open strings and basic finger notes on the staff, connect them to the instrument, and string them into simple, readable patterns.
Next, choose a short melody you know well and write out just the first four measures. Mark the string name and finger number above each note, then read through it slowly with the bow. After that, consider working through a beginner method book that teaches note reading in sequence — the note-by-note habits you’ve built will make that book feel like a natural next step, not a hurdle.